Video recording on DSLRs has given photographers another skill to master, but left many confused in the process. Professional photographer Vincent Oliver explains all in his beginner’s guide to DSLR video recording.
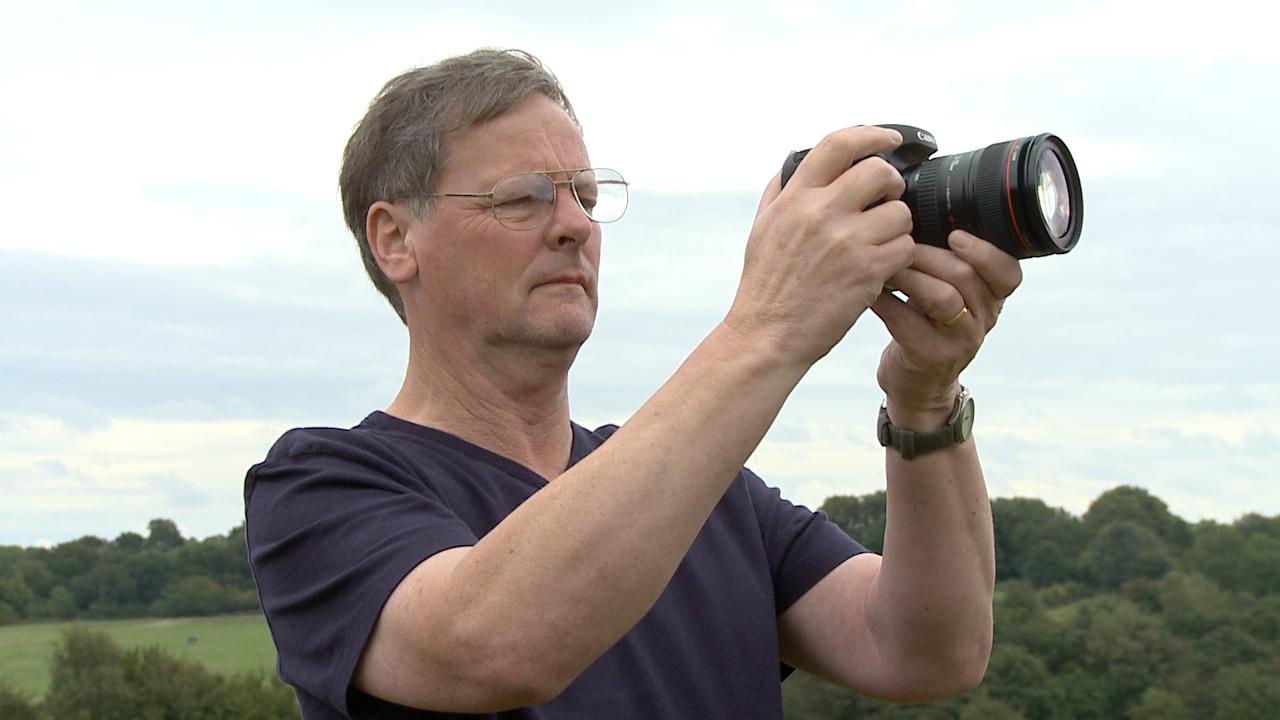
Digital cameras are becoming more sophisticated, and it’s now possible to produce technically perfect photographs time after time. Video recording on DSLRs, however, is a relatively new possibility, and one which involves many considerations that either don’t apply to stills recording or are dealt with in a different way. Here, I’ll explain all you need to consider before you start shooting video, and what you need to bear in mind to ensure you get the best results possible.
From stills to video
Although some professional DSLR cameras shoot at a frame rate of up to 14 frames per second (fps), this isn’t fast enough for video recording. Not only will this result in a jerky playback, but the camera is also limited to short bursts rather than continuous shooting. Smooth action video needs to be shot at 24, 25 or 30fps – and DSLR cameras can’t flip the mirror up and down that fast.
To get round this problem, HDSLR (High Definition Single Lens Reflex) cameras use their Live View functionality. When this is activated, the mirror locks up and a continuous signal is fed to the sensor, which is shown on the rear LCD screen. This allows the scene to be continuously monitored and for video to be recorded at the same time.
Most consumer camcorders are fitted with a fixed zoom lens which can be limiting if you need that extra wide or long telephoto shot, and lenses for professional quality camcorders can be very expensive. HDSLR cameras have the major advantage of accepting lenses from ultra wideangle through to super telephoto, in addition to compatibility with a number of accessories. These cameras use the same lenses you have probably been using to capture still photographs, which makes them more convenient than having to invest in a whole new system.
Sensors
One of the main advantages of an HDSLR camera over a consumer camcorder is its ability to produce a limited depth of field, especially when using full-frame cameras such as the Canon EOS 5D Mark III or Nikon D800. This means, however, that focus on the main subject has to be spot on, as any misfocusing can be noticeable when viewing footage on a computer of television display (and this may not always be appreciated at the time of capture).
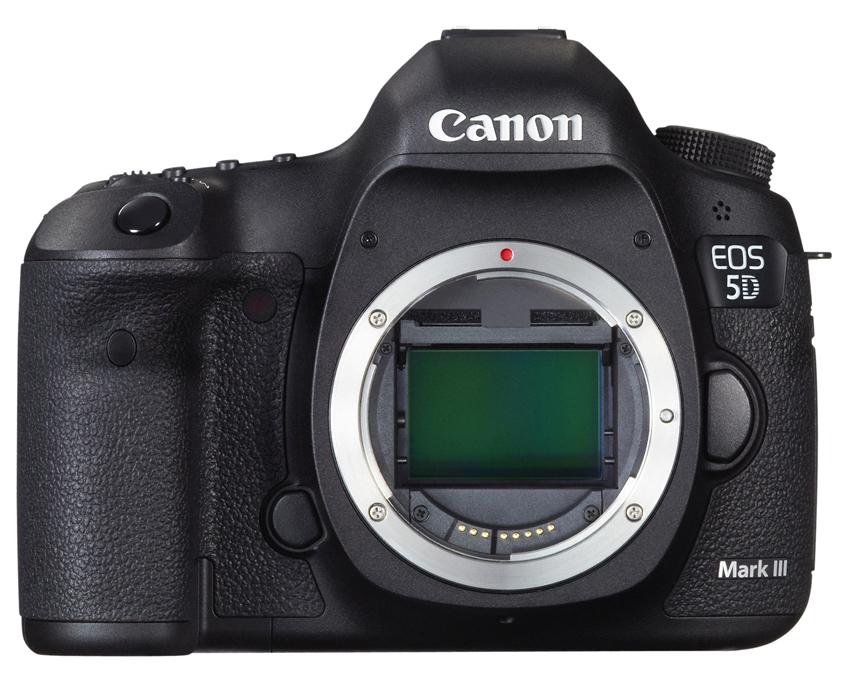
Smaller sensors, as found in APS-C and Micro Four Thirds cameras, are more forgiving here, while compact cameras and consumer camcorder, whose sensors are smaller still, tend to produce an even greater depth of field. This can mean everything is in focus from a few centimetres to infinity, which can be an advantage in some situations, but leaves little scope for creative productions.

Another advantage of larger sensors is that they are better suited to low-light situations than smaller ones. This means you can capture almost noise-free video clips in very low light, virtually eliminating the need for any accessory lighting equipment or noise-reduction software.
Although many of the larger sensors can capture a still images from 4288 x 2848 (12MP) through to 6144 x 4912 (36.3MP), full HD video only requires a dimension of 1920 x 1080 – so, the camera’s CPU downsizes a larger image to match the HD video size.
Recording video
One drawback with using an HDSLR camera is the limited video recording time, which currently stands at a maximum of 29 minutes per capture. Although 29 minutes may seem like a handicap, in reality you should never need to shoot any sequence for longer than a few seconds or a couple of minutes (look at any program or documentary on TV and observe that most shots are only held on screen for a few seconds). The only time you may need a longer recording time is when shooting an entire wedding ceremony or another event; in these situations a camcorder may be the better option. The time limit also prevents the camera from overheating, although most cameras have a safety cut-off feature to prevent any long-term damage.
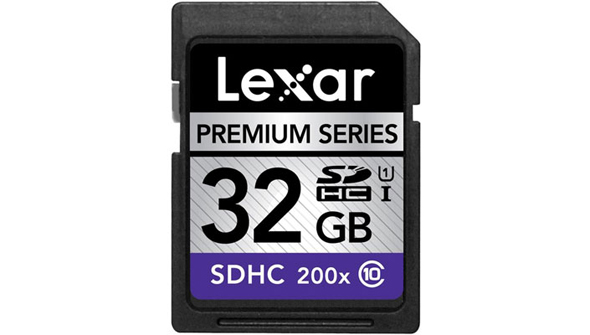
HDSLR cameras require high-speed memory cards to capture video, the popular choices being SDHC and a form of CompactFlash. SDHC cards are available in various capacity sizes from 4GB through to 32GB (the SDXC format takes care of larger capacities), and have Class speed ratings which state the minimum guaranteed write speeds for a particular card. The number correspond with the minimum guaranteed write speed in Megabytes per second (MB/s) – so, a Class 4 card guarantees a minimum write speed of 4MB/s, while Class 6 cards up this to 6MB/s and so on.
Class 6 and 10 cards provide the most reliable option, as these are capable of keeping up with fast and continuous data transfer, which can be between 15-35 megabits per second (Mb/s), with 1 megabyte being equal to 8 megabits. Higher data rates produce cleaner looking video which also makes them easier to edit and colour grade.
HD movies can occupy several gigabytes for a short sequence, so in order to fit it all on a memory card the movie will typically use some form of compression (MPEG-4 is a popular choice). A four minute sequence captured in full HD (1920 x 1080) using MPEG-4 compression occupies 1048 megabytes of storage space (1GB). The same four minute sequence without compression occupies 32,457GB of storage! Some cameras offer AVI or MOV capture – these are also compressed file formats, albeit ones which use less compression.
Technique
In order to get the best possible movie results, you have to adapt your shooting techniques. Sadly, HDSLR cameras are not ideally suited for capturing video.
Trying to view an LCD screen on a bright sunny day can be very difficult (although many cameras have articulated displays which can help here). Using the LCD screen as a monitor means you have to hold the camera away from your body to view the screen, which isn’t ideal as it can introduce camera shake. Fortunately, accessory viewfinders, which clip onto the back of a camera and allow you to view the LCD screen without any stray light interference, are available to make things easier.
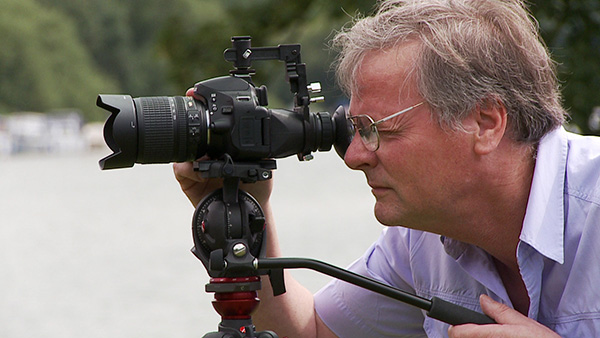
Most HDSLR cameras have a limited autofocus when in Live View. Some of the latest cameras now feature continuous autofocus, which can work well with a wide shot but can be annoying when the focus jumps to something or someone cutting across your frame. Professional camera operators set up the focus prior to capturing a shot – you can do the same by half depressing the shutter button in Live View before you start recording (on many cameras the autofocus turns off once the recording starts). In fact, the best way of ensuring sharp focus on your subject is to set this before switching into Live View. An out-of-focus HD sequence is really not worth looking at, especially when viewed on a 50 inch TV screen.
Many cameras feature image stabilisation, which can be either optical or sensor based. This is very effective and will generally allow you to hand-hold a camera using slower shutter speeds. Of course, a good tripod will cure many problems, but it also takes away some of the spontaneity that is enjoyed when shooting with a HDSLR.
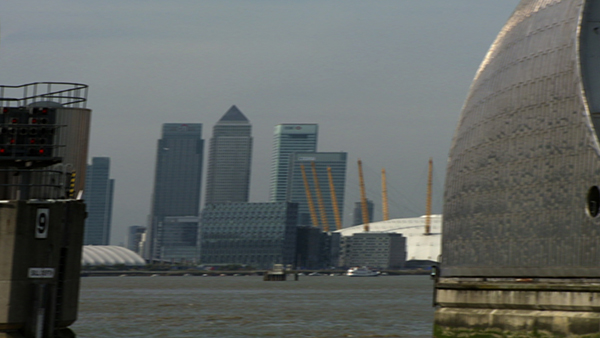
When capturing slow panning shots, use a sturdy tripod with a good video head and try to keep the pan duration between four and seven seconds; this gives the viewer time to take in the scene and should eliminate any image blur. Many cameras use a CMOS sensor, which builds up the picture from top to bottom. This can cause distortion when panning as the bottom section of the sensor will receive light after the top part, so if you are panning too fast then you may notice skew in upright lines. This is also referred to as a “Jello” effect.
Exposure
When recording videos with HDSLRs, auto exposure continues to operate whilst recording. At first glance this may be seen as a good thing, but any changes in exposure during a movie clip become very noticeable. Most professional camera operators will never use auto exposure, as it’s easier to correct any exposure error on an entire clip than trying to correct small segments within a sequence that may be out of line; the best method is to set and lock the exposure before you start to record the video. Exposure measurement can be used in the same way as you would for taking a still image, using either spot metering, multi-segment or centre-weighted readings.
A sound knowledge of how to set and control exposure will be useful, but shooting movies requires a slightly different approach. When shooting at 24, 25 or 30fps, the shutter speed matches the frame rate, i.e. 1/24, 1/25 or 1/30 sec. For fast motion this can cause slight blurring of the image, and although you may be shooting 30fps, the slight blur can make your clip look out of focus. Generally, for good results, you should set the shutter speed at twice the frame rate – this now means you are, in effect, using the camera in Shutter-priority mode. On a bright sunny day, however, 1/50 or 1/60sec is not an ideal choice, especially if you want a wide aperture for shallow depth of field.

Selecting a higher shutter speed is not the best option either. For example, shooting a sequence of 30 fps means that each frame is exposed for 1/30sec, but if you set a shutter speed to 1/500sec or shorter, each frame will be exposed for a fraction of the 1/30 frame duration, which can result in jerky action with moving subjects. The best option is to keep the shutter speed as close to the frame rate as possible, such as 1/60sec at 30fps (a shutter speed that’s twice the frame rate is a good compromise). Professional camcorders have Neutral Density filters (ND) built in, which reduce the amount of light reaching the sensor and also allows for the use of larger apertures – for HDSLR cameras, a variable-density ND filter is a useful accessory, although you may also adjust the camera’s ISO.
White Balance
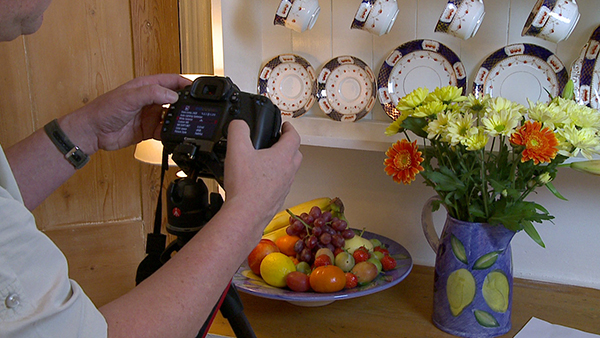
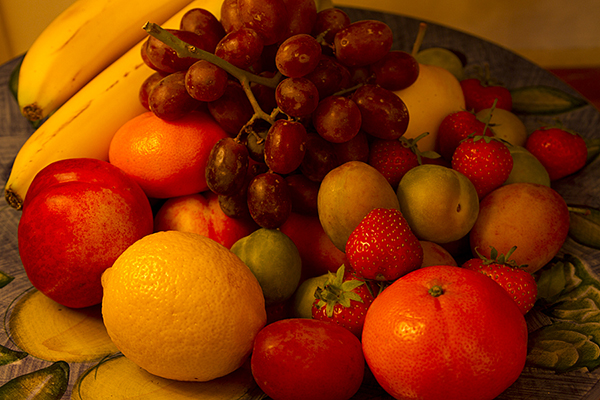
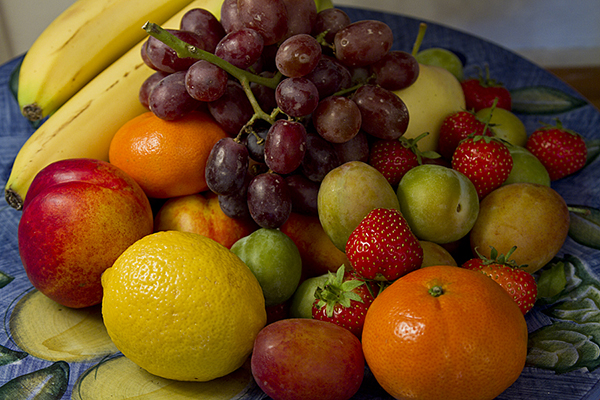
Capturing correct colours is just as important as good exposure. Most cameras have a selection of White Balance settings including Auto White Balance (AWB), Daylight, Cloudy, Tungsten, Fluorescent and Custom. The Custom setting is the best choice; this involves pointing the camera at a white or grey card, taking a photo of it and letting the camera work out the correct colour temperature. The camera automatically recognises any colour cast which deviates from pure white and compensates for it, and this can be used as the white balance setting for all subsequent recording. A new custom white balance should be set for any changes in lighting or location; it only takes a few seconds to do and will save time trying to colour correct footage at the editing stage.
Audio
Video usually uses an audio signal of 48000 kHz 16 bit which is a higher quality than used on audio CDs. HDSLR cameras are not well equipped for capturing audio, often they are limited to small on-board microphones which generally pick up all camera handling noises. An external microphone is a better choice, more advanced HDSLR cameras have an external microphone socket and headphone socket for monitoring the audio.

There are a number of good quality shotgun style microphones available that can be attached to the hotshoe or away from the camera. For the best results use a portable audio recorder to capture the sound track and use the camera’s microphone as a guide track for synchronising the footage with the audio from the external recorder.
PAL/NTSC
In North America the TV standard is NTSC; this plays at 29.97fps, although it’s often referred to as 30fps. In Europe and the UK we use the PAL standard, which plays at 25fps. You can play NTSC DVDs on most PAL TV sets but you can’t play PAL DVDs on NTSC TVs. The other option is to use 24fps which matches cine-film capture rates (actually it’s 23.976 fps); almost all TV broadcast is at this rate. Shutter speed also plays an important role. If shooting at 30fps then the shutter speed should match the electricity phase, i.e. 50Hz = 1/50sec. Using the default speed of 1/30 or 1/60sec can produce a rolling shutter effect when filming under artificial lighting.
Recording formats
There’s a plethora of format choices led by High Definition (HD) and they all have their uses:
Full HD (also known as 1080p)
This is the largest frame size that most current HDSLR cameras offer. The frame size is 1920 x 1080 pixels while the aspect ratio is 16:9 for widescreen TV viewing. This produces stunning quality when viewed on large plasma and LCD screens, although the downside is that the larger size can make a lot of processing demands on your computer.
HD (also known as 720p)
Still high definition but at a smaller frame size of 1280 x 720 – nevertheless, this still offers outstanding picture quality. If you intend to produce standard format DVDs or want to upload to the web then the 1280 x 720 HD format is a good choice. The aspect ratio is 16:9 for widescreen TV viewing.
HDV (High Definition Video)
This format is mainly used on tape-based camcorders. The format is 1440 x 1080 anamorphic and when played back the frame expands to full HD (1920 x 1080), but because the image is squeezed on the horizontal axis it can lose definition. The aspect ratio is still 16:9 for widescreen TV viewing.
SD (Standard Definition)
This format conforms to the 720 x 576 (PAL) or 720 x 480 (NTSC) formats. Almost all commercial DVDs are produced in Standard Definition. The video aspect ratio can be either 4:3 or 16:9.
VGA (Video Graphics Array)
A video format of up to 800 x 600 pixels, but generally 640 x 480. VGA has its uses for web video, email attachments and PowerPoint presentations among other things, but for high-quality video you should be looking at an HD format. VGA generally allows for longer shooting times, but at the expense of video quality.
AVCHD (Advanced Video Codec High Definition)

This supports tapeless recording media and has many options including 1080i, 1080p and 720p. AVCHD was originally conceived by Sony and Panasonic for the production of Blu-Ray discs.
Interlaced and Progressive
Almost all HDSLR cameras capture video using the progressive mode, which means that every frame is a complete picture. The alternative is interlaced video, which is actually twice the number of frames (60i or 50i) but each frame only contains half the image information, otherwise known as ‘upper’ and ‘lower’ fields. The two frames are combined on alternate lines to make up a complete frame, which produces smoother action video but can also leave a tearing effect. Interlaced video is more commonly used on camcorders than HDSLR cameras.
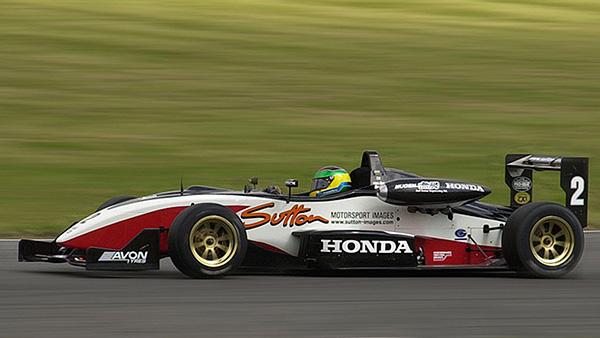
Using progressive capture is, in effect, similar to using a very fast motor drive. The real advantage is that you can take out a single frame and create a still image from it, and you will have 30 or 25 frames to choose from for every second. Still images can be captured from interlaced movies but they need to be de-interlaced in order to remove any visible tearing caused by a slight mismatch between the upper and lower fields.
Editing video
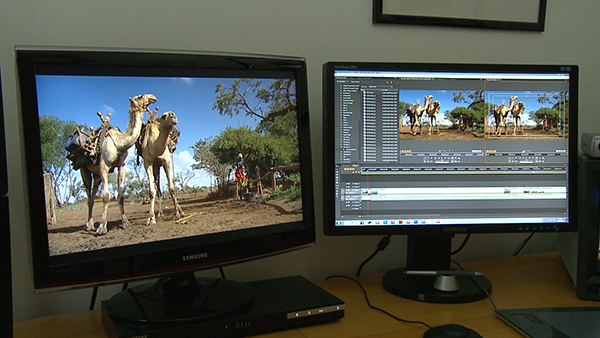
There are many applications available for editing video, including iMovie (Mac), Adobe Premiere Elements and Corel Video Studio. The popular applications typically offer easy-to-follow wizards to get you productive in no time, although for more professional editing there is Final Cut Pro (Mac), Adobe Premiere Pro, Avid, Sony Vegas and Adobe After Effects among others. The learning curve for the high-end applications is a steep one, but the rewards are tremendous.
Just as still images can be saved in different ways (JPEG, TIFF, PSD and so on), videos can also be delivered in a number of formats. These are called “wrappers” and include the MOV format for QuickTime, WMF for Windows Media player and FLV for Flash players. The output file can be decided after you’ve finished editing the file and are ready to export it, at which point you’ll also typically be offered a seemingly endless list of output codecs which define how the movie is compressed for optimal viewing on a computer, or for DVD or BluRay disks.
Those who don’t want to become involved with video editing can simply link up their cameras to a TV set via an AV cable or HDMI output. Many software packages also allow you to export videos straight into video hosting sites such as YouTube, or social networking sites such as Facebook and Flickr.
Moving on…
HDSLR cameras were initially conceived with the growing amount of news items online. A press photographer could be on location capturing stills one moment and then quickly switch over to capturing video. Likewise, a social photographer can be capturing stills of a wedding and quickly switch over to capture a short clip of the bride and groom walking down the aisle, incorporating the two into a multi-media presentation of the event. Their spontaneity means they’re rapidly becoming a convenient one-camera-does-it-all solution, in situations where dedicated stills and video cameras would otherwise be employed.
If, however, you want to produce movies in the highest possible quality, there really isn’t any substitute for the right tools; a camcorder can be a better option than a HDSLR camera. More advanced camcorders offer a high degree of image control, including multiple profiles to match shooting conditions, advanced white balance controls, continuous autofocus (if wanted), motorised zooming, time-code displayed in the viewfinder, professional quality multiple channel audio recording via XLR connections and easier handling, especially with shoulder mounted camcorders.
About the Author
Vincent Oliver is a professional photographer and technical journalist, who’s work has featured in a number of magazines and newspapers. You can see more of his work on his website.

