Pack smart, travel sensible. Giles goes over what to consider when putting together a one-camera, one-lens setup
One of the great joys of having a fun day out has to be the ability to record your adventures for posterity. Whether it’s a few hours spent exploring your local sights and sounds, or a day trip in a foreign country, having the right camera setup at the ready can make all the difference.
Once the initial feeling of excitement subsides, though the reality – and dilemma – of what kit to pack can be a little overwhelming. In this guide, I’m going to briefly outline a few things you might like to consider when looking to capture your day.
Camera

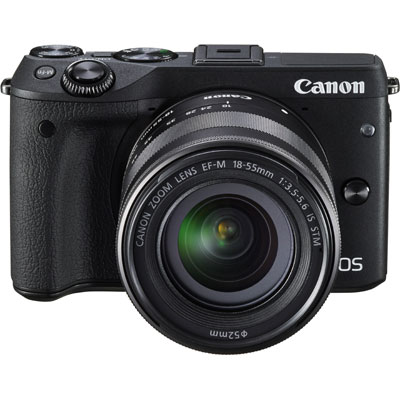
Canon EOS M3
Which camera you choose will probably depend on a number of factors. Are you heading out specifically for a full-on photography mission, or will picture-taking simply be an add-on to the day?
To keep things really simple, the humble smartphone could well be your weapon of choice, along with your favourite app that offers all manner of filters, cropping and online sharing options.
For more control over your files (shooting Raw files as opposed to JPEGs, for example), why not take a compact camera?
Regardless of their spec, these are light, small enough to slip into a pocket for convenience and unobtrusive in use – perfect for grabbing natural, unposed candid shots. You’ll also benefit from a wide-ranging zoom lens in most cases, which will give plenty of scope for a pleasing variety of pictures.
Many of you will likely want to pack your most flexible camera system, to pre-empt the photo opportunities ahead – and this will probably mean something like a mirrorless or DSLR setup. While it’s true that you’ll have maximum control over your pictures, the trade-off is the extra weight and bulk.
There are ways to alleviate the negative aspects of packing a larger system (see below), but other factors such as personal preference and logistics on the day will no doubt play their part, too.
Lens

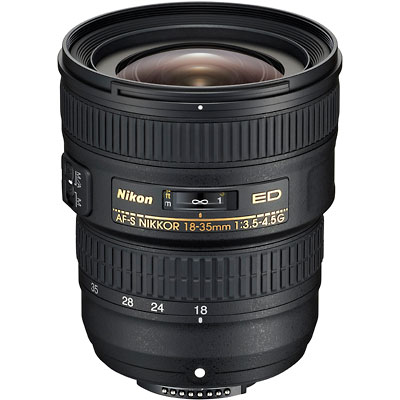
Nikon 18-35mm f3.5-4.5G AF-S ED Nikkor Lens
This is where you need to have a good think about the subject matter you expect to come across. Once you have a firm idea, it is quite easy to match your choice of lens accordingly.
For general wide- to mid-distance pictures (landscapes, head-and-shoulder portraits, detail shots etc), a standard zoom is probably going to be your best bet. Chances are you already have one that covers the range of 18-35mm, 24-70mm or similar. If it came bundled with your camera, it will likely have been referred to as a ‘kit lens.’
Some zooms have a close-up (macro) feature, which will extend your options further. For example, if you were having a day out at a car show, you would be able to get some great close-ups of shiny hubcaps, vehicle badges, goods for sale on stalls etc.
For frame-filling pictures taken at a distance (such as candid portraits, or landscapes featuring compressed perspective), a telephoto zoom is worth considering. Something like a 70-300mm can offer great flexibility for relatively little weight.
Accessories

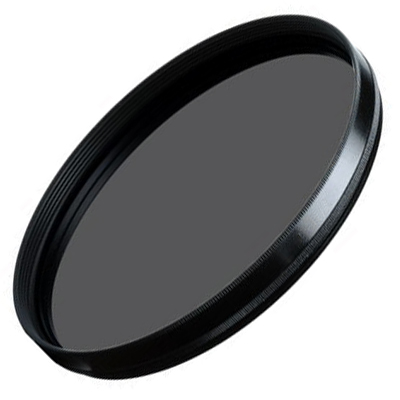
Kood 58mm Circular Polarising Filter
If you’re going to be a purist about the one-camera-one-lens approach, then forget about accessories – the more you add to your kit list, the more you will stray away from the underpinning reason for keeping things so simple.
That is to say, by using the minimum of kit, you will be pushing yourself to really explore what you and your camera can do in a given scenario. This is a similar to reason why people like to shoot only with a prime lens – with no variation in focal length, they force us to move around a scene and be more creative.
So, if you must pack accessories, keep them few and far between. Spare camera batteries, a lens cloth, a polarising filter and maybe a tripod – that would be my recommendation. Of course, if you are having an extended day, you might need to add a few odds and ends specific to your type of photography – for example, an electronic release for tripod-mounted long exposures at night.
Carrying your kit

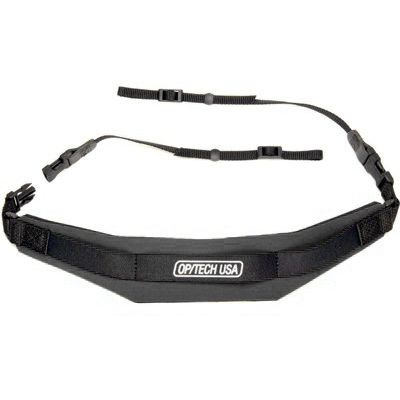
OpTech Pro Camera Strap
The beauty of such a stripped-down approach to which gear you’ll use is that weight is kept to a minimum. Freeing yourself from the clutter of so many items is not just liberating for the mind, but also advantageous for the body. Less kit = less stress on the body = happy, productive photographer. But what is the best way to carry the equipment you do choose?
The simplest option, of course, is to just have the camera over your shoulder on a comfortable strap. For this, I’d recommend something along the lines of an OpTech model, with a neoprene construction which cuts 50% of the weight attached to it.
Smaller cameras can easily be protected in a pouch attached to your belt; for larger models, consider a single-compartment top-loading pouch, which will also offer a bit more space for spare batteries and/or accessories.
If you decide to carry a few more items (lunch, spare clothing, etc.), a photo rucksack would be a great option as it will do a fine job of spreading the weight – this time over both shoulders. Pick a model with sternum- and waist-straps, as these add further comfort – the latter transferring weight to the hips.
Whatever approach you take to the one-camera-one-lens arrangement, it’s worth keeping the following in mind at all times: the camera is a simply a tool designed to record your creative vision. Whilst you might like to pack more items “just in case”, this can often be counter-productive. Instead, why not challenge yourself to see what you can come up with using the minimum of kit? You never know, you just might surprise yourself!
About the Author
Giles Babbidge is a commercial and editorial photographer based in Hampshire. He travels all around the UK and works with a wide range of clients – you can find out more about his day-to-day activities over at his website.

