Portrait photographer Ev Sekkides explains how to light professional-looking portraits with minimum kit.
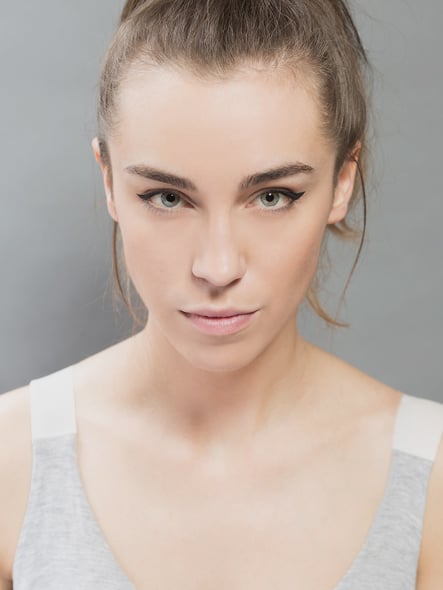
In this article I’ll show you how easy it is to shoot professional-looking portraits with equipment you’re likely to already have in your kit bag (plus a couple of essentials you might not have but that are well-worth considering).
There are countless styles of portrait that demand various lighting techniques but, to keep it simple, I’ve decided to go for a fashion-portrait style using a single light. Of course, if you can find a great model you’ll find you have a lot more options because they tend to look good in most lighting conditions; that’s why they get paid to model!
Equipment
Light is everything. The very term ‘photography’ means ‘to paint with light’. Aside from your subject, the look and feel of a portrait is determined by the number of light sources, their shape and their size.
For this example I’m going to keep the light sources to a minimum (i.e. one), unless you count the reflector as a second light, which it kind of is. A lot of fashion and beauty portraits are shot with a single light source from above, with reflectors underneath and either side of the model in order to bounce and diffuse the light and result in a soft, flattering look. I want something a little more dramatic so I’m doing away with the classic ‘under-the-chin’ reflector. This way, you can clearly see how the different light sources affect the subject.
Lighting
The first thing we need is a strong light source so that when we expose for it, any ambient light pollution – like the light streaming through my windows – is negated. Here’s where ‘strobe-light’ or flash comes in. Flash can often be seen as a negative because people associate it with the poor results they get from the built-in flashes in compact cameras and smartphones. Yet, once you take that light source off the camera and place it to one side, we can easily achieve a more natural and classic lighting style.
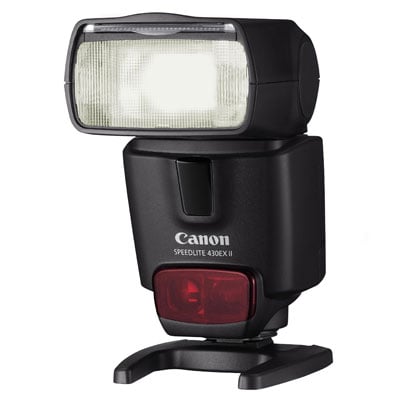
Professional studio lights can be big and heavy, and they require mains power. They also need to be held up on heavy-duty light stands which aren’t cheap or easy to lug around. But what if you don’t have expensive pro flash heads? What if all you have is a simple flashgun? Can you achieve similar results? Yes, you can. As long it’s fairly consistent in its output, you can modify the size and shape by using modifiers (more on that soon). Even the cheapest supplementary flash equipment can be used ‘off-camera’ using either a hot-shoe sync cord or a wireless triggering system – and these are becoming very affordable.
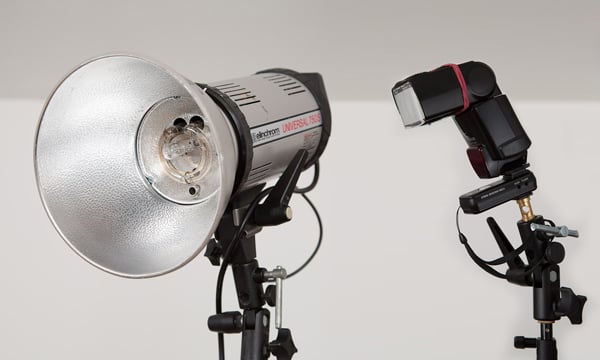
Left: Flash head. Right: Flashgun
So if that’s the case, why use professional lights at all? Speed, colour accuracy and power consistency are three good reasons, but if you don’t mind slowing the process down a bit, and waiting a little longer for it to recharge between shots, a flashgun can still give you great results. In many cases they can be more convenient as they’re light and easy to move around. Furthermore, there are places you can put flashguns that studio lights just can’t go!
Modifiers
Fashion photographers (and others) swear by beauty dishes; if you use one you’ll want one. They come in various guises and fits for different flash heads and you can even buy brackets that’ll let you mount your flashgun as the light source. Yet, they’re cumbersome, expensive and heavy, and don’t fold away conveniently into a little bag that you can fling over your shoulder.
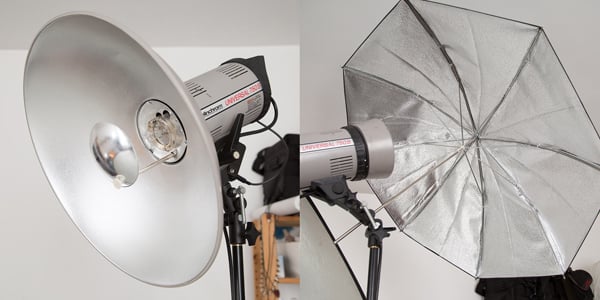
Left: Beauty Dish. Right: Umbrella
That’s where the humble umbrella comes in. Collapsible, light and very easy to set up, the umbrella is a studio photographer’s staple, not to mention a favourite among portrait photographers. They work in basically the same way as a beauty dish, except instead of blocking the flash point and bouncing it back into a diffuser that then lights the subject, they turn the flash point around and bounce the light directly back into the subject. Both of these modifiers work to eliminate any hotspots in the centre of the light source.
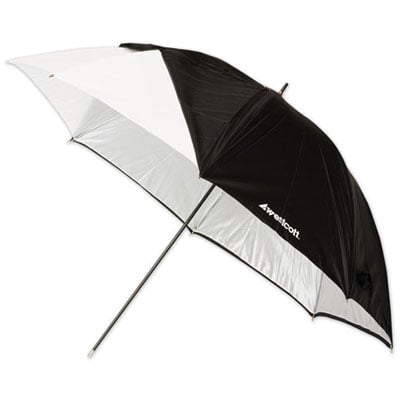
Umbrella
The tiltable brolly holder should also be in every photographer’s kit bag. You can mount any light and virtually any brolly onto it, and they have the added advantage of letting you tilt a flashgun downwards, which you can’t normally do if you mount one on a stand.
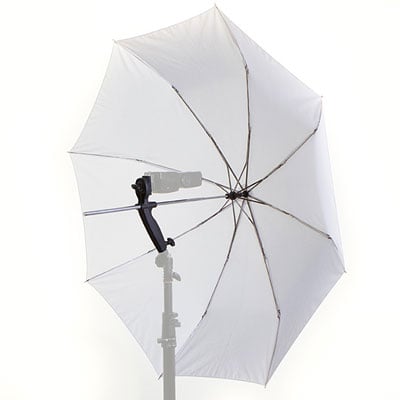
Tiltable brolly holder
When it comes to placing your flashgun (or any other light source) somewhere that’s not your camera’s hot shoe, a light stand is your friend. There are so many available that it can be a daunting task trying to figure out which one you need. It all depends on the weight you’re expecting it to carry, so look out for ‘nano’ or ‘mini’ stands that fold down small and can be easily carried.
What do you actually need?
Brollies and beauty dishes are flattering but you can create some stunning photographs using just the basics. When deciding on a look for a portrait you have to take into account the subject and what you want to achieve; if you want to flatter someone then by all means use a brolly (a big one!) as it’ll give you a lovely broad, soft light that’ll get in all the nooks and crannies (wrinkles). At the other end of the scale, if you want stunningly hard shadows and definition, leave the brolly in the bag and use your flash like direct sunlight.
Finally, remote triggering your flash is an option on many newer cameras, but for those on a budget with older equipment, there a lots of options – from cables to relatively inexpensive radio flash triggers.
Camera
You can use any camera with a hot shoe and manual control to achieve professional-looking results. Some cameras are better than others in low light but when it comes to this style of controlled-light portrait, you’ll be shooting at ISO 100 or 200, so high-ISO performance is not important.
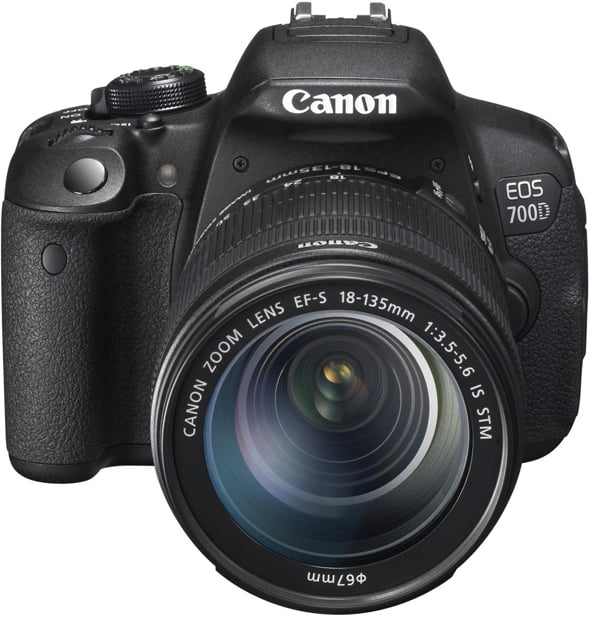
Canon EOS 700D
Lens
Currently, my favourite lens to use for portraits is the Canon EF 85mm f/1.8 USM. It’s very sharp and much smaller and lighter than its big brother, the Canon EF 85mm f/1.2L II, not to mention a fraction of the price. For our purposes, it’s not so much the lens that’s important as the focal length. 85mm gives you minimal distortion at head-and-shoulder portrait distances, so your subject’s face won’t look weird compared to how it does in real life. Most manufacturers have a standard zoom in their arsenal that covers a range of focal lengths from wide to telephoto, and these are usually pretty good value for money if you’re looking to only have one lens.
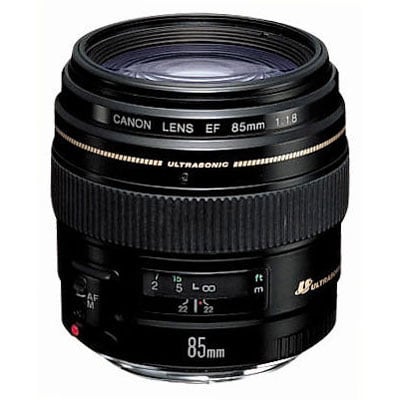
Canon EF 85mm f/1.8 USM
The prime 50mm is usually the cheapest prime lens available from any manufacturer and it’s a must have. While I normally go the 85mm lens for close-ups, when you want a slightly wider angle of view, the 50mm is ideal as it has very low distortion (as long you don’t get too close to the subject). On a cropped-sensor camera, 50mm is your ideal portrait lens as the resulting focal length will be around 75-80mm.
Reflector
Reflectors are one of the most important – and affordable – pieces of kit for the portrait photographer; if you can only afford one item, this is it. Depending on the available light and its distance away from the subject, the effect can be subtle or very obvious, but it’s always welcome.
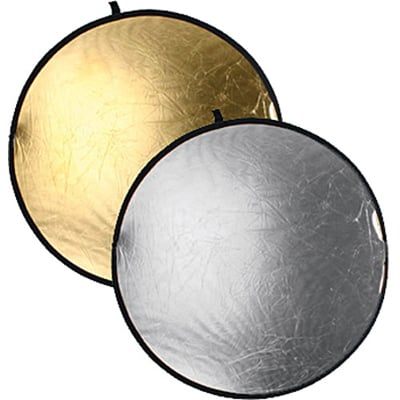
Reflector
What people sometimes forget is that a reflector doesn’t have to be the circular collapsible disc that usually springs to mind. It can be a piece of paper, card, a wall, a floor … whatever surface is in the vicinity that will reflect light. Understanding the reflective properties of various surfaces around the subject is paramount to getting the best shot. I often find myself having to restrict the amount of light falling on a surface (known as flagging) in order to keep control over the light falling on my subject.
Putting it into practice
Here are a couple of examples of what can be achieved with different equipment.
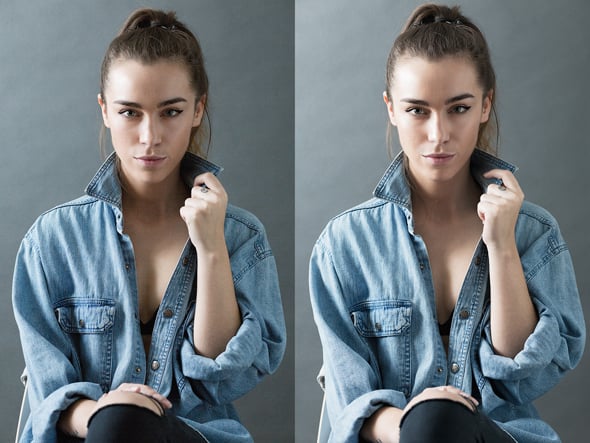
In the image on the left, I used a pro flash head bounced off my floor-to-ceiling white curtain, and to the model’s left-hand-side, I placed a circular reflector disc about as close as it can be without creeping into frame. In the image on the right, I used a flashgun bounced into the same curtain, and replaced the reflector with an A1 piece of white card. As you can see, the results are virtually indistinguishable from one another.
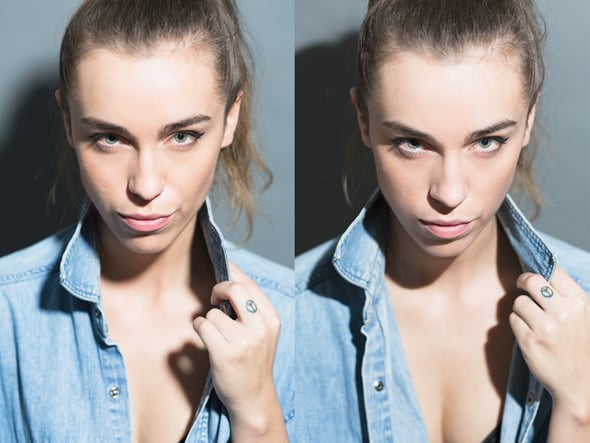
In the image on the left, the pro flash head is on a stand slightly to my right and up high, and has a standard reflector dish attached. Rated at 750W, it’s a little too powerful even on its minimum setting so I’ve had to use some neutral-density gels to reduce the intensity (as I don’t have enough room to get it high enough and far enough away).
In the image on the right, using a flashgun I don’t have to worry about the distance so much. Furthermore, since the flash-point is smaller, I get harder more defined shadows which I actually prefer! I’m triggering the flash using a set of remote triggers but alternatively you can use a cable direct from the camera. Stands come in many flavours depending on how heavy your light is, but flashguns have the advantage of being very light, so you can use a more affordable stand or mount it directly onto your tripod. If you don’t have either, a friend/assistant can simply hold it for you.
Final thoughts
We’ve seen how switching from a pro-level, mains-powered flash to something cheaper and simpler can yield identical results. In fact, in the tight space of my living room, using a portable flashgun was actually much more convenient as the pro flash head tended to pump out too much light, even on its minimum setting. I could remedy this by using a low-powered unit, say around 300w, but the flashgun is a great compromise – particularly if you’re shooting methodically and in a relaxed environment.
It doesn’t really matter what combination of camera, lens and flash you have, as good portraits come from a comfortable relationship with the subject. If you can get them to feel at ease – which is no easy feat when you shove a big camera in their face – you can capture a genuine expression. So don’t forget to talk to your subject while you’re playing with all that shiny gear!
About the Author
Ev Sekkides is a commercial and editorial portrait photographer based in Camden, London. He graduated with honours from the London College of Printing in 2000 and, since then, his work has appeared in books, magazines and in various advertisements. You can view more of his work on his website and follow him on Twitter.

