Whether it’s a local gig, a festival or a theatrical production, performance photography comes with a unique combination of challenges. Matt Golowczynski explains how to get started and shares a few tips for capturing great images.
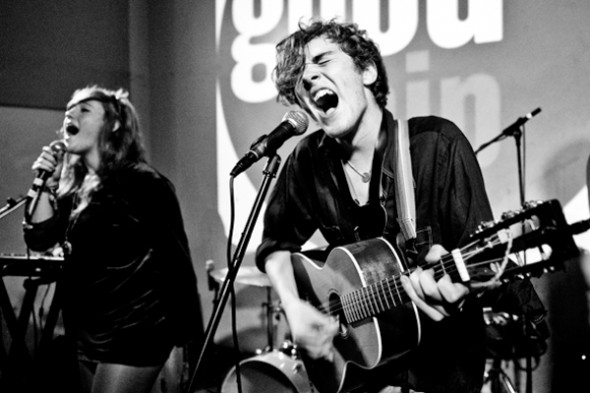
A few years ago I fell in love with performance photography. Through a combination of luck, knowing the right people and healthy dose of determination, I managed to build up a small portfolio of images captured across a range of environments, from sweaty pubs and clubs to theatres – even disused railway tunnels on a couple of occasions.
It was exciting but it wasn’t easy. The conditions under which performance photographers shoot are sometimes brilliant but often unfavourable. Harsh spotlights, unpredictable subject movement and plenty of darkness to really tax your camera’s sensor, it’s the stuff of nightmares for those after well-lit images filled with rich colours and details. Perseverance, however, and a little know-how will eventually get you the image you want – and when you do you’ll be thankful for putting in the effort.
For the benefit of those who have never attempted to shoot in these conditions, here are a few pointers as to how to get going, as well as what equipment to use and how to use it.
Cracking your way in and etiquette
Obviously, knowing the right people can help you to get started. If, for example, you know of someone in a local theatre production, check to see whether you’d be allowed to take photos during a technical rehearsal. The director or producer may allow you to do so in exchange for allowing a few images of yours to be used for promotional purposes, such as on a social media site or for a poster.
With live music, most people begin by taking photos of a friend’s band, although in many smaller venues (such as pubs) you can generally get away with taking photos of bands with which you have no connection, providing you remain discreet. If in any doubt, try speaking to the band beforehand to see if they would be happy with you doing so. Establishing this initial connection is useful as the band will often take an interest in your images and may be more willing to use them (and thus, promote you and your work).
Sharing your images with them – perhaps on their Facebook page or on another social network – is a great way to get your photography seen by a wider audience, but remember the issues surrounding sharing your images online, both in terms of what rights the social network may claim over your images and what people may end up doing with your work. Always credit yourself where possible and insist that people do the same if they are to use your images elsewhere (if you are happy for them to do so). You may choose to use a watermark to further protect your work, although bear in mind what kind of effect this may have on its artistic merits. Keep your work protected but do it tastefully.
Equipment
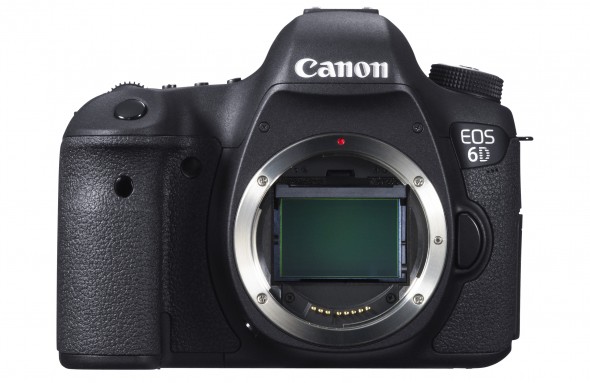
Although many photographic genres don’t strictly require enthusiast- or pro-level equipment, the often unforgivable conditions under which these kinds of images are taken change the game somewhat. You’ll often be working in low light, so ideally you need a camera characterised by two things: low noise at higher sensitivities and an autofocus system that will continue to function in low light. If, however, you know you’ll be shooting at a festival outside, or perhaps indoors in a well-lit environment, you can still get great results with even basic DSLRs at moderate ISO settings.
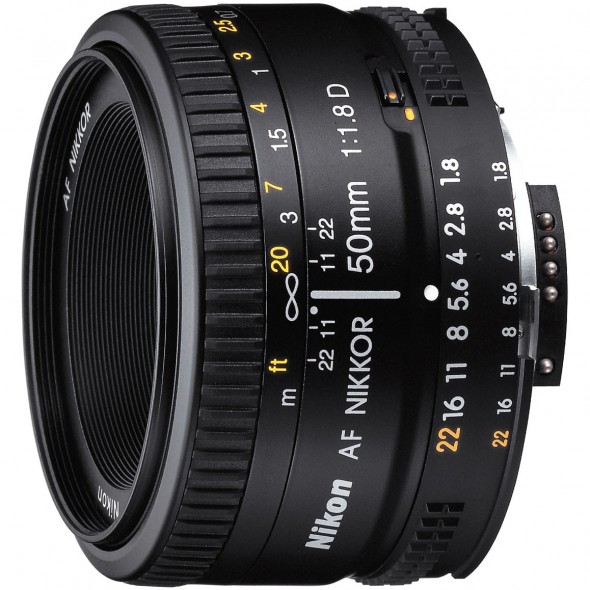
A lens that offers a wide aperture is key, as you’ll want fast shutter speeds to be able to freeze movement from performers. Fortunately, this doesn’t always mean you have to spend a lot. After all, one of the cheapest lenses you can buy new is the humble 50mm f/1.8, its focal length and aperture both conducive to low-light performance photography. This is a decent option to get started and have in your kit bag, although if you’re using an older model you may find the focusing motor a little tardy.
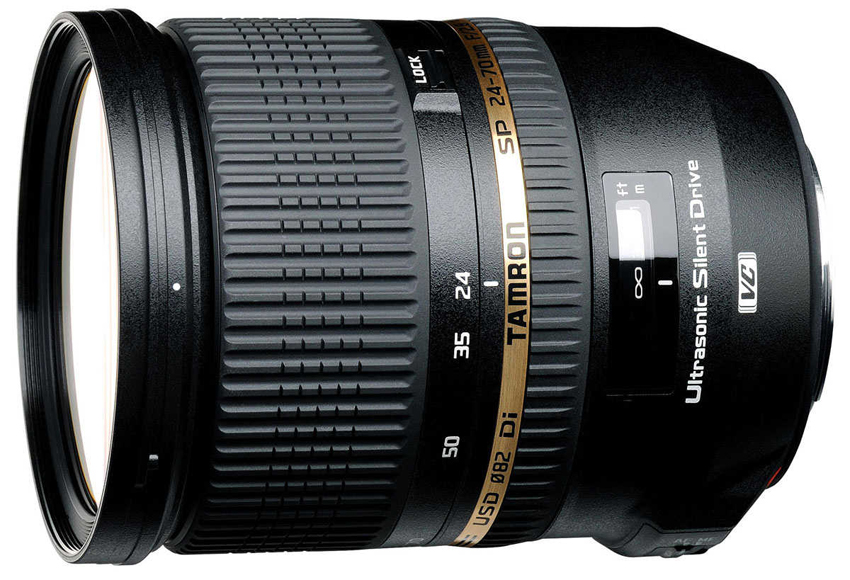
Naturally, some more expensive lenses are ideal for this kind of photography, such as a 24-70mm f/2.8 option if you’re after a mixture of wide and closer portrait shots. These aren’t completely inaccessible, however, particularly with the likes of third-party options from the likes of Tamron and Sigma as well as secondhand examples.
Flashguns are an obvious choice for when light levels aren’t optimal although they are often not allowed in performance photography as they can quite obviously distract performers. Even if they were allowed, many photographers would choose not to use them as they rob a scene of its ambience.
Technique
Metering
The metering mode you should use will depend on the scene you’re shooting. A well-lit scene, perhaps a theatre production or a band at an outdoor festival, will suit your camera’s default multi-segment/evaluative option, while the kinds of conditions in which only one performer is lit well would suit a spot or centre-weighted option.

The evaluative/matrix metering option is useful when you want to expose for both the main subject and surrounding areas….
If you’re shooting under conditions that are constantly changing, or you’re frequently moving around with the intention of capturing a range of different images, you may find it easier to simply stick to the evaluative mode and use exposure compensation as you shoot rather than constantly changing between different metering patterns.
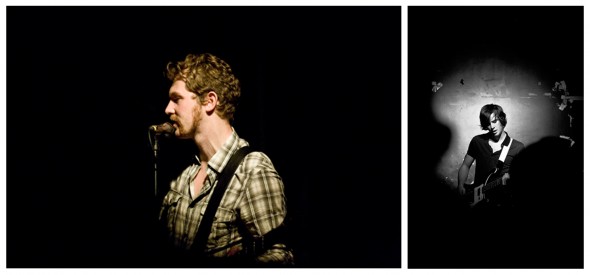
…whereas the partial and spot metering options can be used to pick out and expose correctly for a single subject, perhaps with the intention of framing them with a darker surround.
Aperture and shutter speed
As you’ll be dealing with moving subjects, you’ll generally require a fast shutter speed (and thus a wide aperture) in order to capture subjects sharply. Shooting in the shutter-priority mode and setting a fast shutter speed is one idea, as this will ensure you don’t drop below a certain shutter speed, although I don’t find this to be practical given the constantly varying conditions. Instead, I tend to stick to one of the widest apertures I can and adjust the sensitivity until I have a shutter speed I need. This way, if the lighting conditions suddenly change, I will be usefully gifted with an even higher shutter speed to freeze the action.
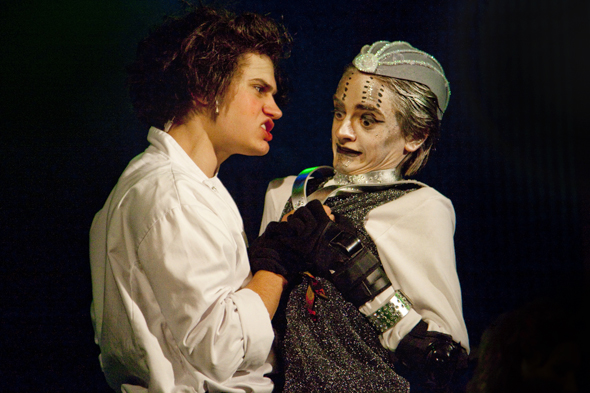
You should aim for as fast a shutter speed as possible when capturing sudden and rapid movements. Here, a shutter speed of 1/800sec was used.
An appreciation of music can help you here. Shooting towards the start of the end of a song can often have the performer in a more stable position than, for example in a chorus towards the middle of a song, which places less pressure on you to maintain a fast shutter speed. If you are familiar with a band’s songs, you may be able to anticipate the likelihood of getting certain images; you may, for example, choose to get a few close-ups when the subject is relatively still and a few more animated ones when they launch into the bridge or chorus of a song. Watch out for harmonies from other members of the band, too; if you miss a good shot of them in the first verse, bridge or chorus, you may be able to get the shot in a subsequent one.
Autofocus
Manual focus can be useful in scenes where the camera simply cannot focus due to poor illumination, although you will probably be relying on your camera’s autofocus system for most subjects. In low light, you will generally want to use the most sensitive central AF point possible, although depending on your camera, those around it may be similarly sensitive. Check your camera’s manual to see which points are cross-type (i.e sensitive to both horizontal and vertical details) although bear in mind that some cross-type sensors are only effective with lenses of a certain aperture.
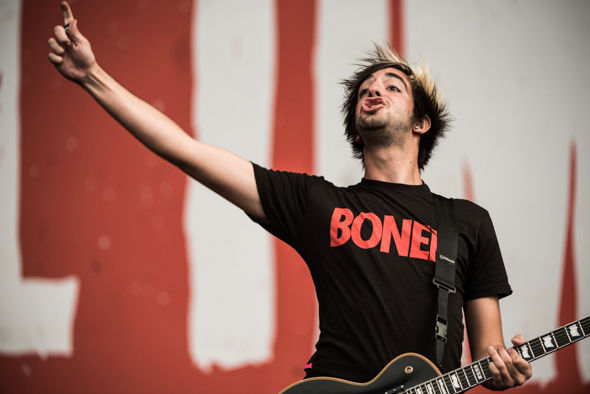
For this image I used a sensitive peripheral AF point lined up against the subject’s eyes. This found the subject quickly and allowed me to capture the image without recomposing the shot.
If only the central point is sensitive enough to ensure your camera focuses how you need it to, you can focus and use the AF lock setting before recomposing the image, or, alternatively, hold your finger on the shutter-release button after focusing before recomposing the shot. This method isn’t ideal for close-up subjects as it’s easier to end up with slight focusing inaccuracies than with more distant ones, although you’ll generally be able to get away with it if you’re recomposing to a similar distance. If in doubt, take a few shots like this and zoom into the images to see what kind of results you get.
I often use one of the peripheral points around a third of the way into the frame that I know is sensitive enough to pick out subjects. If you remain in one spot for some time, perhaps to get a decent shot of the main performer, this has the added effect of placing the subject’s face two thirds of the way into the frame, thus helping you to satisfy the rule of thirds and achieve a pleasing composition. Of course, not every image needs to be captured like this, but it’s a technique that’s worth trying nonetheless.
Sensitivity
Dark conditions usually mean using high sensitivities – otherwise, it may be difficult to achieve the fast shutter speeds you need to capture subjects sharply. After a few shoots you may find it easier to appreciate the kinds of results you can achieve at different sensitivities, and, although the exact results depend partly on the lighting conditions, you may find a preferred maximum setting. This may be at the end of your standard sensitivity range – such as ISO 6400 or 12,800 – right before you reach any extended settings. Some cameras allow you to set a minimum shutter speed so that you can be sure never to drop past this point – this can be useful.

Pick the sensitivity that will allow you to take acceptably sharp images; image blur is far harder to rectify than noise.
Outdoor festivals allow you to use lower ISO settings than indoor performances, so they’re great places to capture images if your camera doesn’t have a usable high ISO setting. Regardless of the conditions in which you’re shooting, you should always prioritise sharpness over low noise.
White Balance
Lighting can change dramatically during the shoot, often continuously swooping over performers in different colours. Unless your lighting is constant in colour temperature, shoot Raw images with your white balance in the Auto setting and simply make any adjustments you need to afterwards, either in-camera or later on at your computer. It really isn’t worth trying to remove colours casts by varying this as you shoot, as you’ll simply miss too many opportunities.
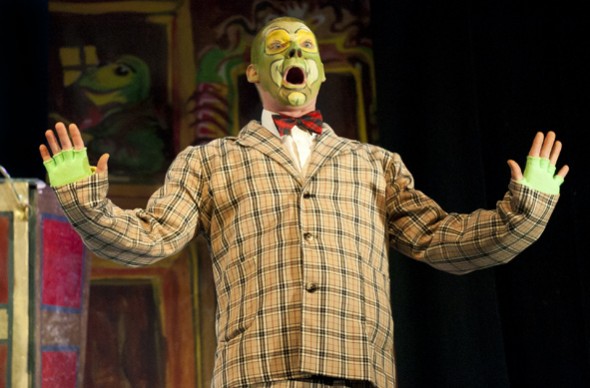
You can easily correct colour casts in post production. Here, the White Balance tool in Adobe Camera Raw was used to define ‘white’ on the subject’s shirt.
Final tips
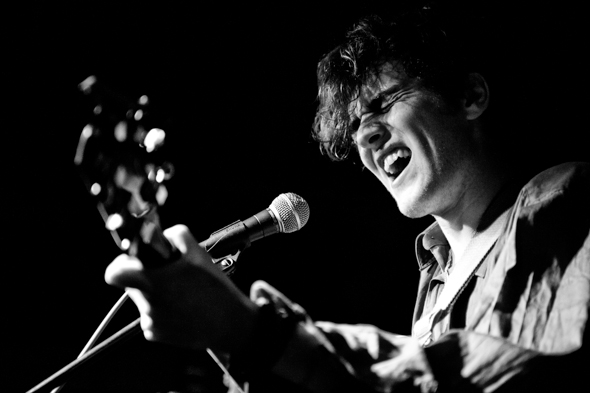
- Although you generally want subjects to have their eyes open while you’re taking pictures of them, closed eyes can look great during more emotional moments in a song or performance.
- If you’re forced to use a very high ISO setting and an image you’re otherwise pleased with is full of noise, don’t despair as you can remove the worst of this in post production. Such an image may also suit a black-and-white conversion, with the noise lending it a gritty, film-like quality.
- Unless you’re panning a subject, or capturing one that’s relatively still, image stabilisation will usually be of little use to you as it is not effective against subject movement, only your own. Image stabilisation allows you to use slower shutter speeds than usual, but with subject movement this will only translate to blurry images.
- Don’t just focus on the performers themselves. Look around for details on instruments, such as strong shapes and distinctive patterns. Consider intentionally blurring the odd image for a more abstract result or panning for blurs of lights and colours.
- It may be difficult to appreciate slight blur as you shoot. Take a few initial shots and zoom into to your images to check you’re using appropriate settings, although try not to do this during the main shoot (unless the lighting changes significantly) as you risk missing shooting opportunities.

