Whether you love photographing waterfalls or wildlife, knowing how to capture movement is an essential part of a photographer’s skill set. Tom Mason explains how it’s done.
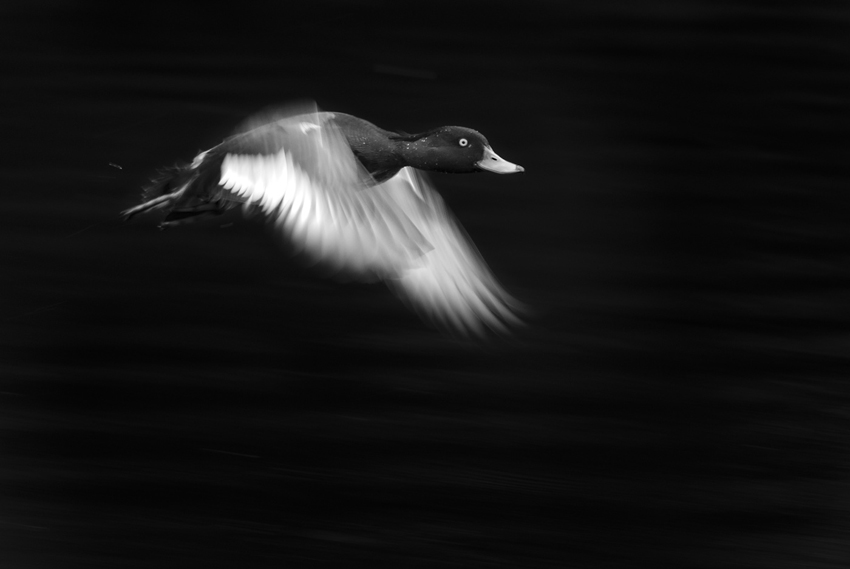
Without movement, life would be pretty dull. We all spend most of our days moving in one way or another, it’s simply part of human nature as well as the nature of our planet. The world keeps spinning, birds keep flying and photographers keep taking images – so why not try and capture the beautiful and consistent kinetic energy of our world through the images we produce?
Adding movement to a photograph can transform an image, bringing impact and drawing the viewer’s eye. Movement can be used to blur out unwanted areas or to add emphasis to the most important subject within a frame. Focusing on movement can transform a seemingly boring scene into an impressive photographic opportunity – here’s how it’s done.
Water
Water is something we are lucky enough to be blessed with in the UK. Our climate keeps our rivers and streams filled to the brim, providing countless photographic opportunities wherever you are in the country. The fast-flowing waters of mountain streams, waterfalls and coastal landscapes of our island offer numerous photographic possibilities to include the movement of water into our imagery.
Capturing movement in water is, to an extent, fairly simple. Slowing down your shutter speed will give time for flowing streams or crashing waves to blur, giving an an impression of movement or leaving silky smooth representations of water, depending on the speed selected.
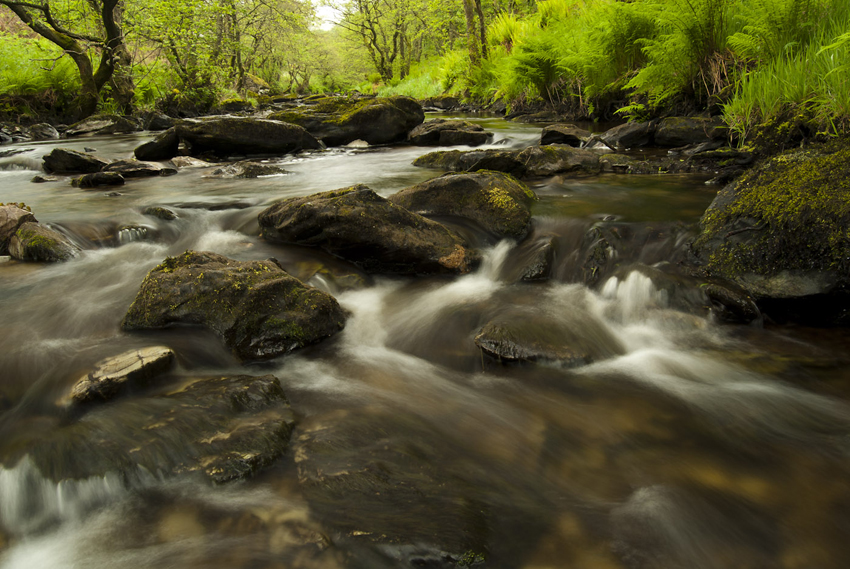
A shutter speed of 1/8000-1/250sec will freeze the water in the image, creating a sharp, motionless image. Coming down to 1/125- 1/20sec, water will start to have a slight amount of movement, similar to how we ourselves perceive it. Dropping down again 1/15-1sec, water will exhibit areas of obvious blur, but will still retain detail in parts. Any exposure longer than second will see the total loss of detail from the water, turning it silky smooth in the image.
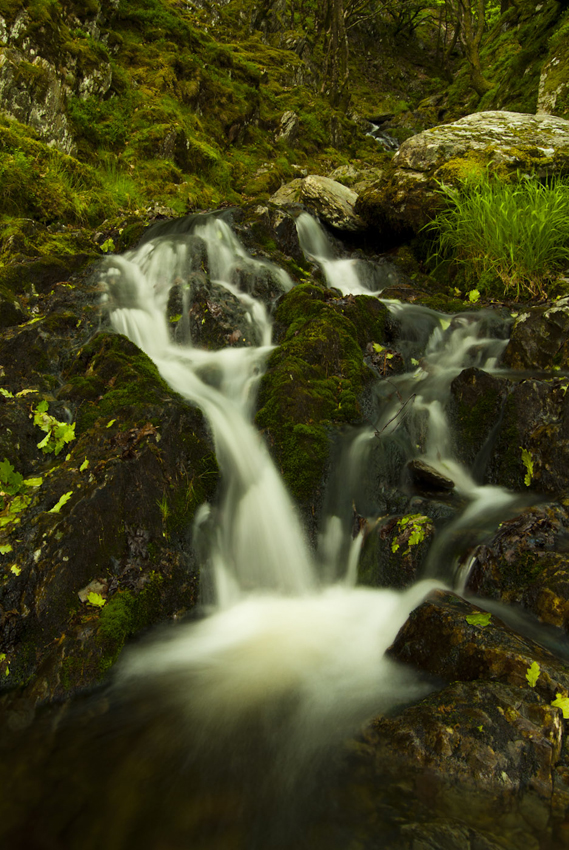
Waterfalls are the choice of many when looking to photograph moving water. More often than not, these cascading flows of water provide beautiful scenes that lend themselves to photography. If you are keen on photographing waterfalls, pick up an Ordnance Survey map; these give detailed information about waterfall locations and so are useful when planning a photographic outing (as well as finding a local pub)!
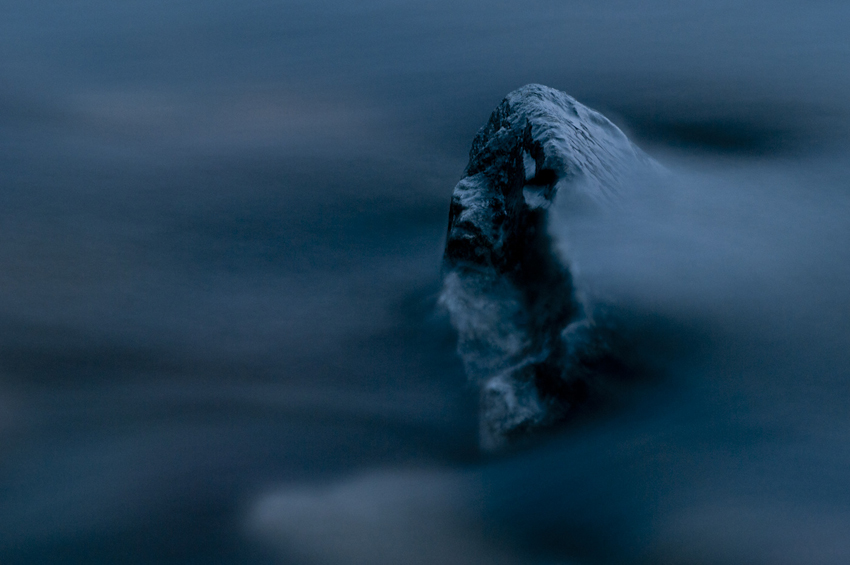
Don’t despair if you don’t have any waterfalls close to home, as rivers and streams can still offer a plethora of photographic gold. Go in close and focus on individual rocks or formations, letting the water blur, to produce impressive abstract compositions. If you live by the sea, head down to the beach to find rock formations that can be brought alive with the movement of coastal waters. Just be sure to be careful and make a note of the tide times and safety advice provided!
When working with water, there are a few items can really help to improve your images. First, a solid tripod will provide a rock-solid support for those long exposures required to blur water. Make sure you invest in one that is sturdy enough to stay strong in fast flowing water, that will be sure not to topple over and plunge your camera into the depths below. If you use it in the sea, make sure to rinse it thoroughly with fresh water to remove any salt water from within. If you imagine you will do this regularly, you may want to invest in a tripod that is designed to withstand regular use in seawater, such as Gitzo’s Ocean range.
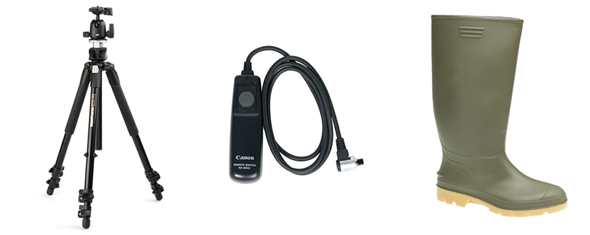
In addition to a tripod, a remote release will help minimise camera shake on long exposures, while a good pair of wellington boots can be a godsend when standing in rivers and streams all day; go for the neoprene-lined ones if your really want to give your feet a treat!
Overall, water is a fantastic subject for photography and adding movement to your images can help them take on a whole new dimension!
Wildlife
In the natural world, animals are consistently moving in order to feed and/or evade predation. Capturing animals moving can often be a difficult task, but with practice, adding motion into wildlife images can produce striking results.
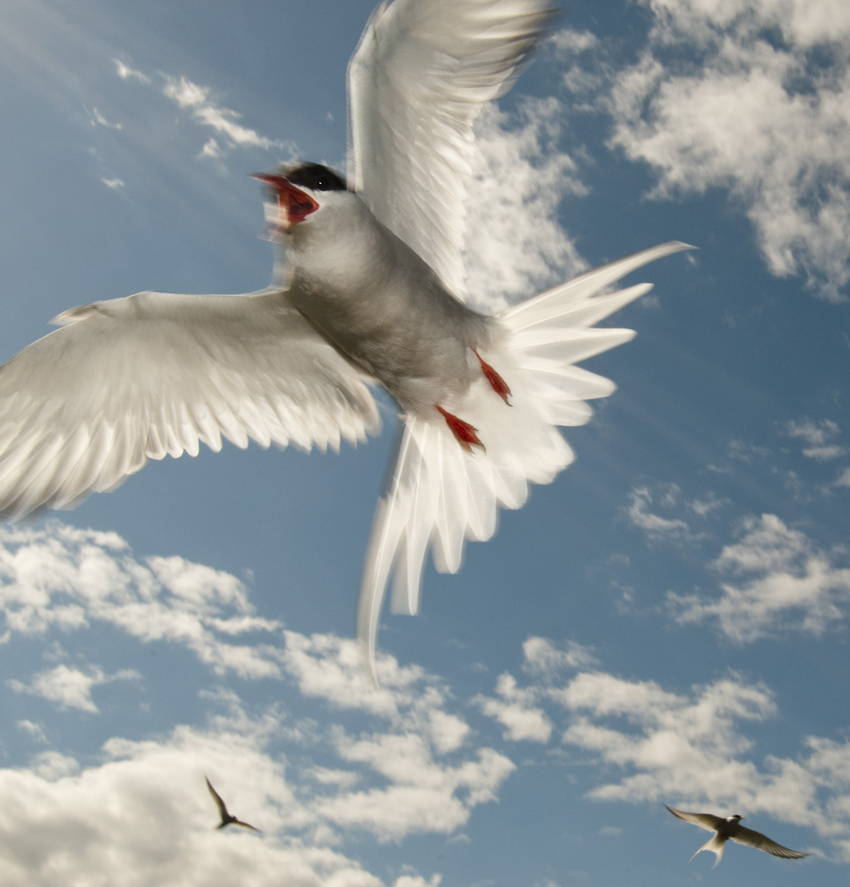
One of the most obvious examples where motion can be added to wildlife imagery is when capturing birds in flight. Majestic wing beats provide a perfect subject for slowing down shutter speeds, giving a sense of power in the bird’s wings.

Getting the correct compromise between fast enough to freeze the head while slow enough to blur wings is usually a result of trial and error. Birds with faster wing beats will show blur with shutter speeds of around 1/500sec, whereas others will not look effective until 1/125sec. The best way to practice is to just go out and shoot; local nature reserves or park lakes offer numerous possibilities for common birds, giving an excellent environment to practice and play with different settings.
Getting used to panning at the same speed as your subject will help to maintain the bird in reasonable focus while the wings and background blur out. Panning either too slowly or too quickly will result in less effective images, but with practice and persistence you will soon find it easy to get it spot on. Panning is also suitable for other wildlife as well as people, in either case placing greater emphasis on their movement.
As a further progression of birds in flight using slow shutter speeds, why not try using rear-sync flash? This instructs the camera to open the shutter curtain for a long exposure, recording the blur of a bird, before a fast burst of flash at the end freezes it in sharp focus. This technique can produce some striking effects, with blur trails leading to a sharp subject.
In addition to flying or panning, another type of wildlife spectacle that can look highly effective with the addition of movement is that of roosting bird flocks. Winter is a fabulous time to get close to vast numbers of birds, such as starlings, knot and pink-footed geese. Their vast numbers provide incredible spectacles as they take flight together or swirl as a group at their roosting site.
By mounting your camera on a tripod and using a slow shutter speed, you can record the patterns and movements created as these vast collections of birds move and shift. For most images you’ll want to retain some defining features of your subjects, which means you’ll probably find shutter speeds of around 1/20- 1sec giving you the best results.
Transport
If you’re anything like me, you’ll often be in a car or a van during a long journey, itching to get out with the camera – but why wait? Car journeys and other forms of transport can provide wonderful images of movement; I’m constantly hanging out of vehicles to record the journey I’m undertaking. Focusing on your car or van with a wideangle lens, you can maintain the vehicle in focus while giving movement to your surroundings. These images can be perfect additions to travel photography, giving the sense of adventure even from the most boring of journeys.
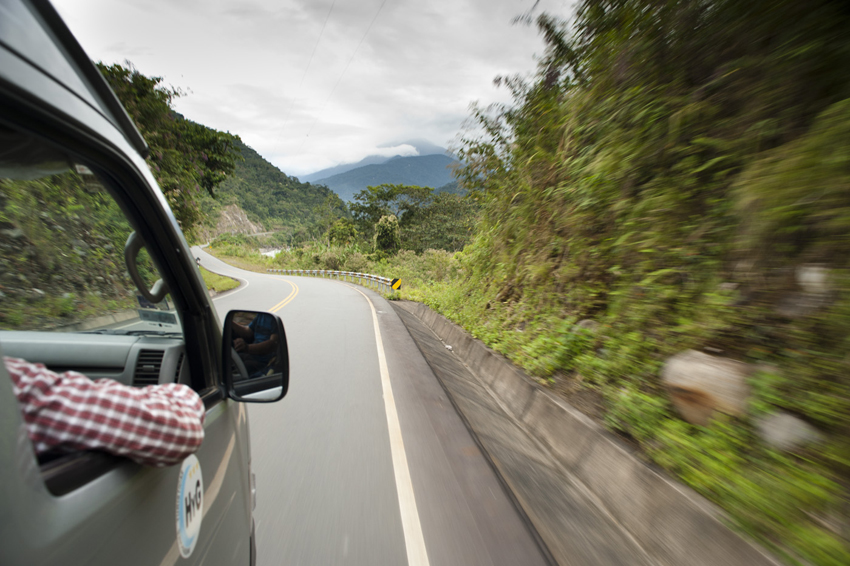
A word of warning: be very careful when using your camera outside a moving vehicle and never put yourself or your camera in any unnecessary risk. Keep the strap on and make sure the door is locked – always prioritise your personal safety over getting an shot.
Time-lapse photography
Time-lapse photography is a fantastic way of recording movement through still images, and it’s become incredibly popular over the last few years. Put simply, you set up your camera to take a frame at a set interval for a certain length of time, before combining the images into short film. Each image is only displayed for a fraction of a second, but when stitched together in this way they can condense the action of many hours into just a few seconds.
Many modern cameras have the ability to record time-lapse films, some with their built-in intervalometers and others needing an additional one plugged in. Time-lapse videos can be very fun to play with, allowing you to record events that are invisible to the naked eye. For best results you’ll need a strong support to ensure the camera doesn’t move between frames, and it is best to use longer shutter speeds to give a slight blur, in order to make the final film less jarred. ND filters can also be very useful in order to maintain the right exposure.
Capturing motion in your images can be a fantastic way to create striking photographs. Using slower shutter speeds that you wouldn’t often choose can bring a whole new life to an image, giving a sense of energy and reality. Water, transport and wildlife provide an array of subjects to work with, making it possible to achieve great results on even the dullest days.
About the Author
Tom Mason is an up-and-coming wildlife and nature photographer based in Hertfordshire where he frequently visits a number of local nature reserves including Rye Meads and Amwell. You can see more of his work on his blog.

