Moving subjects usually require fast shutter speeds but striking results can be had by doing the exact opposite too. Geoff Harris explains how to use motion blur for creative results.

Deliberately blurring movement has long fascinated photographers as it’s a creative and visually pleasing way of getting around a big limitation of stills photography. Ironically, one of the best ways to convey movement in photography is to slow it down. Sure, it’s great to freeze an F1 car going past you at 200mph, but a totally frozen car will look like it’s standing still. Blurring a moving object can create great effects, too – something that pioneers like Henri Cartier-Bresson and Ernst Haas were quick to exploit. Thanks to modern image stabilisation and cheap lens filters, achieving cool motion-blur effects has never been easier; here are some tips to keep your photography moving by slowing things down.
Basic motion blur
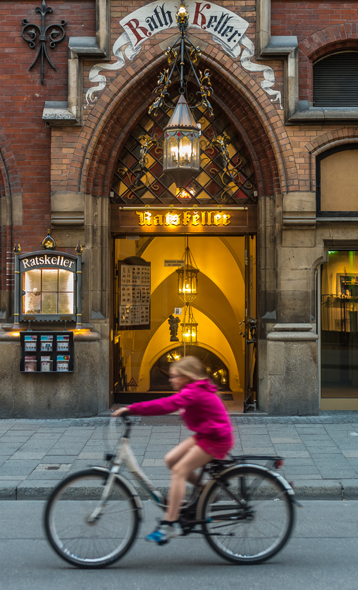
A good place is to start is by deliberately blurring a moving figure. If the person is moving fast enough, you may not have to do much at all – just point your camera at a background and record somebody walking in front of it. For finer control, though, you need to carefully alter the shutter speed and think about your composition. Blurring a moving person is not enough, as you also need to consider their placement in the frame, their direction and how they interact with the other, static elements – elements that should ideally be sharp.
What you are trying to achieve here is selective blur, with some aspects of the scene blurred and some in focus in order to create a pleasing contrast. An image where everything is blurred runs the risk of looking like a mistake, so to get selective blur on a figure you need to drop the shutter speed while keeping the camera very still in order to keep other elements sharp. Using a tripod or similar support is the obvious solution; if your camera or lens has a good image-stabilisation system, you may be able to get away with shooting handheld.
Capturing the decisive moment
As mentioned, just blurring a figure won’t impress your viewer if the figure is poorly placed within the frame. When taking this kind of image, you need to think carefully about what is around the moving figure; there should be nothing there that is distracting or redundant. Also, try not to crop in too tight as you want to make sure the moving figure has some space to move into. Something that works well is placing the moving figure so they are equidistant between two static, sharply focused objects – in the middle of an arch, for instance.

Find a background you like (or more accurately, a space that will form a good backdrop for motion blur) and wait until somebody interesting walks, runs, rides or drives past. This is a good technique to try in street or travel photography. When choosing your shutter speed remember that you want to blur the person’s movement while keeping some detail to prevent them from becoming an amorphous smear. The most appropriate shutter speed will depend on the subject’s speed so experiment until you get the result you want.
Blurring fast movement
Selective motion blur is also a great technique when you wish to convey dynamic activity. Many sports photographers like to use motion blur to capture the incredible speed of an Andy Murray or Usain Bolt, again by deliberately slowing the shutter speed when capturing the athlete’s body movement. Although these more creative shots don’t tend to make the sports pages of the papers, they are lots of fun to try. You don’t need to go to a major sports event to try this, either; this technique can work well with musicians (a drummer’s hands, for instance) or with boisterous crowds at a procession or demonstration.

Blurring crowds
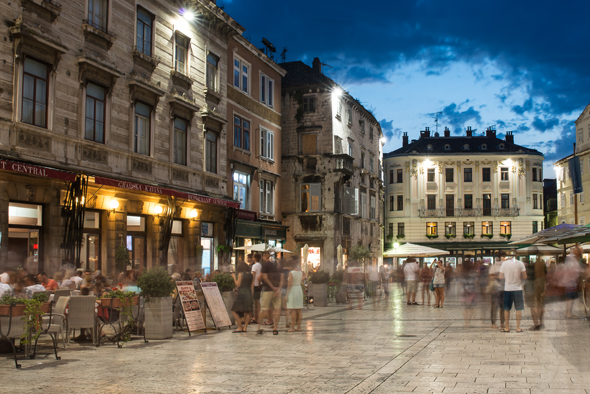
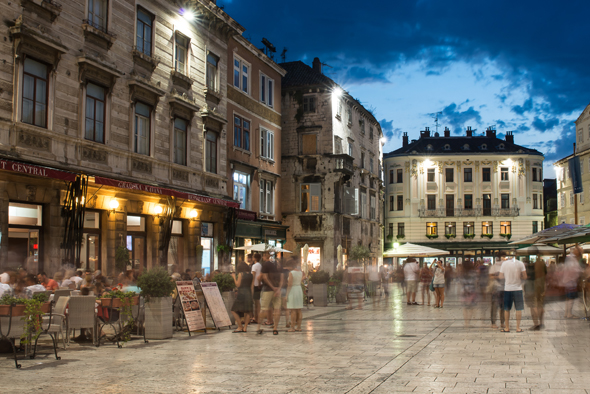
For a more ambitious motion-blur project, try blurring out crowds so you get a sense of their presence and movement, without them being distracting to the viewer. This is another great technique for travel photography as you can rarely avoid crowds at very popular tourist destinations, even quite early in the morning. Rather than cursing their presence, try to turn it into a creative effect.

As you are using much slower shutter speeds than in the previous examples, a tripod and wired or wireless remote release is normally necessary for this. You can use your camera’s self timer, but framing becomes harder. In strong daylight, you would also need to use a Neutral Density filter to prevent drastic overexposure at slow shutter speeds, but at dusk or night you can get away without one. A shutter speed of about eight seconds is a good starting point, while a narrower aperture (say f/13) helps with front-to-back sharpness and gives you a nice starburst effect on lights. And, if the crowds smear out and lose definition, simply raise the shutter speed.
Try shooting in the Manual exposure mode so you can control aperture and shutter speed independently and keep the ISO down to minimise noise. Your camera may have an option for long-exposure noise reduction, so turn this on to keep noise to an absolute minimum. You may need to use manual focus in low light; if you’re using a DSLR, zoom into the scene with Live View and adjust the lens focus ring as necessary. You may also want to use focus peaking if your camera offers this, as this will help you focus more precisely.
Traffic trails
While it’s easy to get a blurred image of a car or bus going past on a busy road, you can often get more aesthetically pleasing effects if you slow the shutter speed right down, reducing cars with headlights to streaks of light. This technique, called traffic trails, also requires a tripod and remote release for the greatest degree of stability and control.
There are no hard and fast rules, but a shutter speed of about ten seconds is a good starting point, again narrowing the aperture down to keep the background sharp and to get attractive starburst lights. Manual exposure and manual focusing make the job easier, as you will normally be shooting at dusk and night where autofocus will struggle. Also make sure to keep the ISO down and long exposure noise reduction turned on if your camera offers this.
Choose a sympathetic background and think carefully about where to stand – near a busy junction, roundabout or slip-road is ideal, as you get the best effects when fast-moving vehicles are turning in front of you or going off in different directions. Just make sure wherever you stand is safe!
Blurring water

