For lighting nuts like me, the clock change into wintertime is a real plus. Having these darker winter afternoons will give us all the opportunity to shoot with flash more easily. I’ve already been planning a couple of afternoons, using our dining room or small conservatory to set up some still life stuff to shoot. It’s a great way to while away a winters afternoon getting completely engrossed in your favourite pastime! My aim is always to shoot something quite small, often one item using the barest minimum of equipment.
Getting started is simple, first decide what you want to shoot and I would suggest starting with a vase or bowl, perhaps with some flowers, but just one single object and not too big, try to keep everything simple. To shoot any still life, I would suggest shooting on a table, ideally pushed up against a wall, as this will allow you to pin or blue tack a suitable background to drape over the table to form a nice curve behind the subject.
If you can’t find space to place a table by a wall, don’t panic, just use any table and stand a chair on it. You can then use the chair to support the background material. When it comes to choosing a suitable background, you can use whatever you like. Since we’re only shooting small objects you only need a smallish piece of material or paper. I often use white lining wallpaper as its easy to get hold of and cheap to buy! It’s not really white, more of a cream, but it work’s well as a still life neutral background.
To actually start shooting, stick, pin or drape your background so that it falls into a nice gentle curve onto the table, allow a good 45cm of shooting depth if you can. Place your subject in the middle, bringing it forward about 20 to 25cm away from the background.
Now for the lighting, to keep things very simple all you need is one head and a small soft box if you have one, if not use a white umbrella. The position of the box or brolly is important, especially if the object you shoot is shiny. Position the soft box at the same level as the table and keep it vertical so that the light from it is dead even when it reaches the subject. That way you’ll get nice even highlights on the edge of the vase and the shadow on the opposite side will be even.
Start shooting with the light directly to one side of the subject so that it creates a shadow on the opposite side. Turn the flash head on and check the shadow with the modelling lamp. Either take a meter reading to get started, or take a couple of test shots to check the exposure.
I always shoot at 100 ISO and 125th of a second shutter speed, adjusting the power of the flash head to achieve my preferred aperture. I use a 50mm lens for still life, shooting at between f8 and f16, depending on the effect I want. You can use any power of flash head, but because the set up is very compact, a power of between 150j or 250j is ideal. As I said, start shooting from one side and gradually move the light around the subject in an arc, always keeping the box or brolly in a vertical position, always checking the results and the exposure as you go. Next, position the soft box or brolly above the subject to create a different effect, a more even light source that you can use to shoot a wide variety of work including jewellery, watches, any type of small object really.
After taking a series of images with that simple lighting technique, try experimenting with some other accessories if you have them. A Snoot for example will give you a very small pool of very controllable light, ideal for tabletop work. Using a Grid reflector with Honeycombs will also give a very similar effect, especially using the Honeycomb with the smallest holes. Again, I would suggest that you start by placing the light side on and then moving it around the subject in an arc, capturing a series of images at different angles and with different shadows.
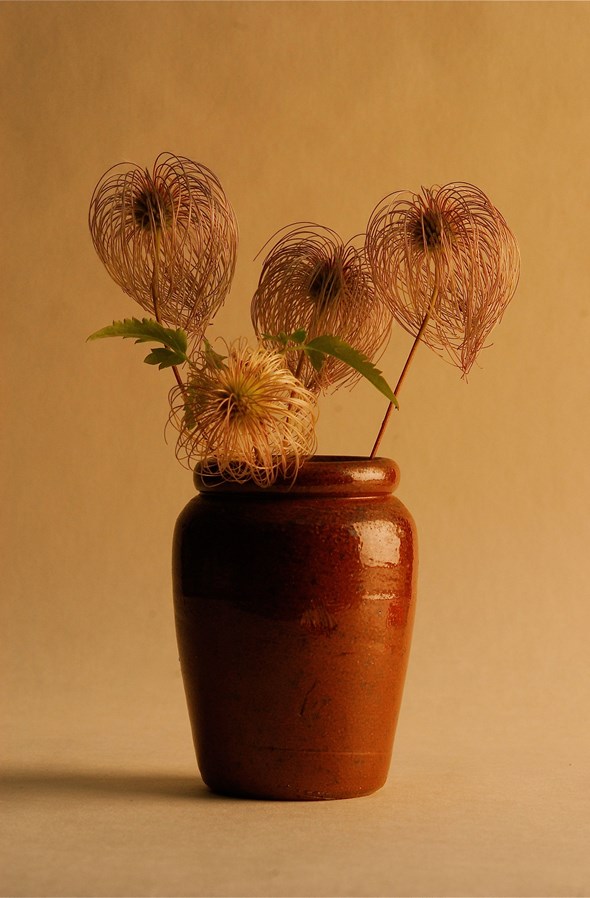
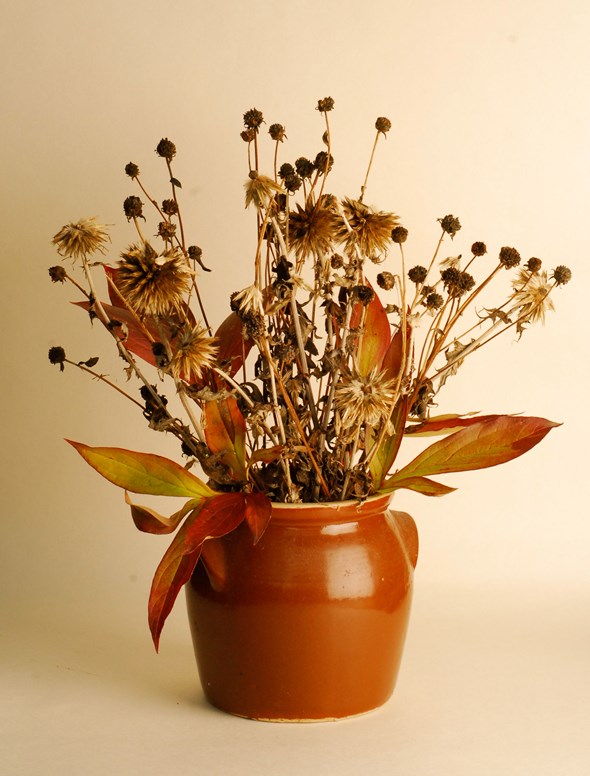
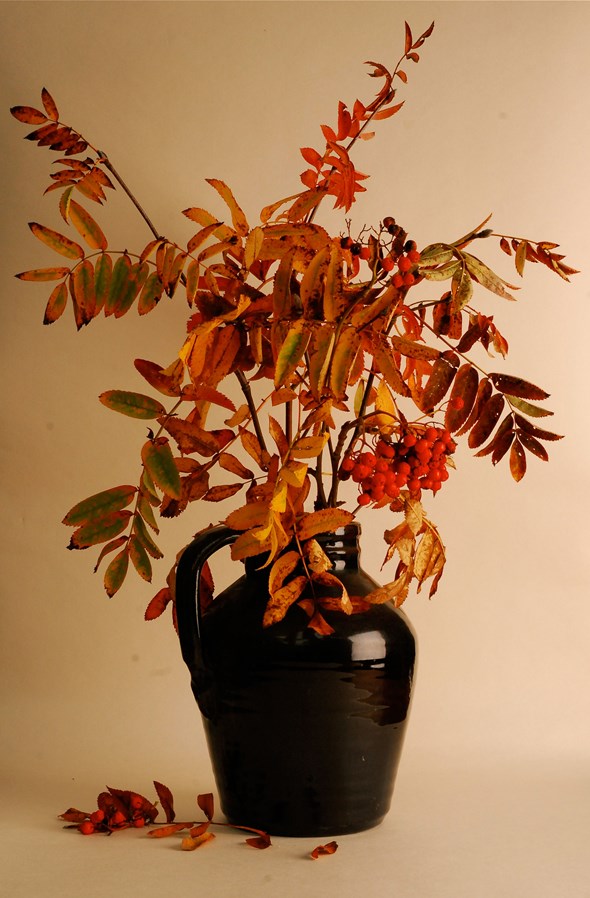
Here are three images I shot using one head, a 250j Bowens R type with a standard 60cm soft box. I shot on a table using a chair to support the creamy lining paper I chose as a background. The first shot was taken with the softbox exactly side on, the other two were taken with the soft box in a more overhead position. As you can see, I’m no flower arranger, but I really enjoyed trying to capture some of the autumn colours of leaves and dead flower heads I gathered from my garden.


Believe me, you can get quite hooked shooting still life and it’s a great way to spend a winters afternoon getting to know how your lighting works. If you’ve just bought lighting or thinking of buying lighting, I would urge you to shoot some still life. It’s a great way to learn how everything works and you can achieve excellent result with just one head. You also learn about the effect that each accessory can achieve and this knowledge can be transferred to shooting larger subjects such as portraiture for instance.
If you’re short on inspiration there are plenty of images to seek out, taken by some very famous photographers. Still life is a genre that has always been taken very seriously and has been explored in depth by photographers like Irving Penn for instance. Apart from being a great portrait photographer, he also shot some great work, publishing his book entitled ‘Still Life’ in 2001 and ‘Flowers’ in 1980. His still life book includes everyday objects shot in black and white and colour and is a real treat to look at. Penn said, “A good photograph is one that communicates a fact, touches the heart and leaves the viewer a changed person for having seen it.”
It’s an excellent way to describe an image and that description applies to any photograph, including a still life. So don’t just sit there on a winter’s afternoon watching that old movie for the third time! Get out the kit, set it up and get shooting!!
Steve Aves

