
Hopefully you'll have already read the Simple Glass Still Life post on the blog. If you haven't, you might want to, or this one will make very little sense. Following that post there were several requests for a more detailed step-by-step description of the Photoshop process used to create the digitally manipulated images, so that's what this is. Don't say we never listen!
Details of how the original image was created are in the initial blog post so won't be repeated here. Also bear in mind that this walkthrough describes how I created the final image - you may choose to vary elements of the process to better suit your own image and tastes. All digital manipulation was carried out using Adobe Photoshop Elements. Click on any of the images/screenshots in this walkthrough for a larger view.
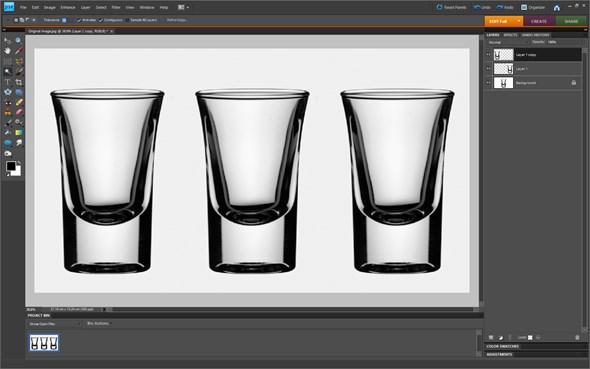
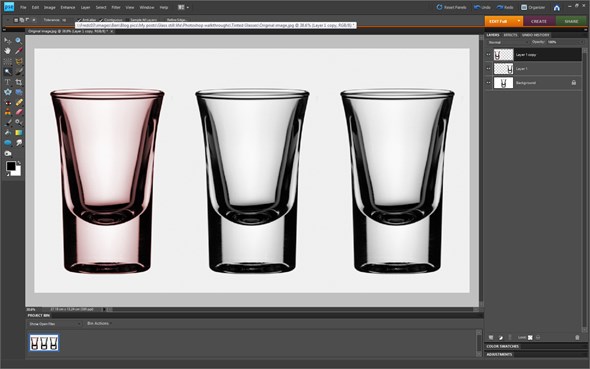
Original image

Shot glass
Step 1
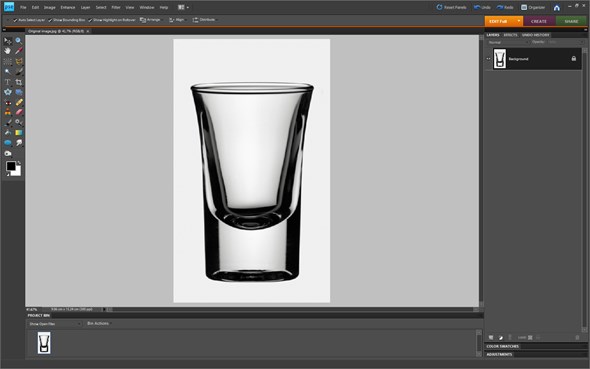
Open image in Photoshop. Convert to RGB colour if required (Alt+I, Alt+M, Alt+R).
Step 2
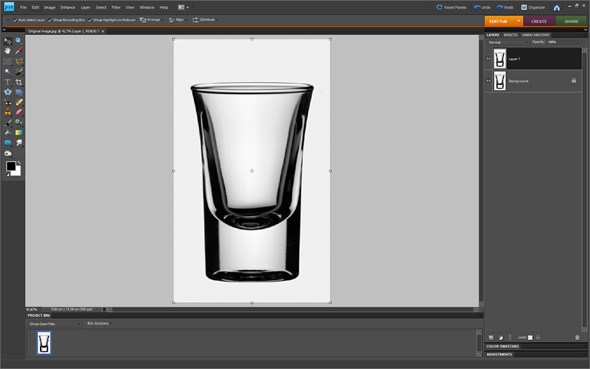
Duplicate background (Ctrl+J).
Step 3
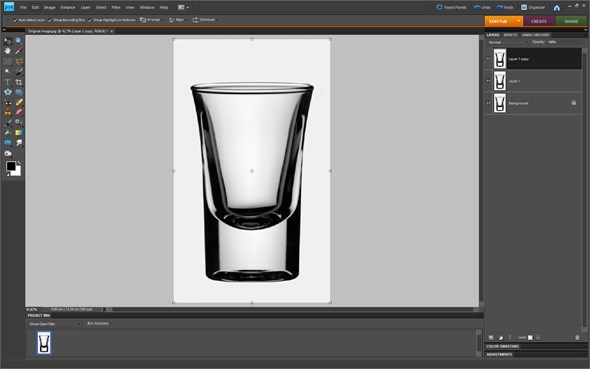
Duplicate layer (Ctrl+J).
Step 4
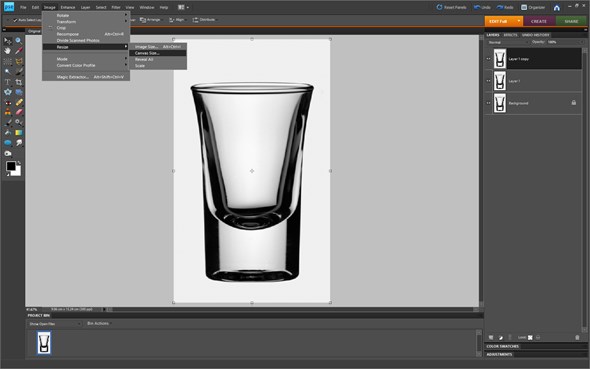
Click Image (Alt+I), Resize (Alt+R) and Canvas Size...
Step 5
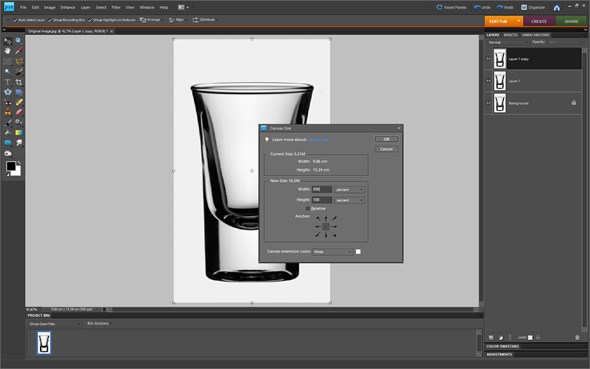
Step 6
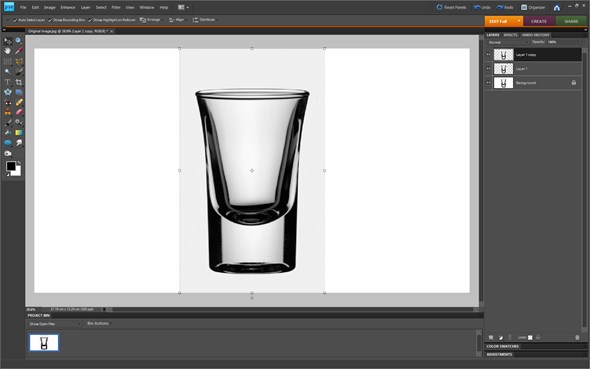
Fit canvas to screen (Ctrl+0).
Step 7
Step 8
Step 9
Step 10
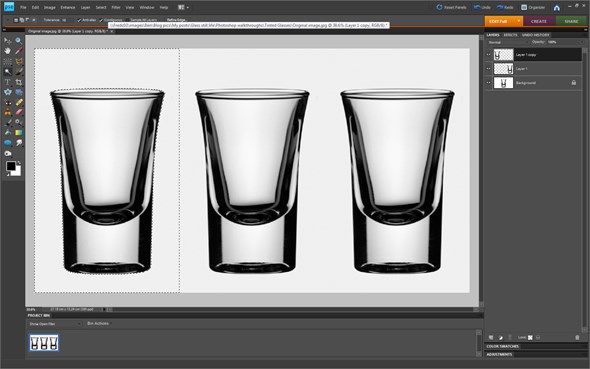
Step 11

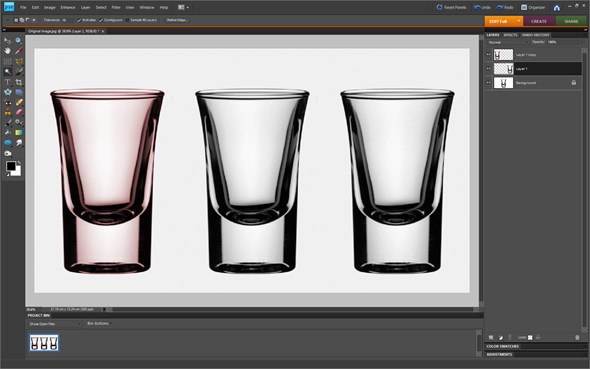
Invert the selection (Shift+Ctrl+I).
Step 12
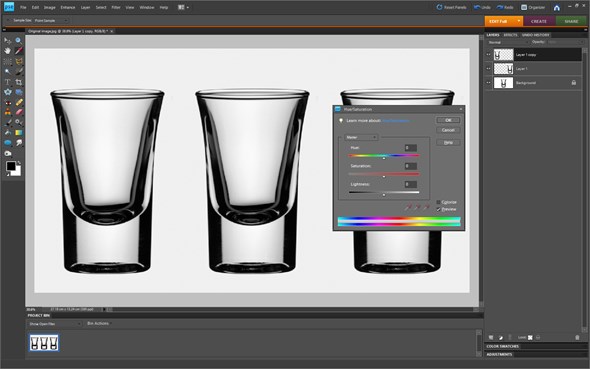
Bring up the Hue/Saturation window (Ctrl+U).
Step 13
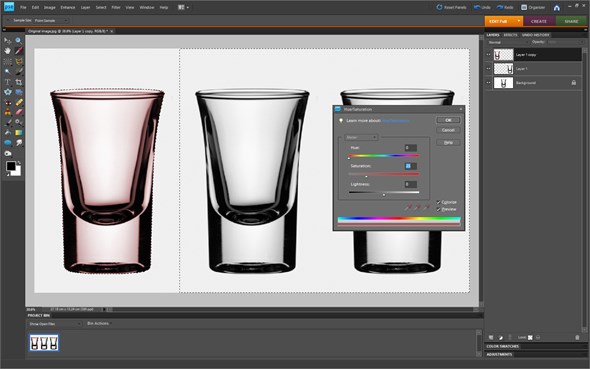
Check the Colorize box (Alt+O). Set Hue to 0, Saturation to 25 and Lightness to 0 and click OK.
Step 14
Deselect the image (Ctrl+D).
Step 15
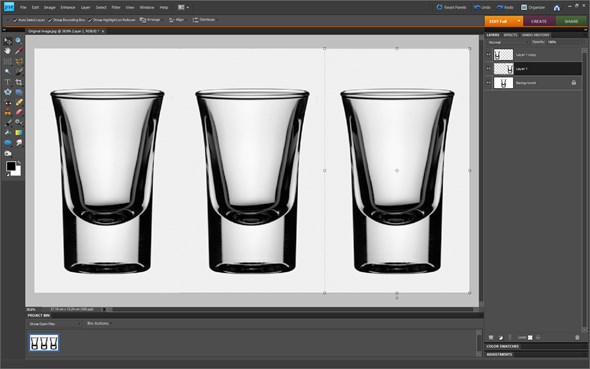
Repeat the above steps for the other two glasses. Select colours of your choosing and have fun with the effect!
Final Image
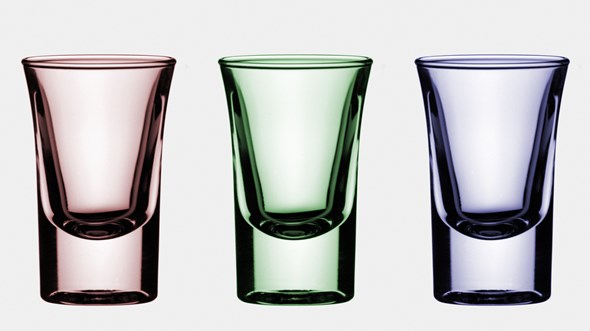
Tinted glasses
