Wonky horizons? Framing a little off? There are many reasons why your composition may not be quite right – here are seven great tips to make sure you get it spot on!

1. Remember the rule of thirds – but break it

One of the first concepts taught to photographers is the rule of thirds. This asks that they imagine the scene divided into thirds in both horizontal and vertical orientations, and to consider placing the subject or focus point where two lines intersect (or simply along one of the lines). It’s a useful rule to remember and few photographers will disagree with it completely. In fact, many photographers naturally use it without even even thinking about it.
Still, it’s certainly the case that many images manage to work without adhering to this principle. Some images work best when the subject is centrally placed, while others stand out for being composed in a particularly unusual manner, perhaps with the subject at the very edges of the frame. So, while you may want to consider this when you’re unsure as to the most pleasing composition for a particular scene, that doesn’t mean you should follow it slavishly.
2. Be careful when shooting linear details

Not every image needs to be perfectly level, although subjects with linear details easily highlight any imbalance. Architectural photographers perhaps need to be the most careful here, although wonky horizons in a seascapes or landscapes makes it obvious that this is just as valid in other photographic genres too.
The best course of action is to get it right in camera, either with a superimposed grid on a display or electronic viewfinder, or by lining up the framing marks available in some viewfinders against the details in the scene. Those capturing images using a tripod, meanwhile, may confirm a camera being level with any bubble levels in the tripod or head, or through a hotshoe-mounted level. Software programs such as Adobe Photoshop and many others can also quickly help to straighten things out. Tip: if using software on an image captured at a wideangle focal length, check to see whether you need to remove any barrel distortion first, as this itself can distort linear details.
3. Use vignetting creatively

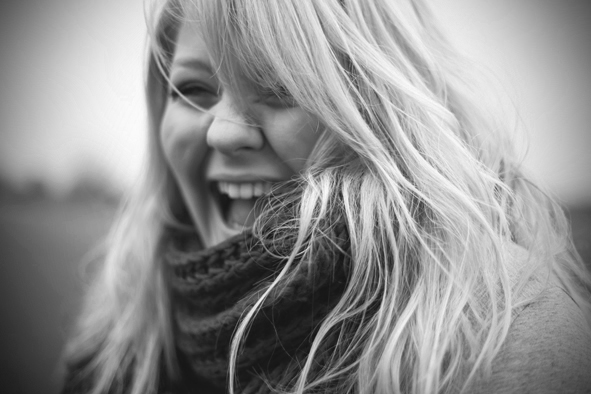
Vignetting, which shows as a slight darkening in the corners of the frame, occurs for a number of reasons, and it’s particularly problematic at wider apertures. In many cases we may want to remove this for the sake of even illumination across the frame, either by stopping down the aperture, enabling lens correction in-camera or through post-processing, although portrait photographers often use this to creatively frame and draw attention to a subject in the centre. If you want to maximise vignetting, open your aperture right up to f/2 or f/1.8 (as wide as your lens will go) and try using a bright, featureless background such as the sky.
4. Know your viewfinder

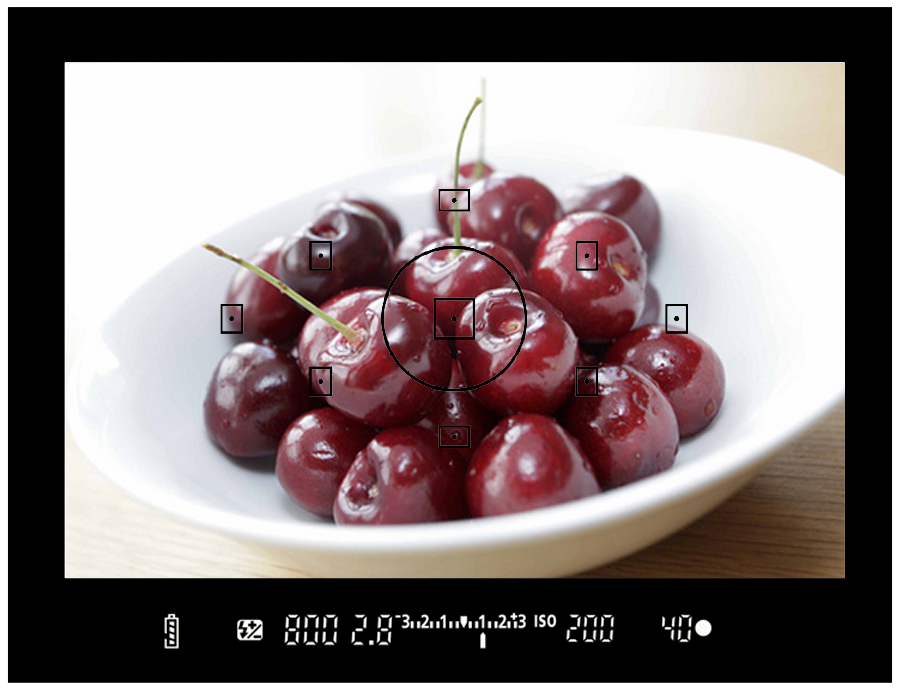
DSLRs at the budget end of the market typically have viewfinders that cover around 95% of the scene, which means the resulting image will contain a little more than what can be seen through the viewfinder at the time of capture. Compact cameras with optical viewfinders fare even worse, not only by having a more restricted coverage but also through an issue known as parallax error. This is simply a consequence of the viewfinder not showing its view through the camera’s optic, but slightly away from it – so what you see is not quite what you get.
Because of these issues, it’s easy to mar an image by including a distracting element at the peripheries, such as a tree or telegraph pole. Such issues are less problematic on enthusiast and professional DSLRs, as their viewfinders may cover 100% of the scene, although the live view systems on practically all cameras usually show the scene being captured in its entirety (this may not be quite 100%, but not so far off that it makes much difference). Try to remember what your viewfinder coverage is as you shoot and check your images once you’ve captured them to see whether the peripheries are as you expected.
5. Think symmetrical

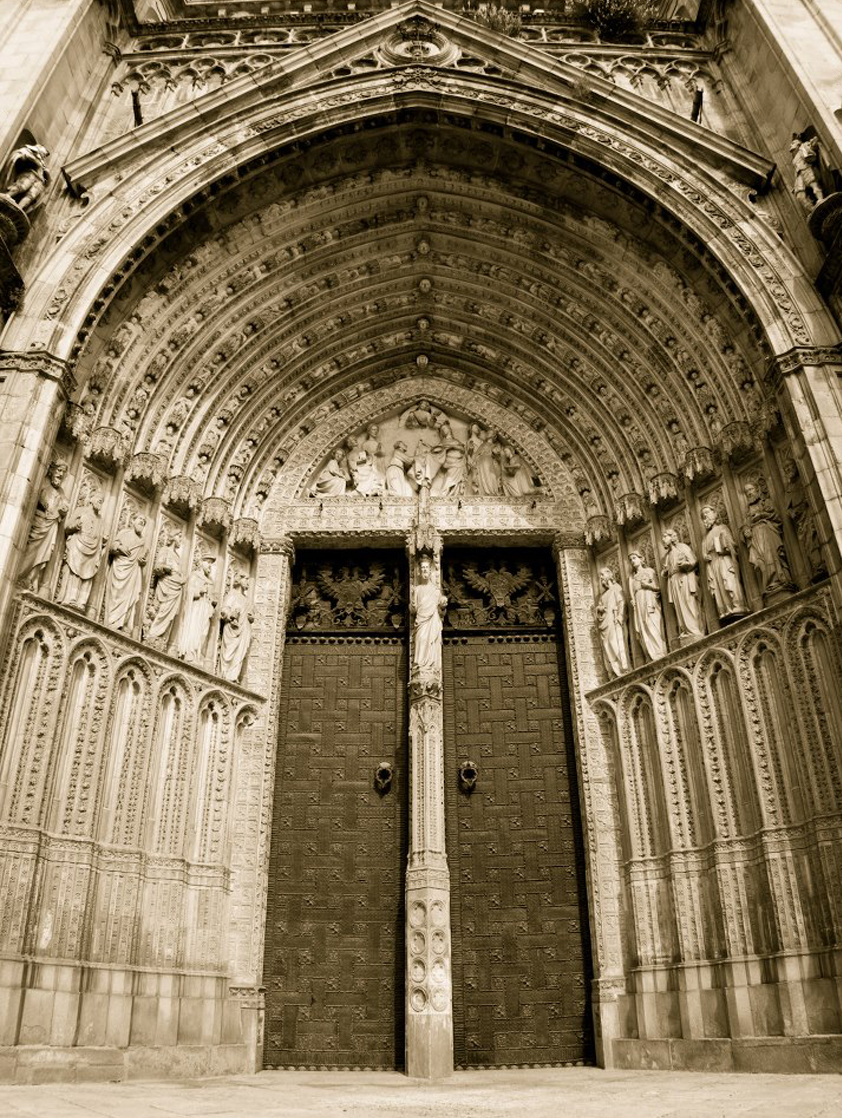
Symmetrical subjects make for great symmetrical images – a typical example of when you can safely stray from the rule of thirds and still achieve a great image. Here, accuracy is everything, and any slight issues will be easier to spot. Make sure to keep central subjects in the centre of the frame, either through the use of grid lines of by ensuring that a row of AF points line up against the subject, and check to see that you’re not standing at an angle to the subject as you may have issues with perspective. Images with a number of symmetrical elements can look impressive when the framing is completely balanced, so take extra effort to ensure that other subjects in the frame – be it people, powerlines, birds or anything else – don’t spoil your shot.
6. Consider your subject’s facing direction

Sometimes, a tight crop of a magnificent animal can create a powerful image, particularly when finer details such as skin and hair can be analysed more closely. If you look at many wildlife images, however, you’ll notice the subject isn’t directly facing the camera. Often they’ll be looking to one side, or perhaps walking in a particular direction; in this instance it’s useful to include the space at which they are looking (or into which they appear to be moving).
Doing this can help contextualise the subject by showing more of their surroundings, which in turn allows the photographer to tell a better story. It also provides greater flexibility when there are other interesting elements that can be incorporated into the scene, perhaps a far-off sunset or other animals in the distance. Play with framing and adjust your depth of field to see where you end up!
7. Embrace live view

Live view is a powerful tool when composing images, but its benefits extend beyond its 100% frame coverage and use of grid overlays. When using a tripod, you can use it to zoom into and move around all areas of the image, which helps you to check peripheral areas to ensure your composition is spot on. It’s also far easier to be exact with the framing as you can view the image for as long as you need to and consider all possible framing options (there’s only so long you’ll want to hand-hold a camera in one positon!).
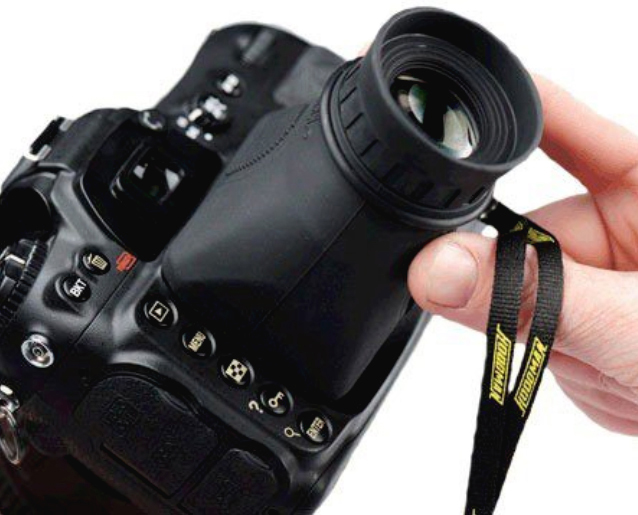
Obviously you also get a larger preview than the viewfinder too, although these can sometimes be difficult to see in bright sunlight. Here, a loupe or a similar product can help to block out extraneous light so that you see the screen with maximum contrast.

