
Ok, it's not a weasel, but "Pop Art goes the WEX Blog Ben" doesn't have quite the same ring to it.
This photo-manipulation technique is aimed at achieving an effect based on the Pop Art of the 1950s and 60s. Rather than the messiness of screen printing and oils, this can all be done cleanly and digitally. You can even keep you pyjamas on if you so choose...
The following process was carried out using Adobe Photoshop Elements 8 ( version 9 now available!), but the same steps can be used for most versions of Photoshop. After each step be sure to duplicate the layer so that you are always working on a copy. This makes it easy to go back if you've made a mistake.
Step 1. Choose your image
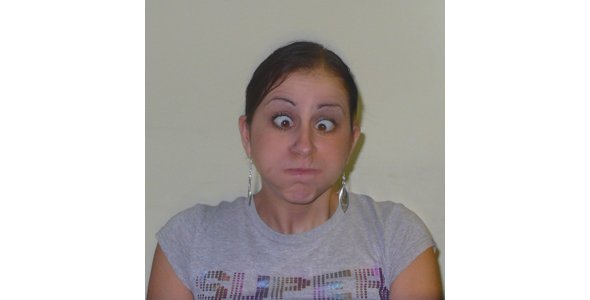
A head and shoulders type image with a plain background is ideal. Once you have your image open it in Abobe Photoshop or similar and crop it square. She's gonna kill me...
Step 2. Remove the colour
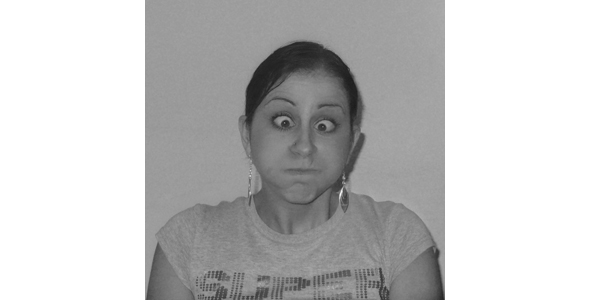
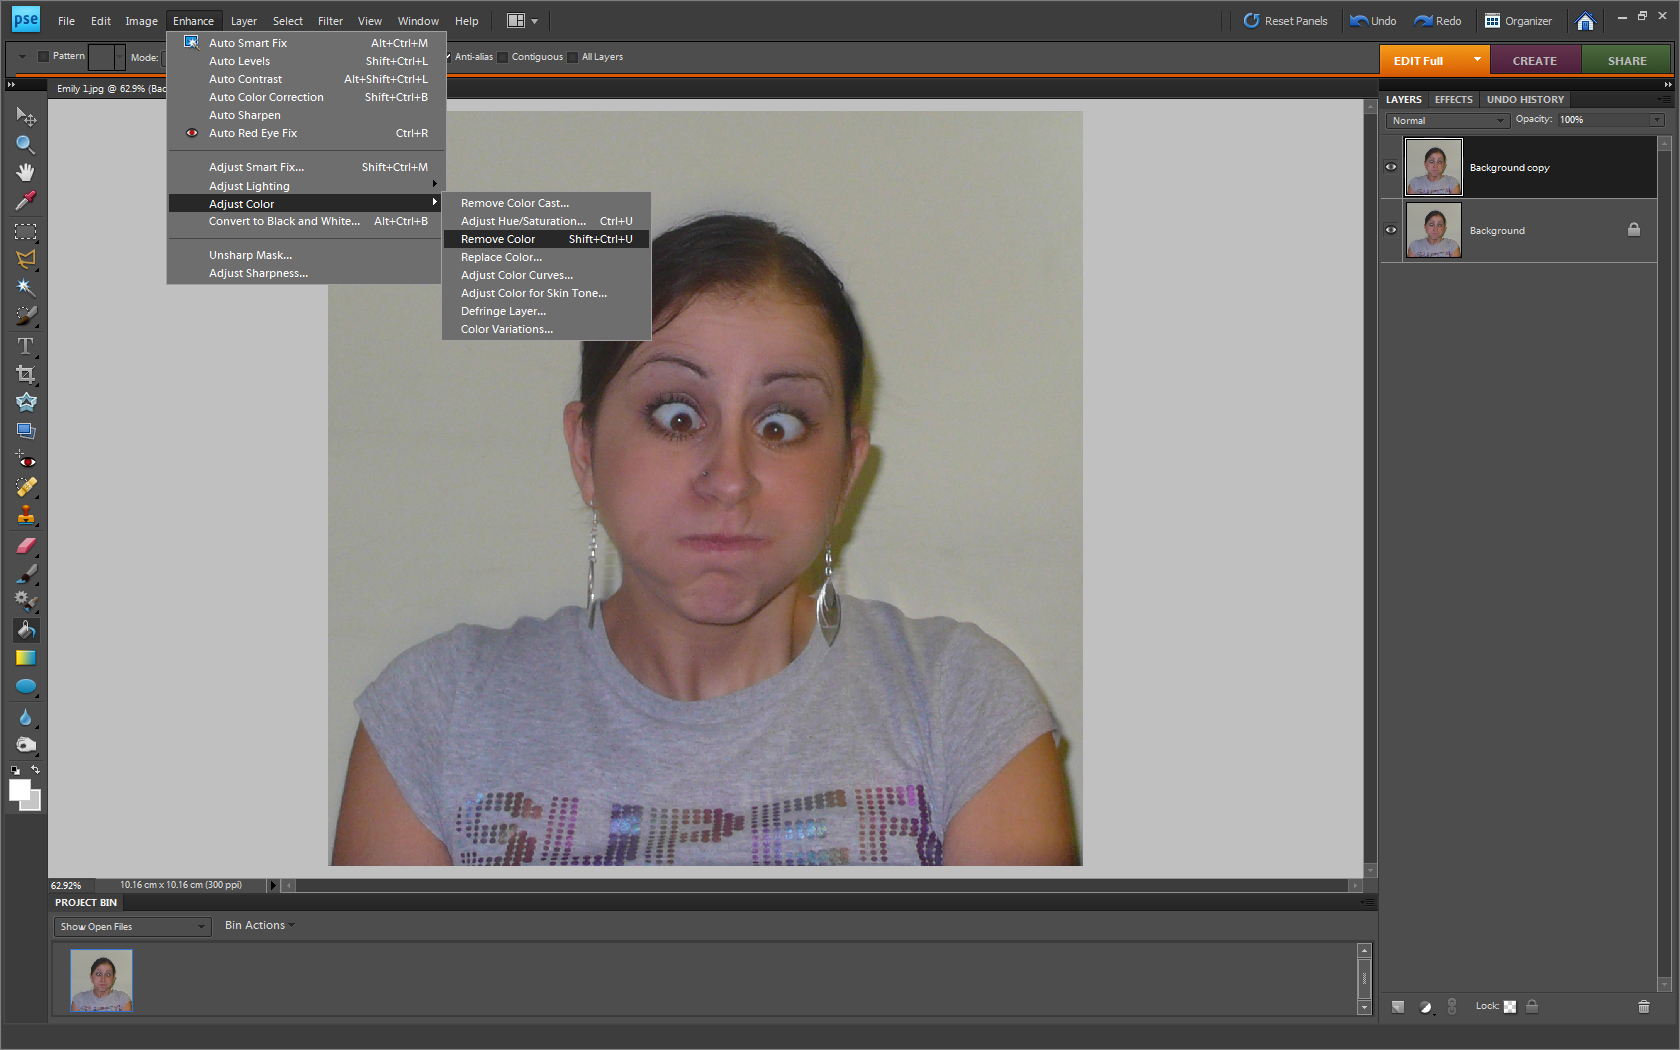
Turn the image into black and white by removing the colour. Press the "Shift", "Ctrl" and "U" keys simultaneously, or click "Enhance" (Alt+N), then "Adjust Color" (Alt+C), and then "Remove Color" (Alt+V).
Step 3. Adjust the levels to increase the contrast
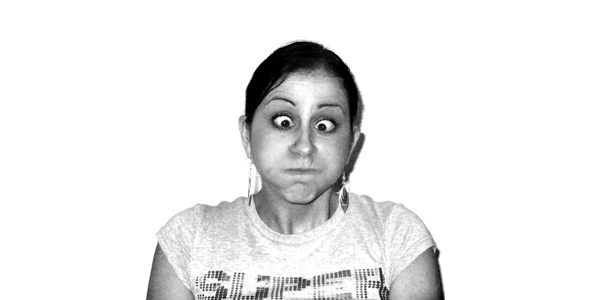
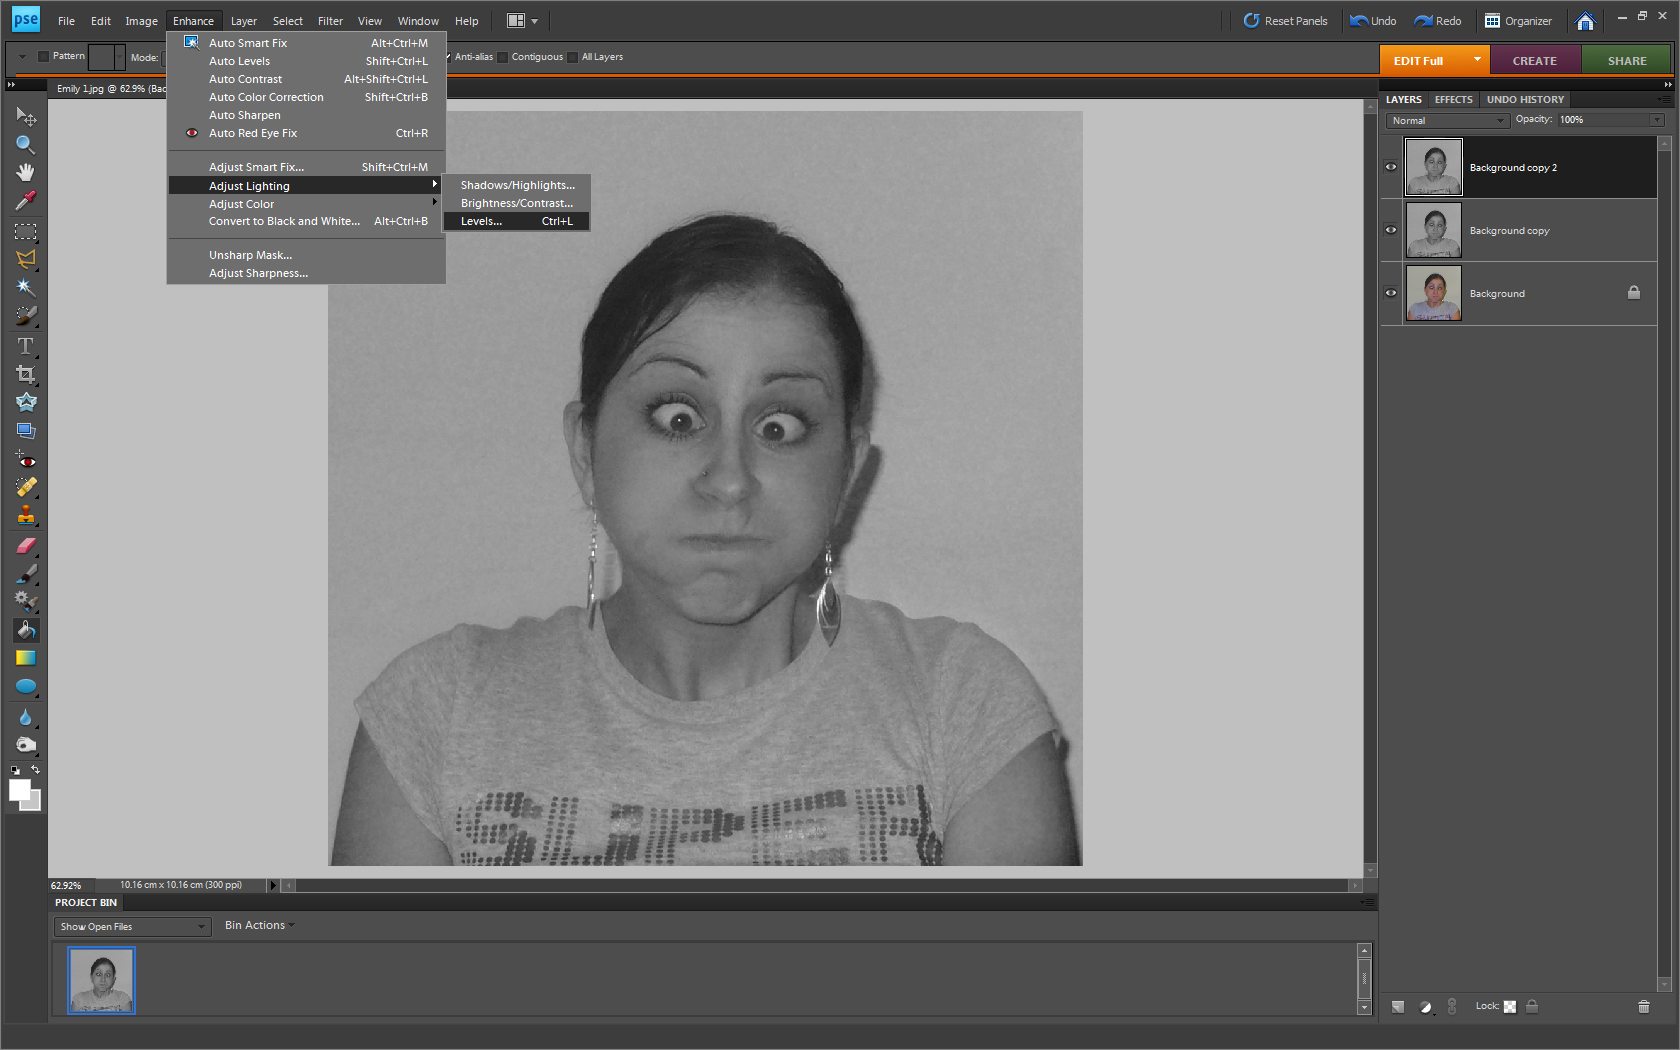
Press the "Ctrl" and "L" keys simultaneously, or click "Enhance" (Alt+N), then "Adjust Lighting" (Alt+L), and then "Levels" (Alt+L).
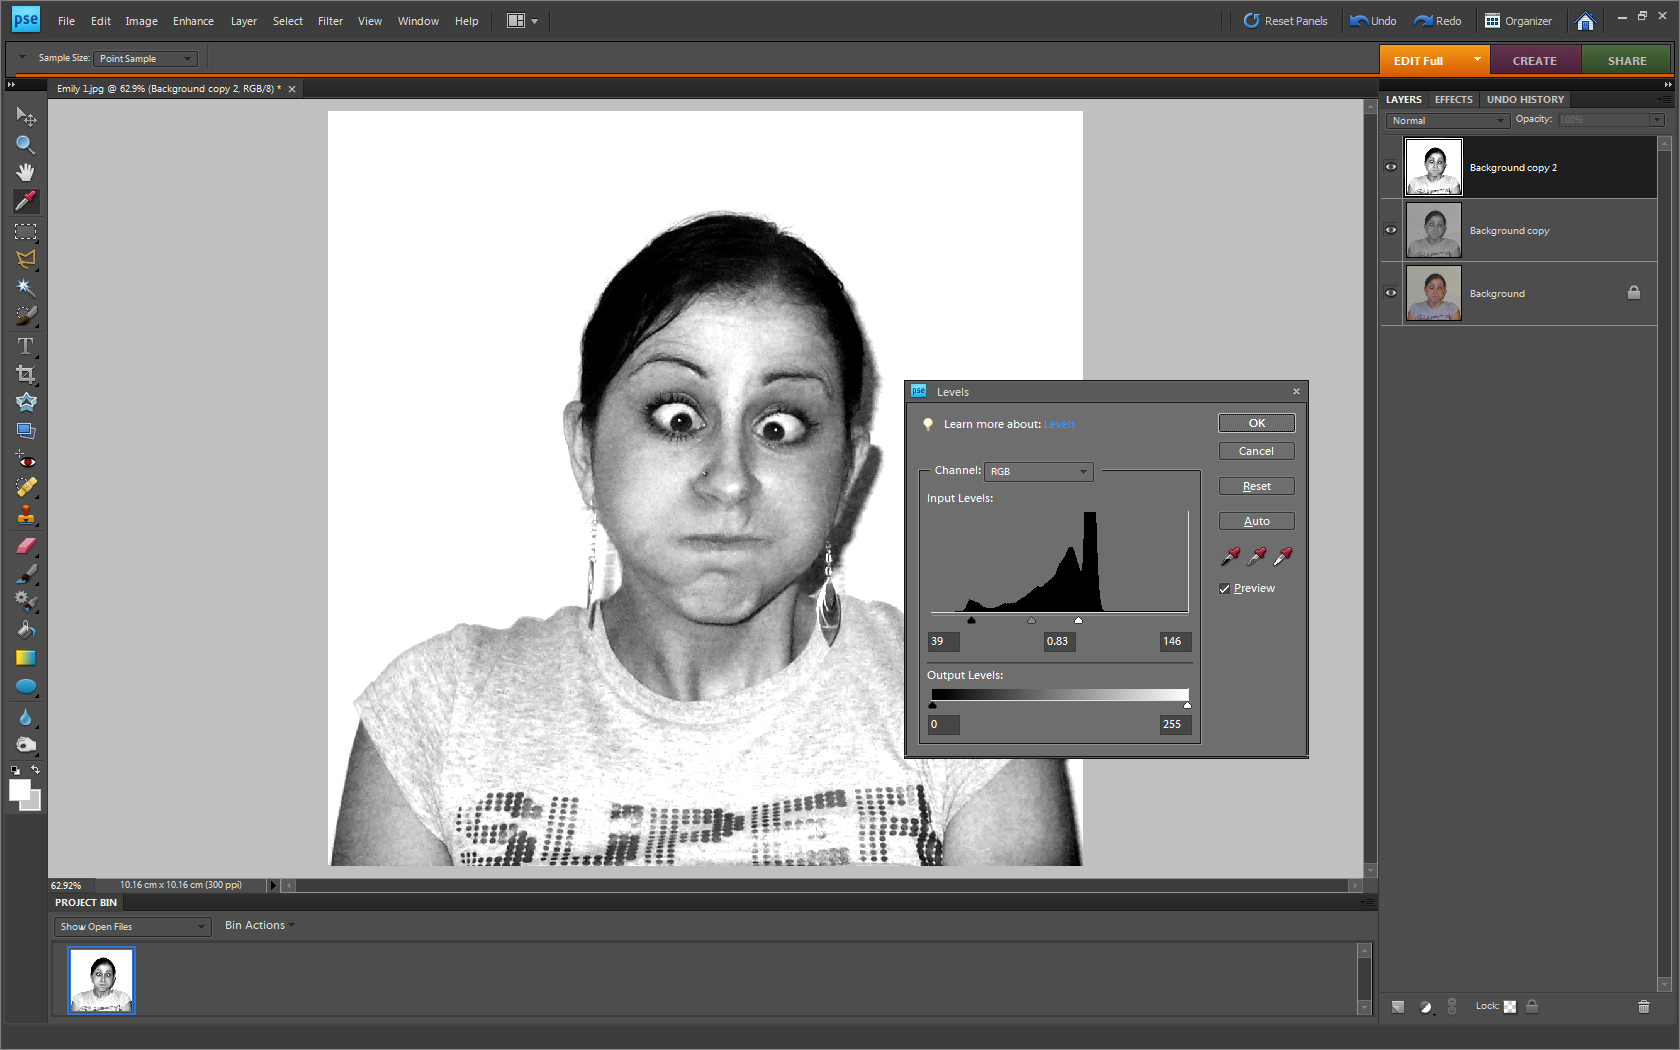
You can then adjust the black, white and mid-points of the image using the sliders in the "Levels" box.
Step 4. Simplify the image
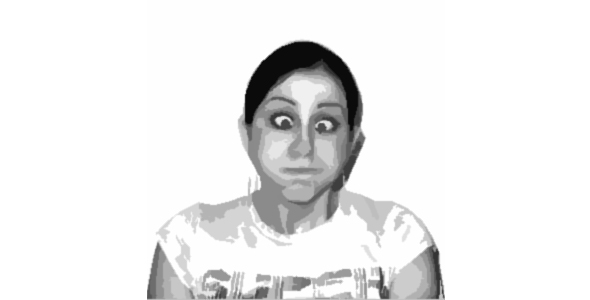
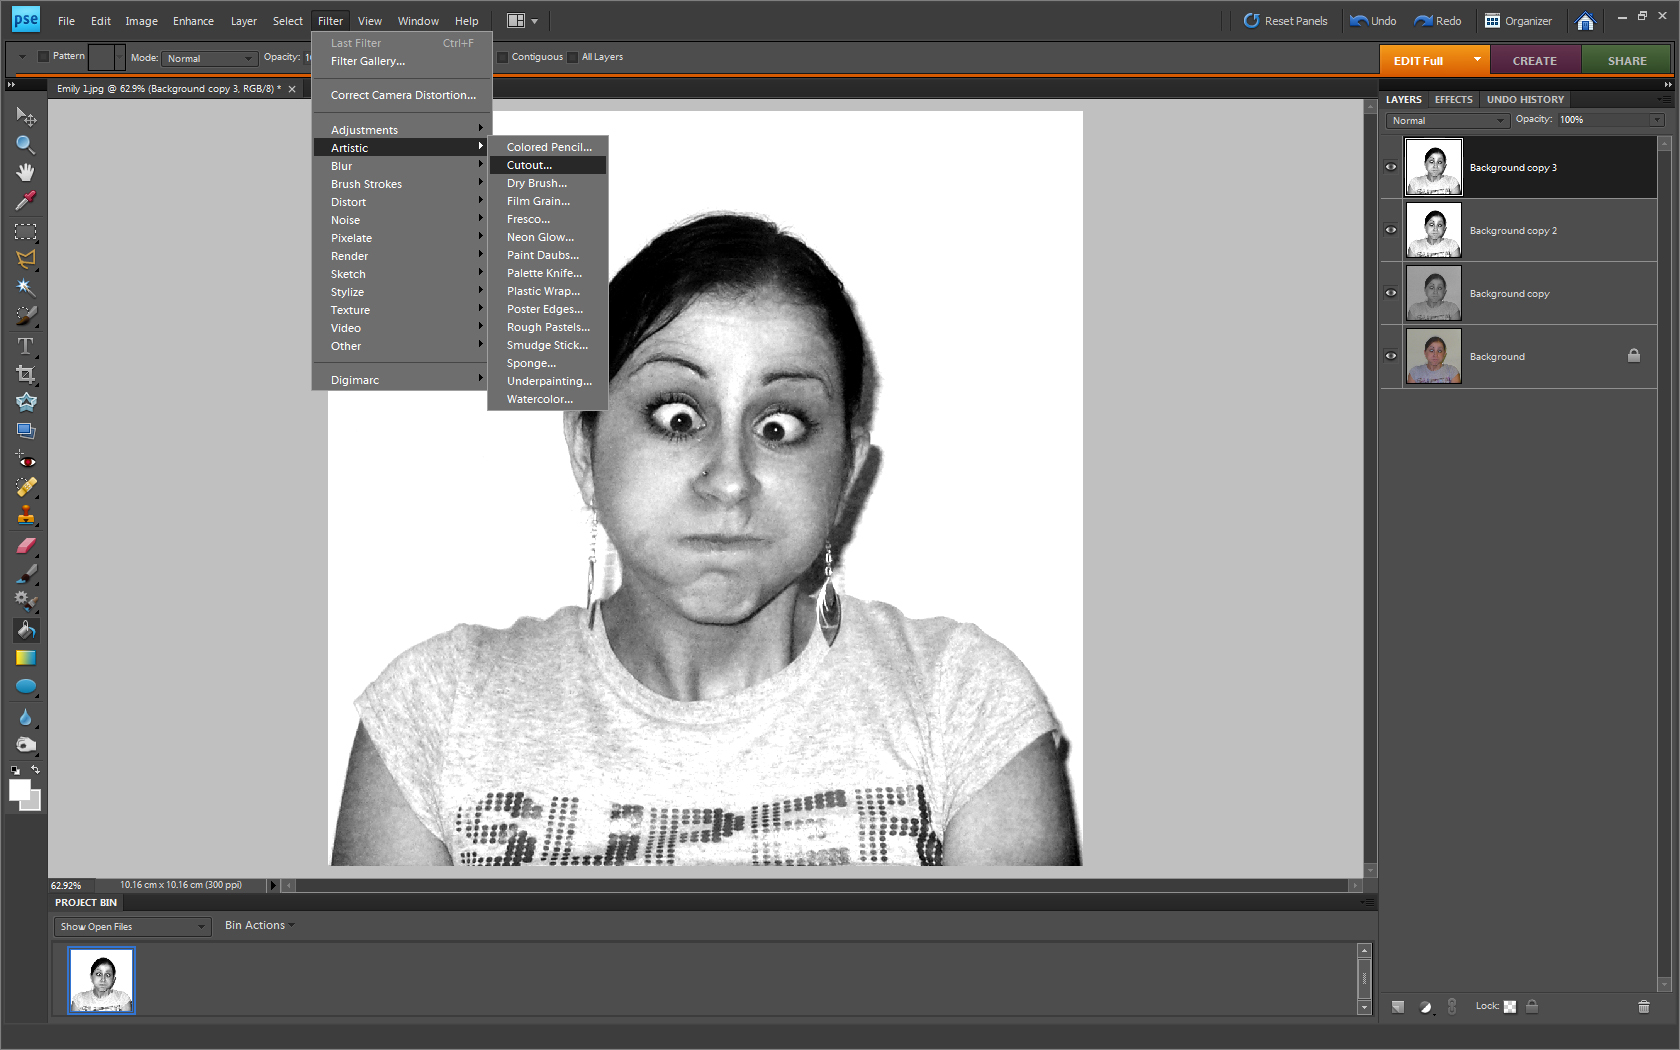
Use the "Cutout" filter to reduce the complexity of the image. Click "Filter" (Alt+T), then "Artistic", and then "Cutout...".
You can then adjust the sliders on the right-hand side of the screen to get the effect you want. It's unlikely you'll be able to totally alter the image in one visit to the "Cutout" filter, so just make changes a bit at a time.
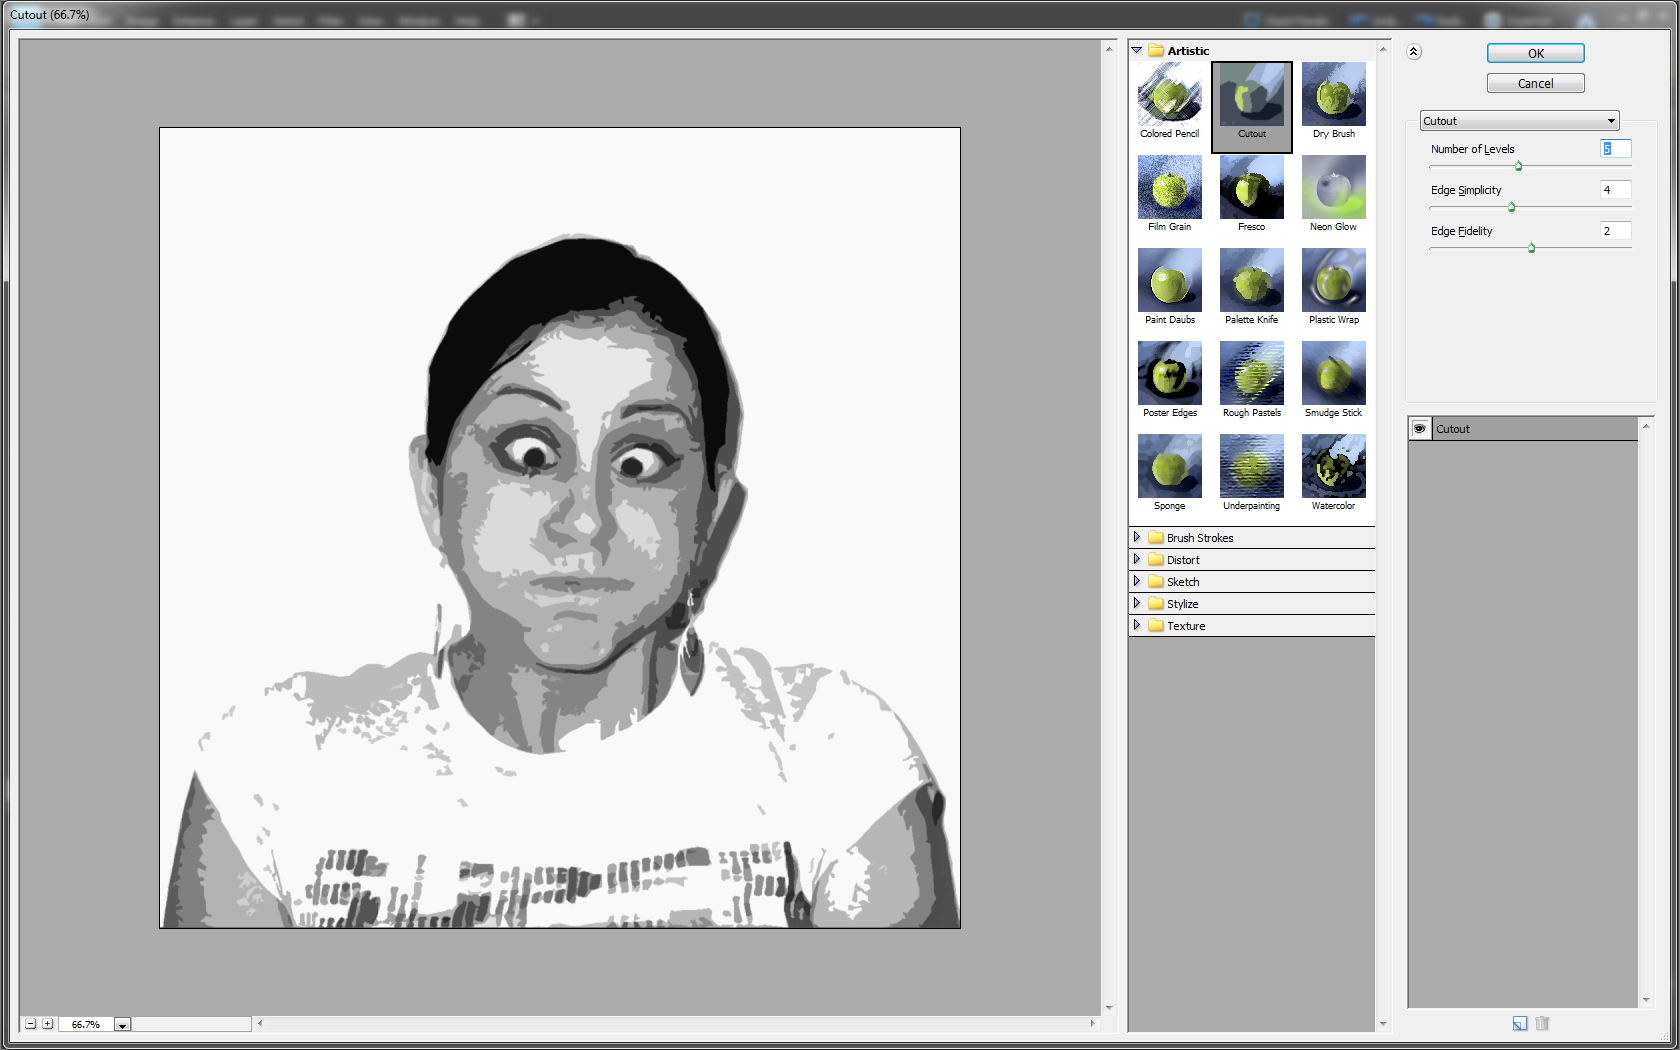
Step 5. Repeat steps 3 and 4 as required
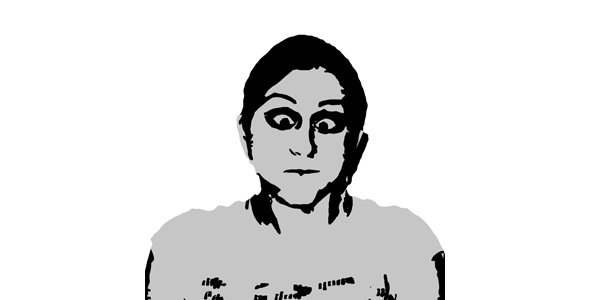
As mentioned above, you are unlikely to get the "Cutout" effect spot on first time. As such it will probably require a few re-tweaks of the "Levels" and "Cutout" tools before you have an image with is both simplified, but still identifiable. This is the tricky part, so don't be afraid to make small adjustments over and over again. You may also need to make use of the brush tool to manually fill in patches that won't go how you want them to! The aim is to end up with an image that is made up of just 3 shades: white, grey and black.
Step 6. Flatten image
To simplify the following steps, once you are happy with the 3-tone image you have you can flatten the layers. Click "Layer" (Alt+L), and then "Flatten image" (Alt+F).
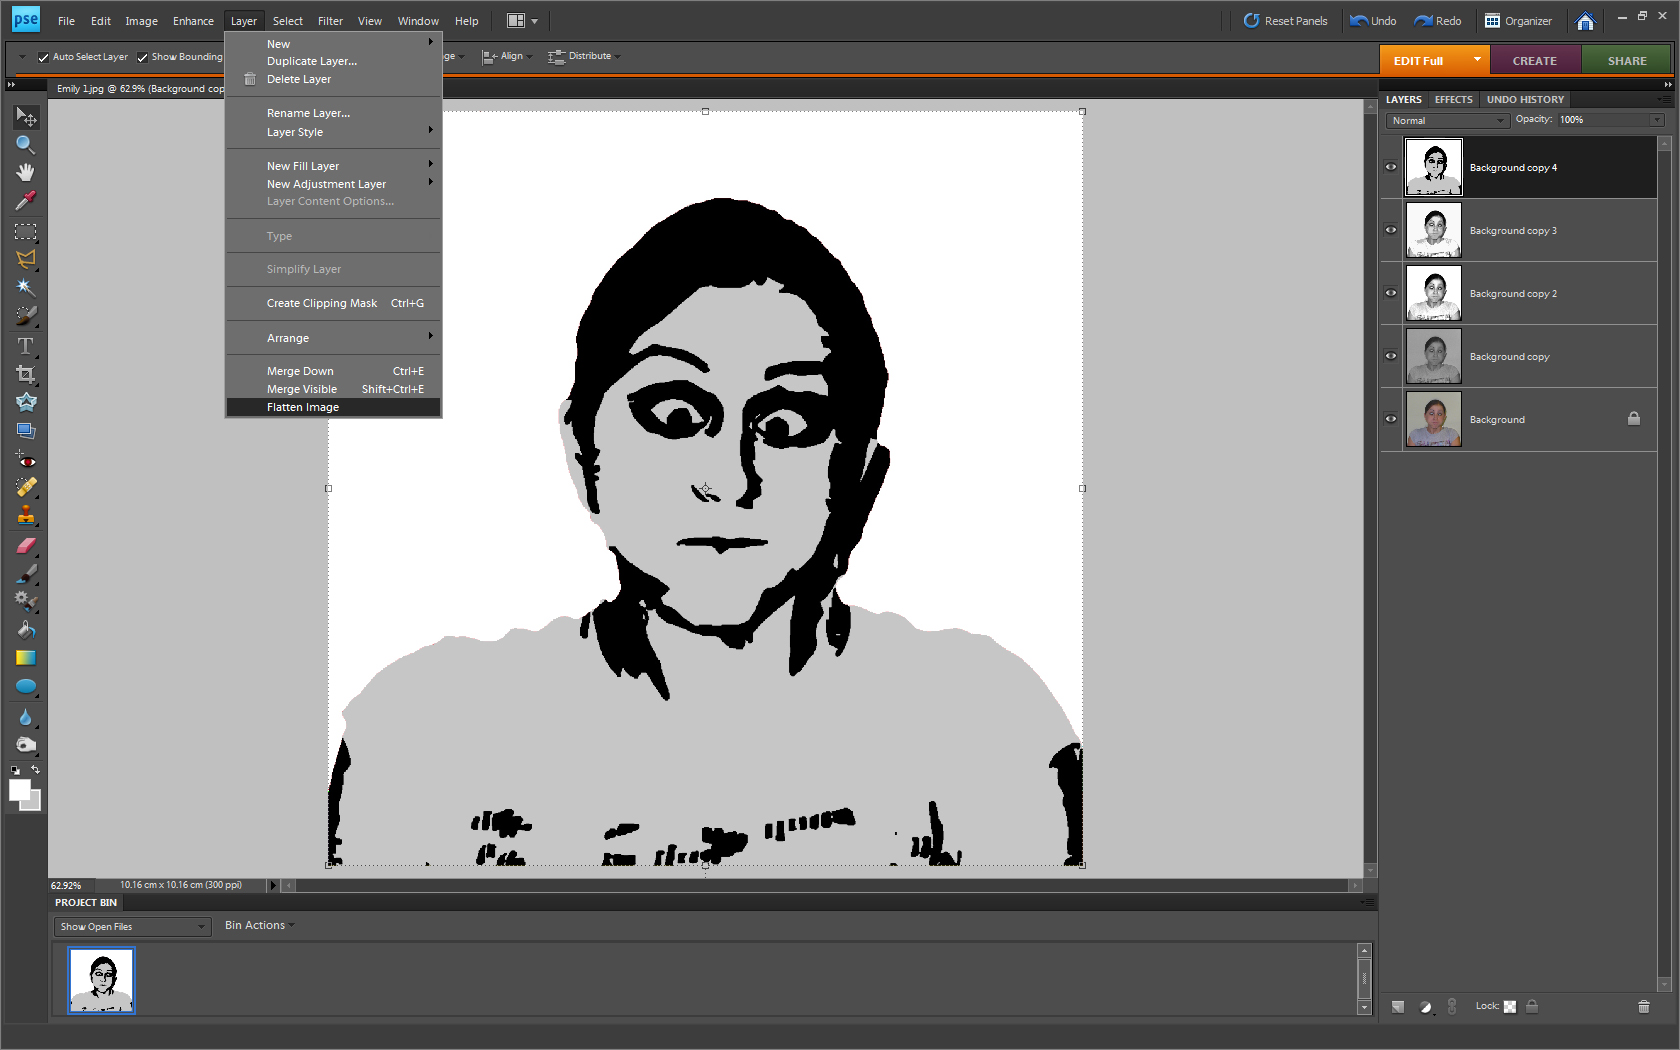
Step 7. Colouring in
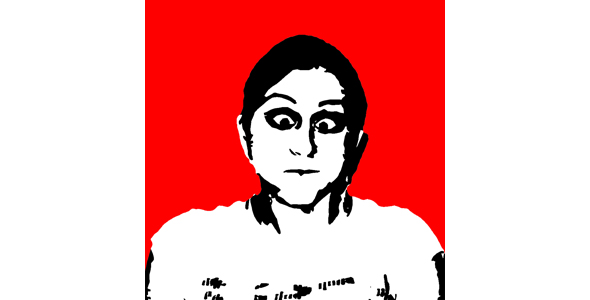
This is the fun bit where you can start to add colour to your picture! Firstly, duplicate the layer so you're working on a copy. Then, use the Colour Palette and the Paint Bucket Tool to fill in the 3 shades of your image in different colours.
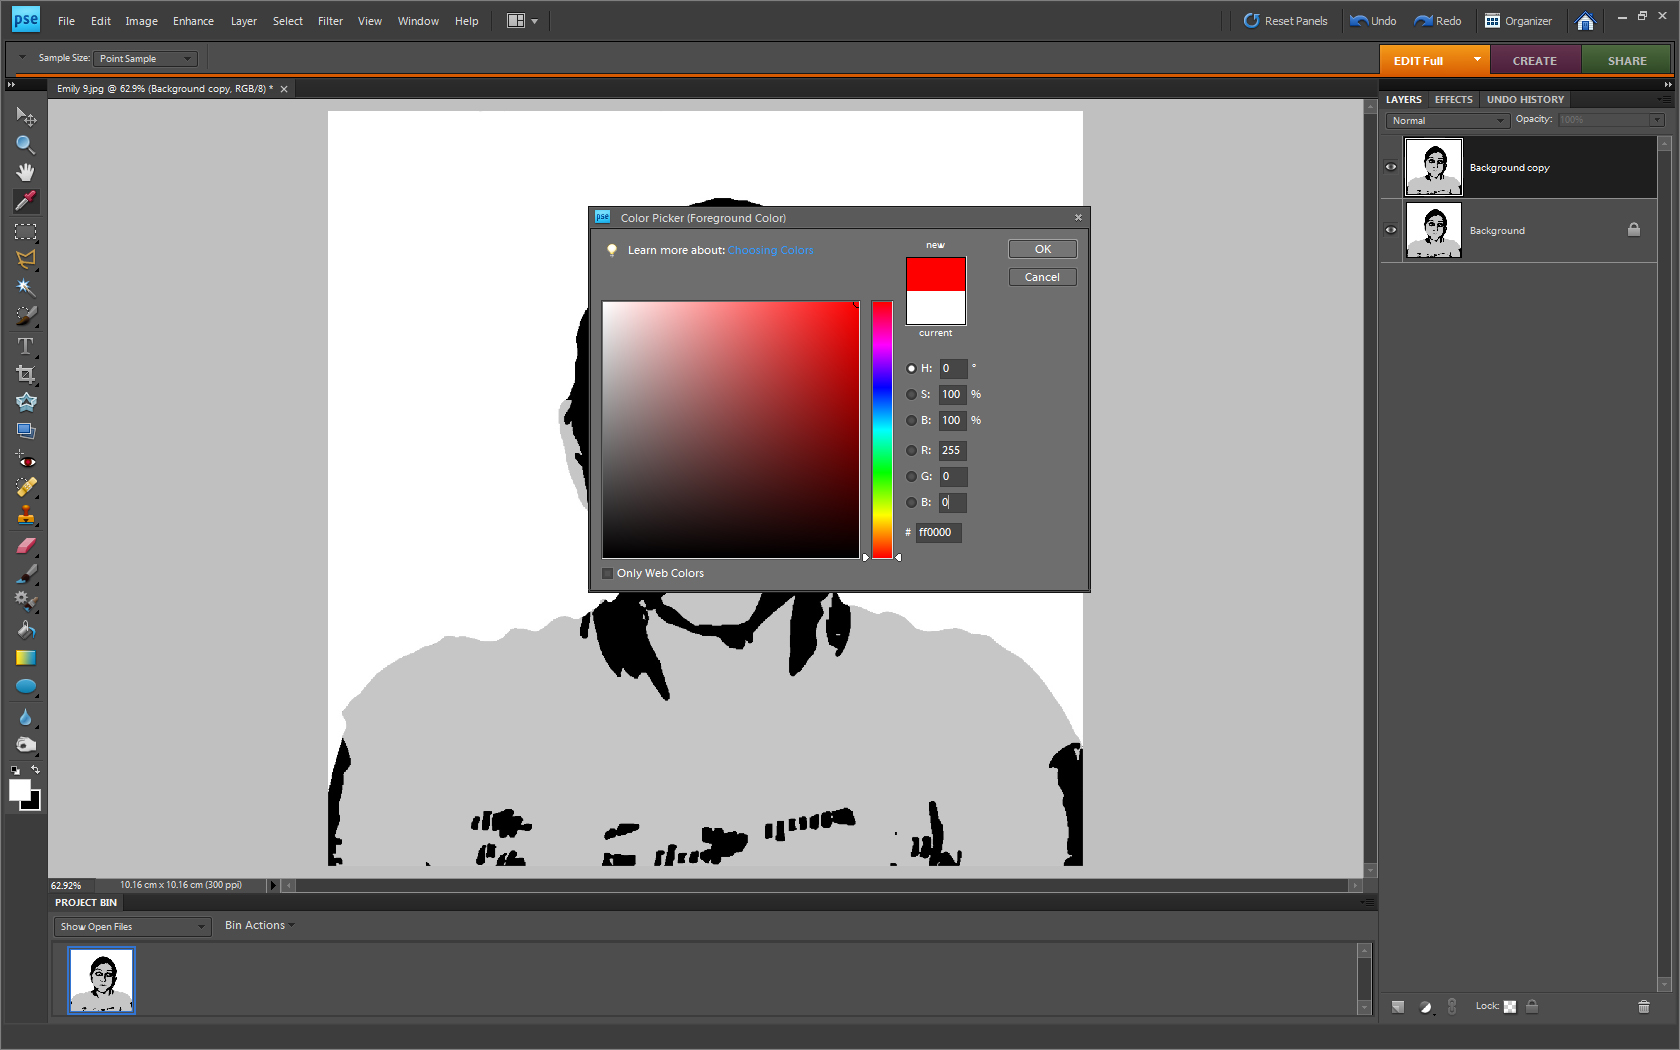
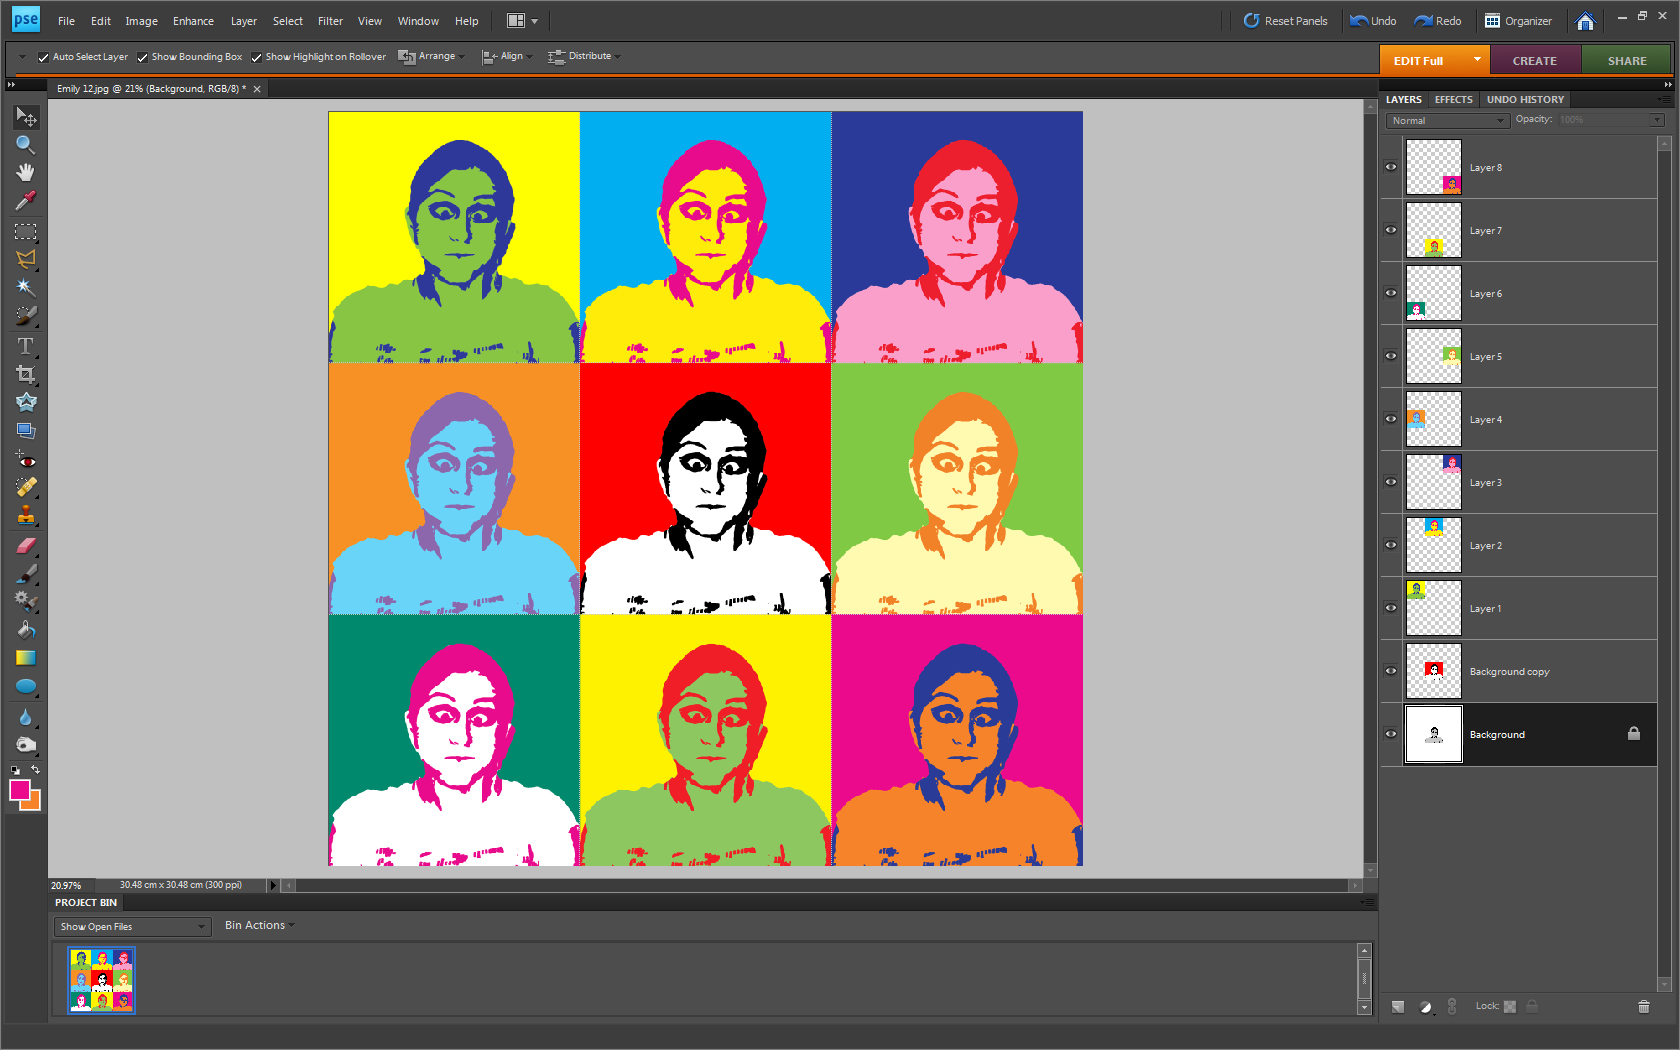
Once you've coloured in one version, duplicate the background image again and repeat the process with different colours. In this instance I wanted to end up with a final image consisting of 3x3 individually coloured portraits, so needed to create 9 different versions.
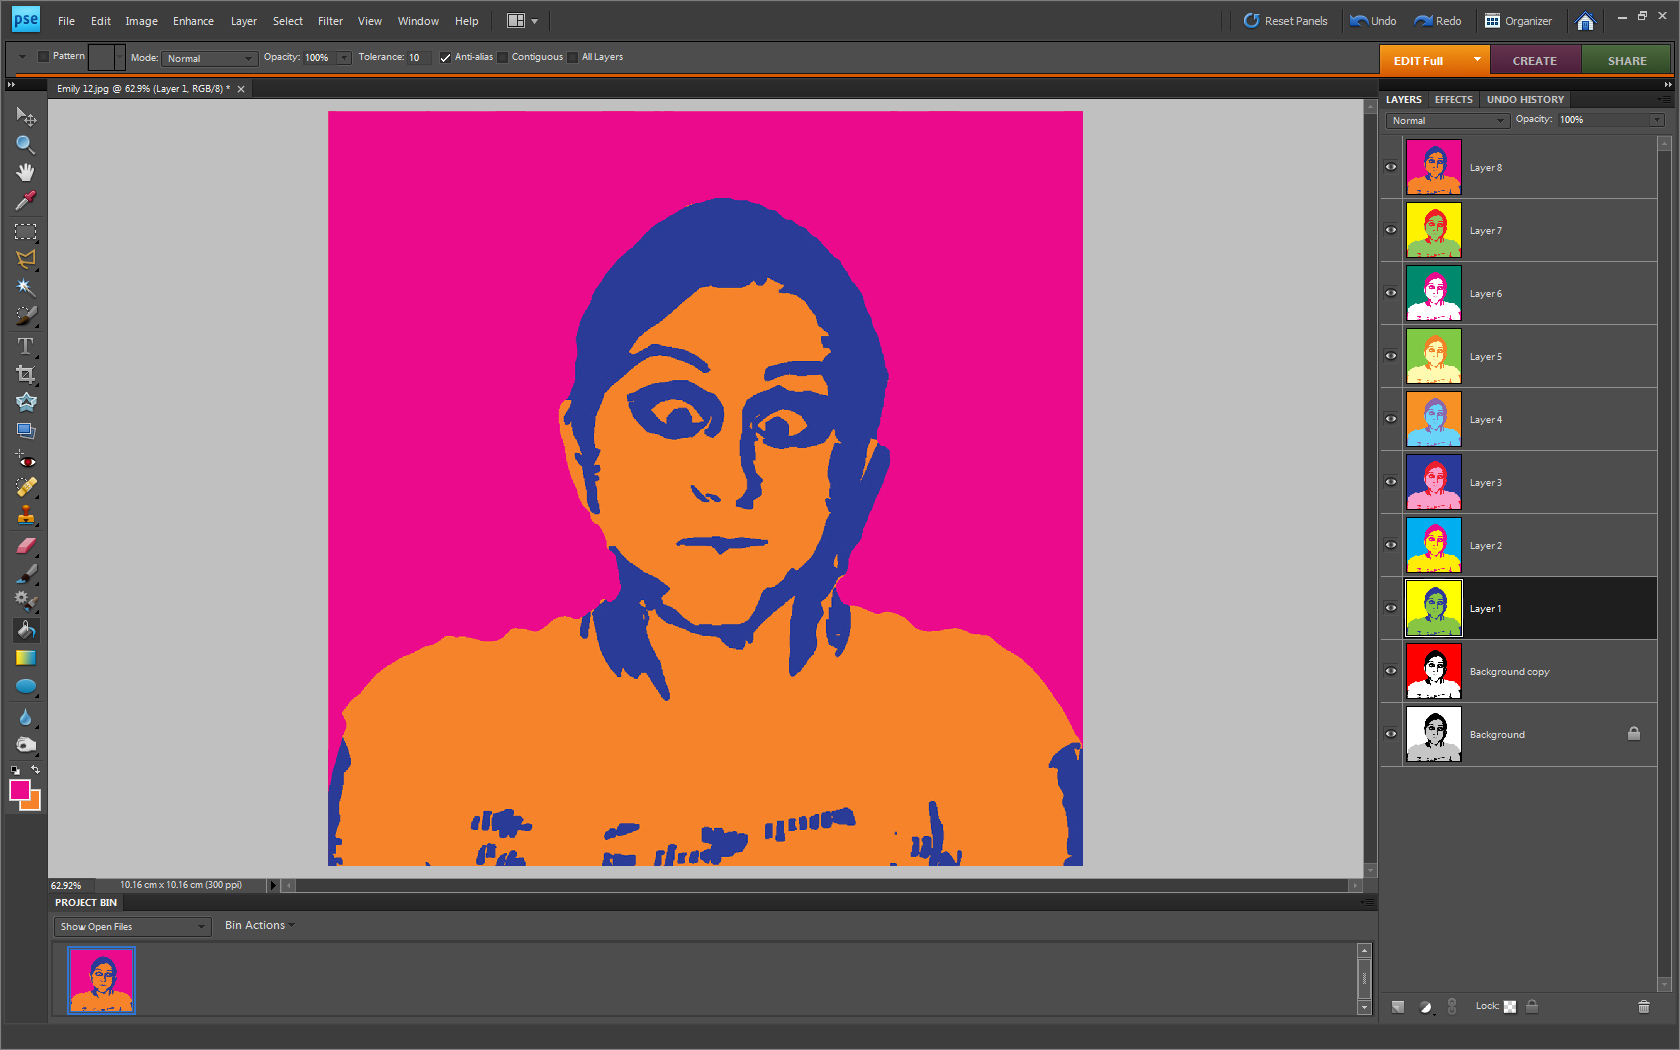
Step 8. Expanding the canvas
You should currently7 have a "pile" of different coloured versions sat one on top of the other on your screen. Obviously they're no good just sat there like that, so you need to increase the size of your canvas to give them room to spread out. Because I wanted a 3x3 layout, I clicked "Image" (Alt+I), then "Resize" (Alt+R), and then "Canvas size..." and chose to enlarge the canvas to 300% of the original size in both directions.
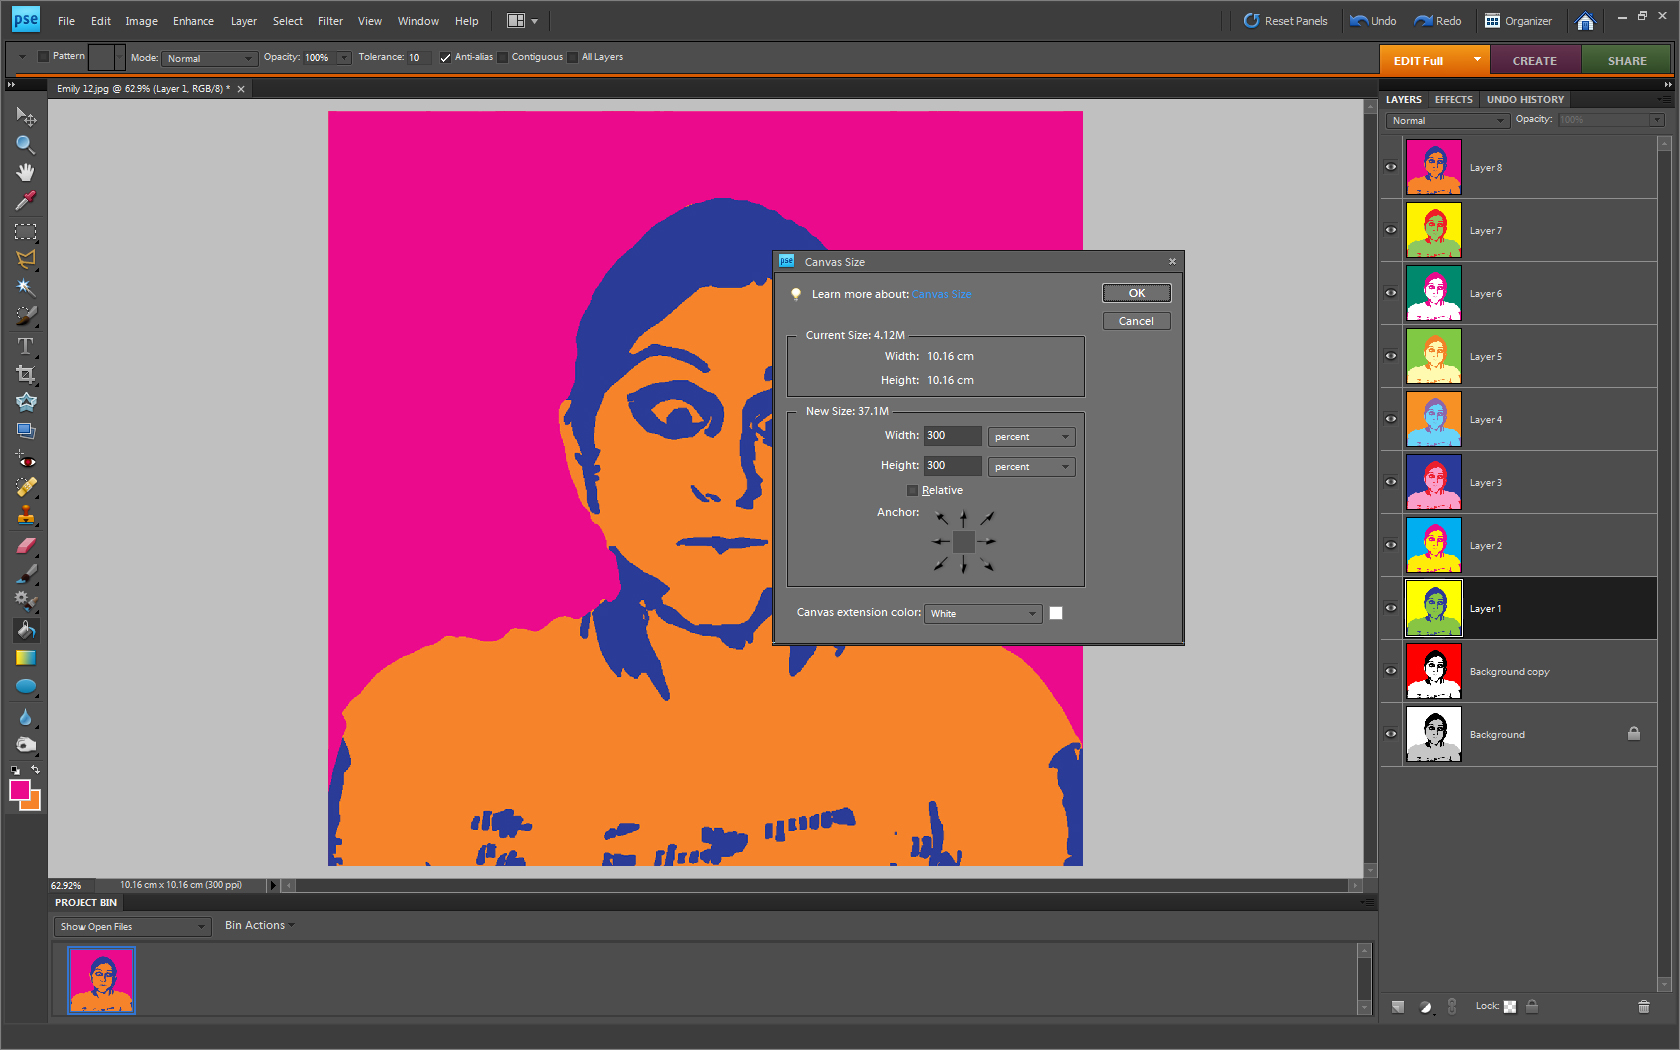
Step 9. Arrange your Pop Art
All you need to do now is click and drag each image into place on the canvas. To make this easier I set up the Grid to break the image into thirds, so each layer would click into the right position as I moved it into place.
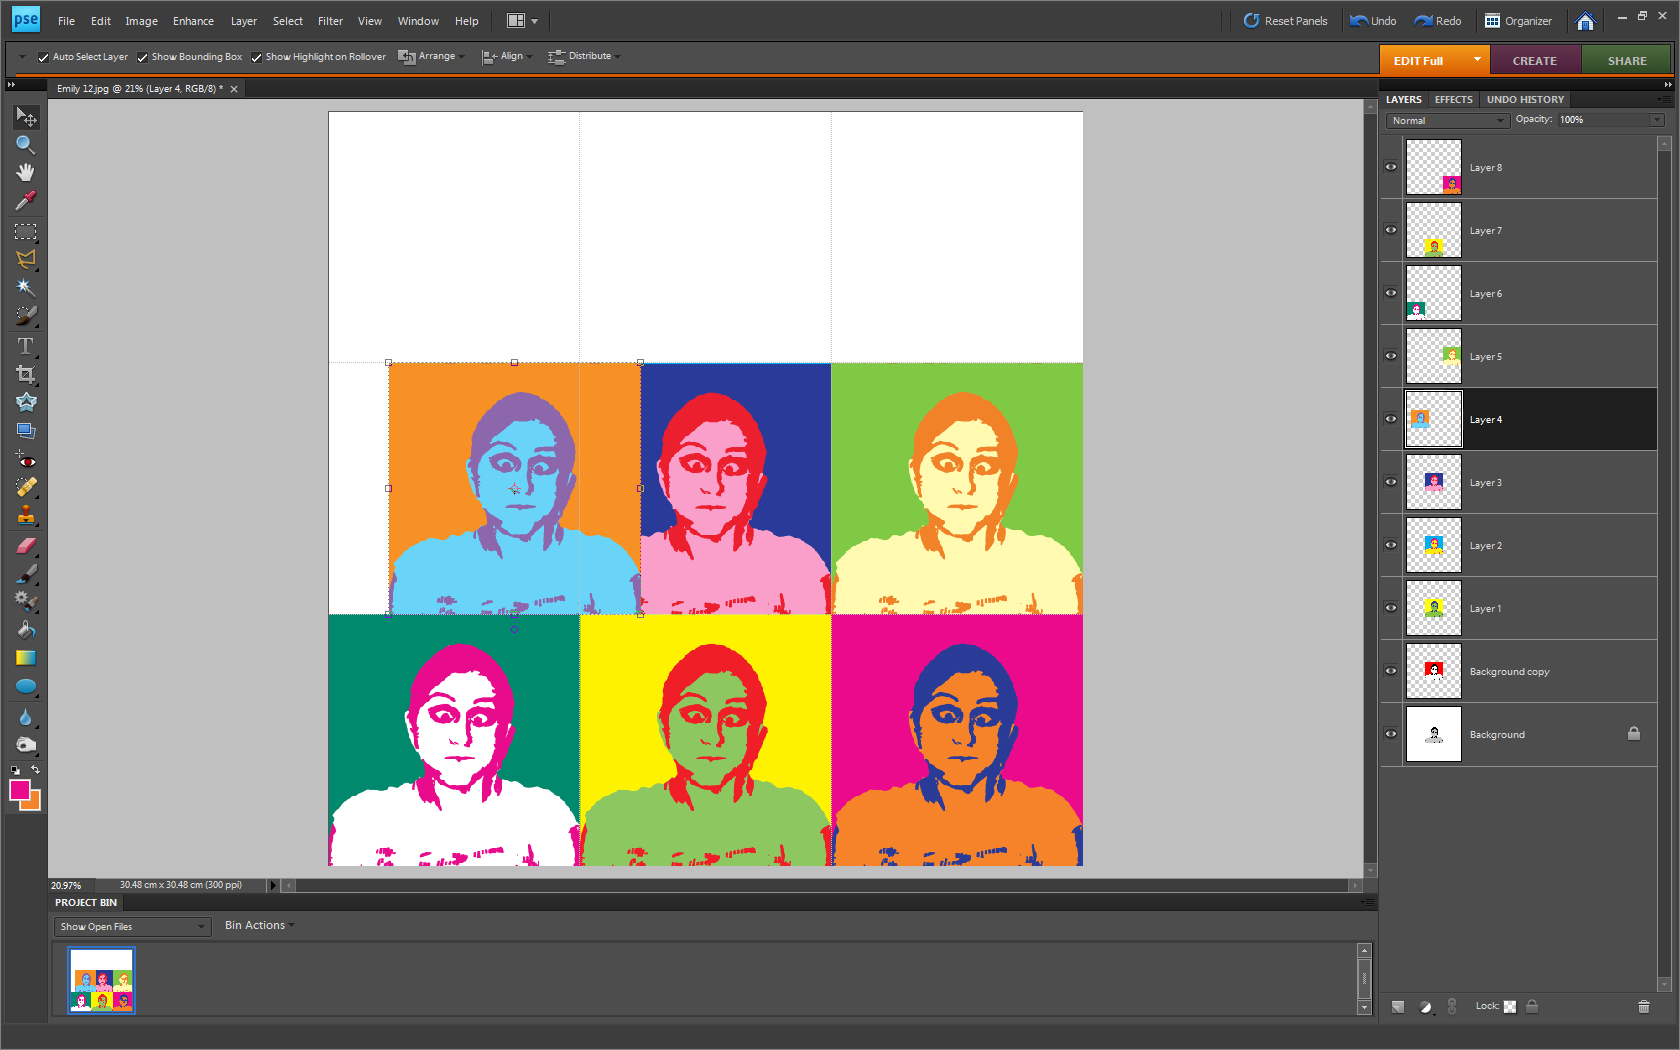
You may want to experiment with the exact layout of the colours, and possibly even change them as you go along, depending on how important you consider Pop Art Feng Shui to be. Once done you can flatten and save your completed image.
Step 10. Be proud of your Pop Art
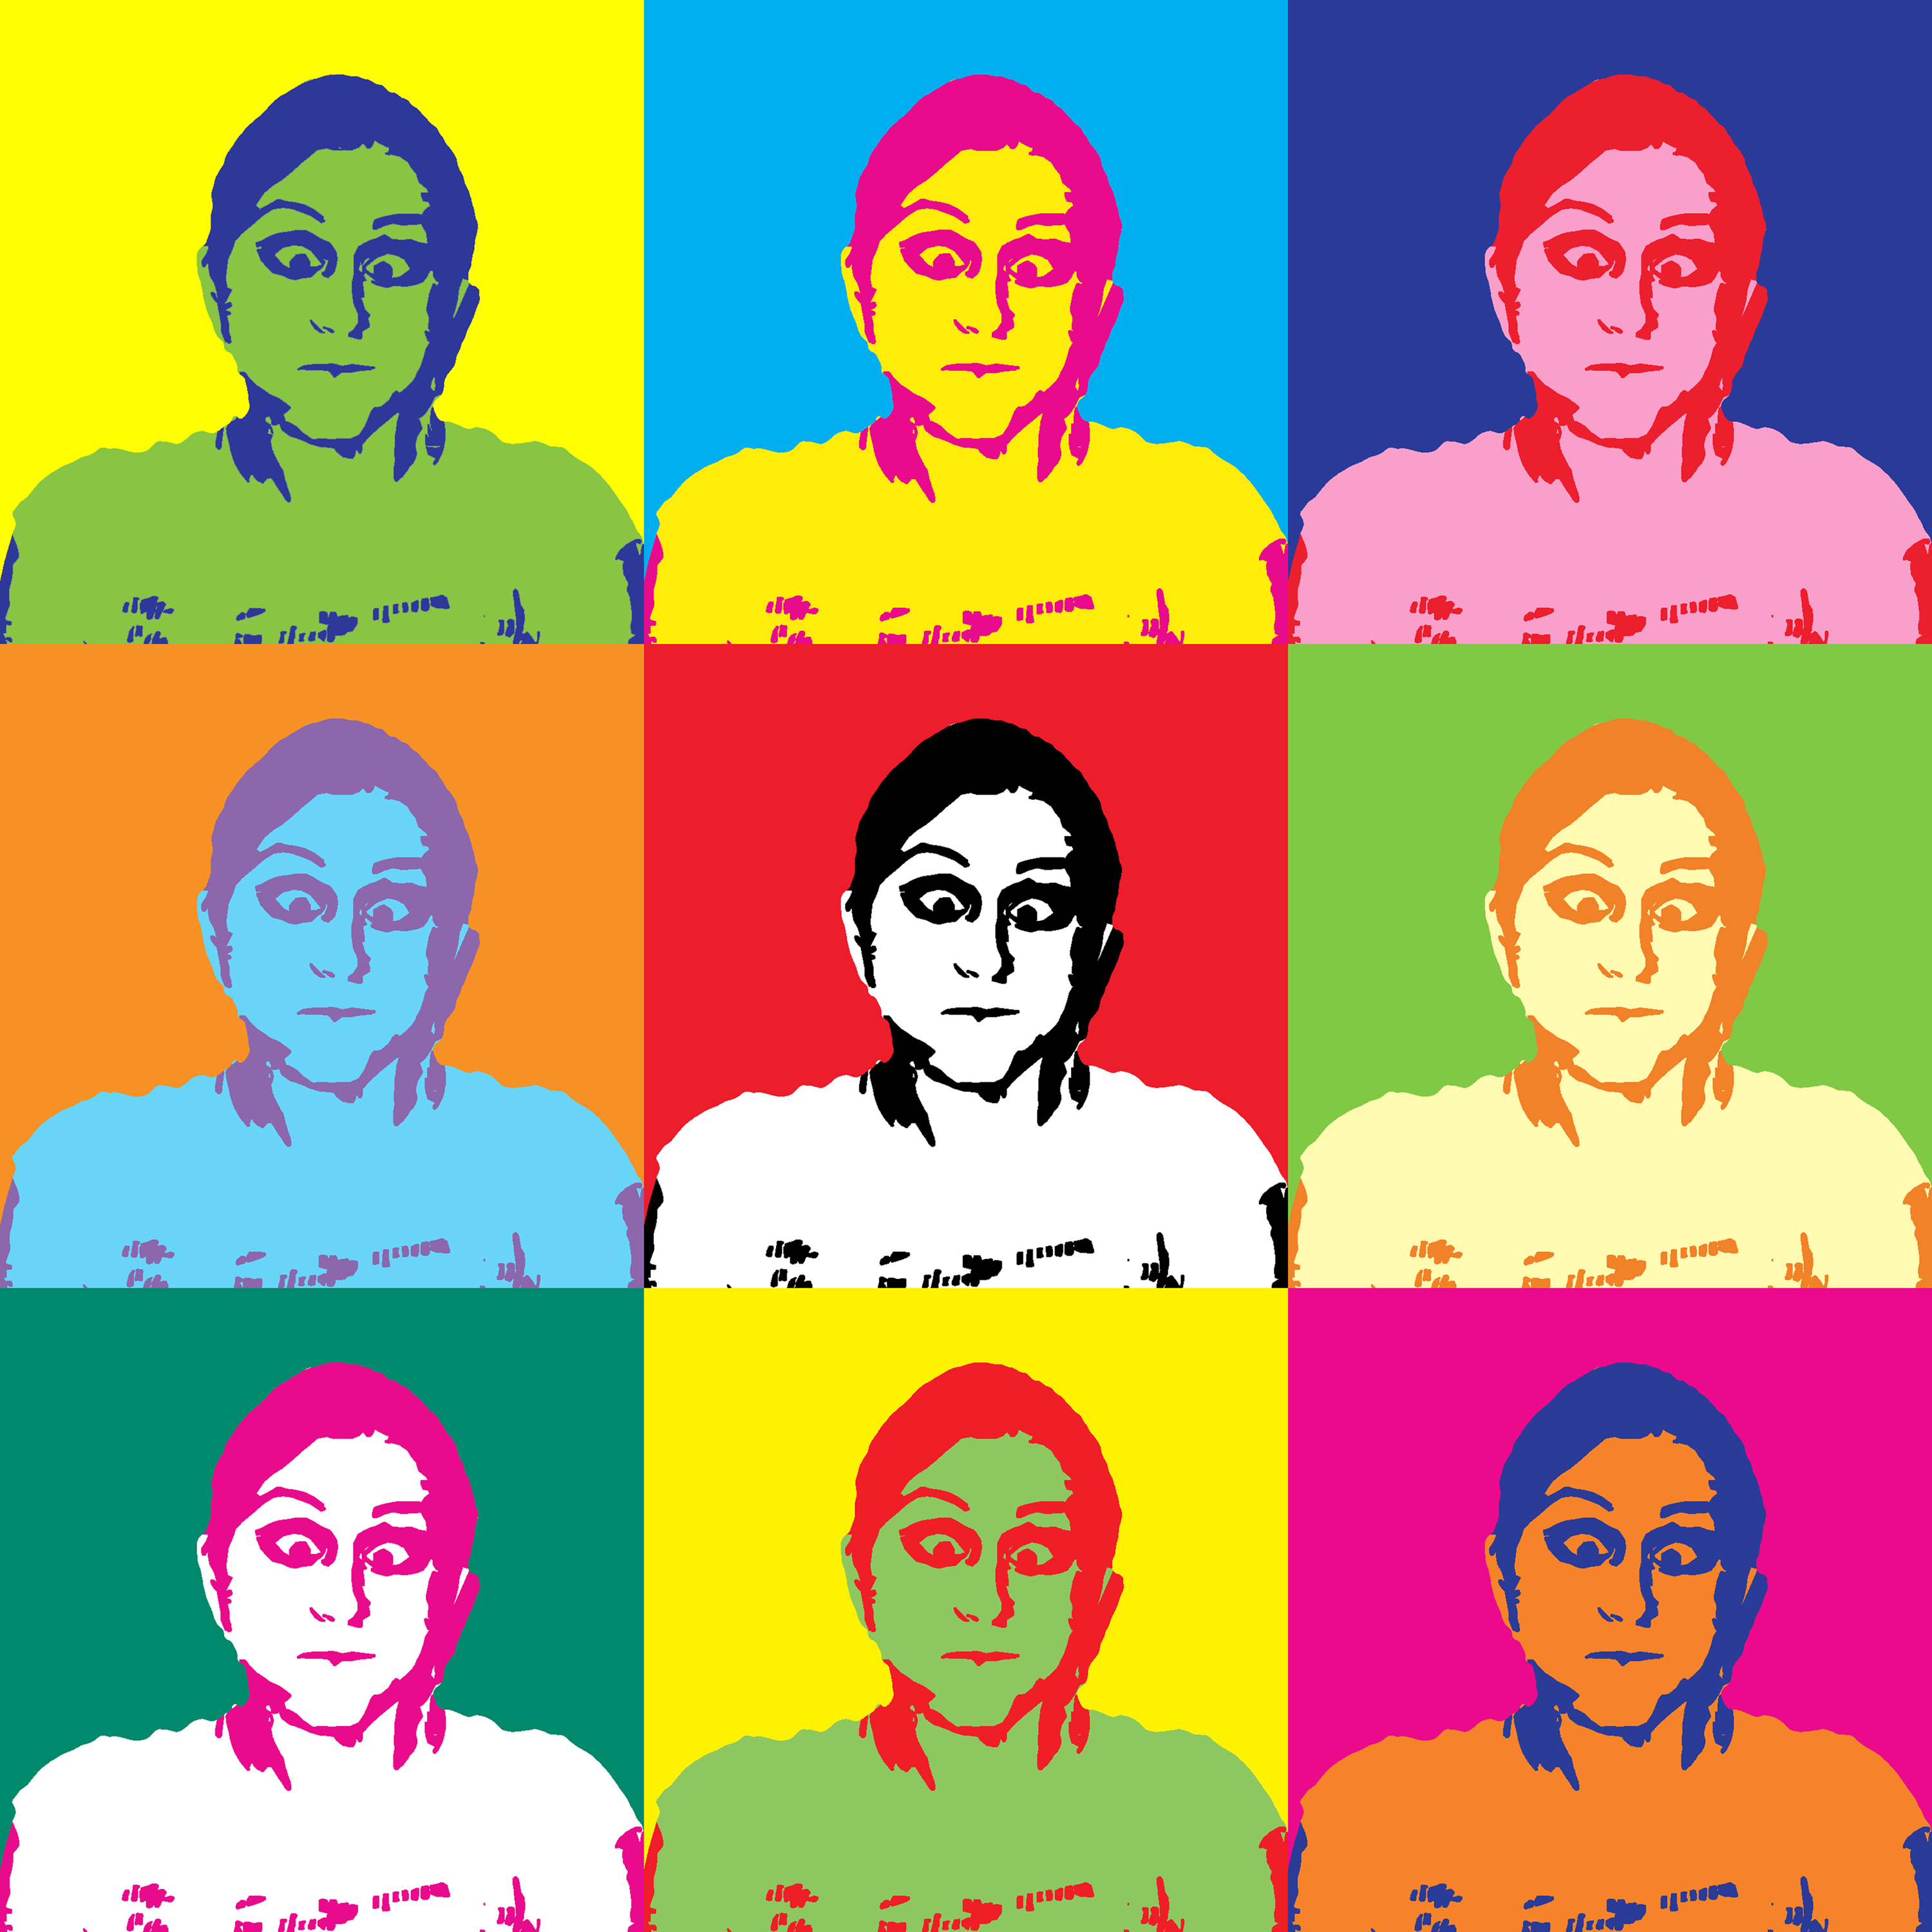
Well done! You've completed your Pop Art masterpiece! So don't let in languish there on your computer hard-drive - get it out into the world! Print it, mount it and display it. If you have a printer you can do it yourself and even canvas-mount it if you want to get really arty. Alternatively there are a range of services that will do this for you, including our very own Wex Photographic Photo! Many of these services will also allow you to put your Pop Art on a range of items such as bags, jig-saws and t-shirts - wear your Pop Art with pride!

