Under clear skies, the moon is a bright light source that can be utilised to create atmospheric images, as Timothy Coleman explains
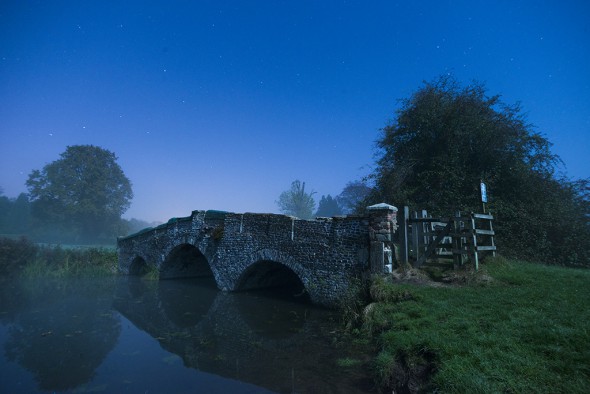
As the sun disappears behind the horizon, it’s far from the end of a day when it comes to taking pictures. In fact, many photographers favour nighttime for their image-making, and after experiencing shooting in the night it’s easy to see why – creating ‘moonscapes’ (also referred to as ‘nightscapes’) using moonlight is addictive.
Outside of urban areas and away from light pollution, moonlight provides what can be a surprisingly bright light source that enables moody pictures. During the long winter nights it’s natural for a photographer to make the most of the light at night – after all there may be no daylight at all outside of one’s work hours – but of course it’s possible to shoot under moonlight during the summer too.
In this article on photography under moonlight, I’ll cover when is best to shoot, understanding the light source, key camera settings, and give some ideas on what subjects to shoot.
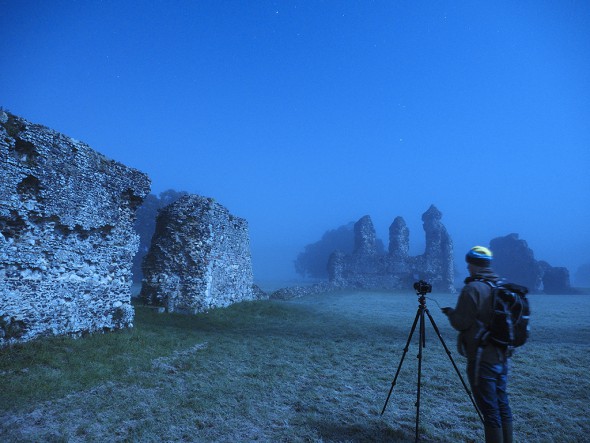
When to Shoot
Although moonlight is nowhere near as strong as sunlight, a night sky can be rather bright. The brightness of the night sky depends on two main factors – the weather and the moon phase (also known as lunar cycle).
Weather: The night sky must be clear for bright moonlit shooting conditions. Cloud cover generally ensures the sky, and therefore the landscape, is dark. Before you head out for a moonlight shoot, check the weather forecast. There needs to be a good slot of time when all you will see above you is the open sky.
Moon phase: Unlike sunlight, the brightness of moonlight varies greatly, depending on the moon phase. Nights when the moon is at its fullest are the brightest (cloud dependent), while nights around the ‘new moon’ are the darkest. Here there is virtually no visible moon at all.
Be sure to check the moon phase and plan your moonlight shoot accordingly. There are websites and handy smartphone apps that indicate the moon phase by day, month and year.
A clear night with full moon will allow you to reduce the exposure time and still achieve bright images, which should increase image quality – more on this later. The brighter light conditions of the nights around a full moon result in images with greater contrast than when the moon is less full.
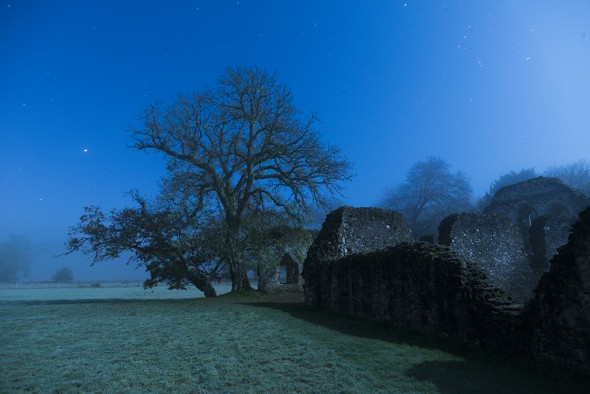
Of course all image-making is down to personal taste, but I prefer the images I get under moonlight on these brighter nights, rather than the low contrast light when the moon is less full.
Watch Out for the Cold…
If you’re out during a clear winter night when the moon is full, chances are it’ll be very cold. When working under freezing conditions, it’s important to keep checking that condensation has not formed on the front of your lens, or else the clarity and contrast of your pictures will be dramatically compromised. It happens to every photographer, myself included – I’ve had what would have been a punchy moonscape end up looking soft and flat on account of condensation.
Be sure to pack a lens cloth and to make regular checks of your lens, wiping off any condensation using a circular motion. Should any of your pictures been taken with a ‘frosty’ lens, try increasing the contrast, clarity and vibrance in post-production to reintroduce some dynamism to these pictures.
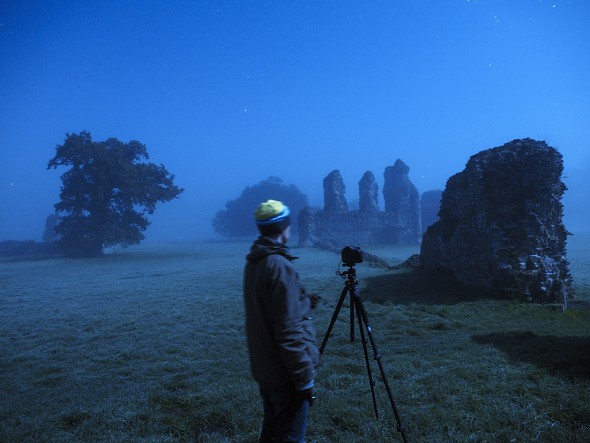
The cold also means you’ll need to dress appropriately. Note the woolly hat…
Position of the Moon
When shooting under moonlight, there are many identical principles to shooting in daylight, especially with regards to the positioning of the light source. Just as with sunlight, it’s wise to know the position of moon in relation to your subjects and the landscape, so that you understand the impact moonlight will have. This sort of research will result in wise choices of the best time to go, and the right location.
For example, it’s no good setting out to shoot a castle illuminated by moonlight at 9PM on a winter’s night if the moon is behind the castle. The result will be a silhouette. Sure, a silhouette can look good too, but ideally we want detail.
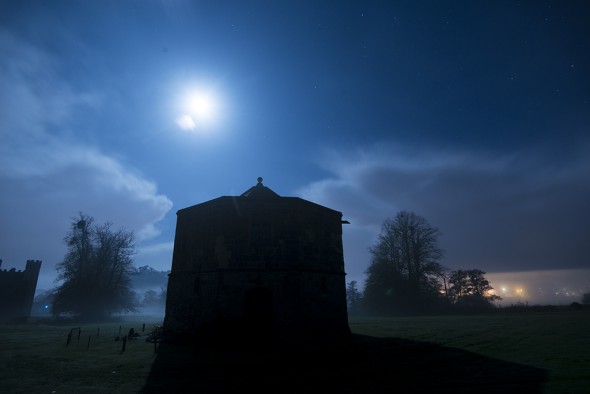
Here the moon sits right behind the Cowdray Ruins, creating a silhouette
It may be that come 2AM that same night, the change of the moon’s position means the castle is now illuminated. (One can use a torch for light-painting to illuminate subjects in the dark, but for the purposes of this article we’ll stick to moonlight.)
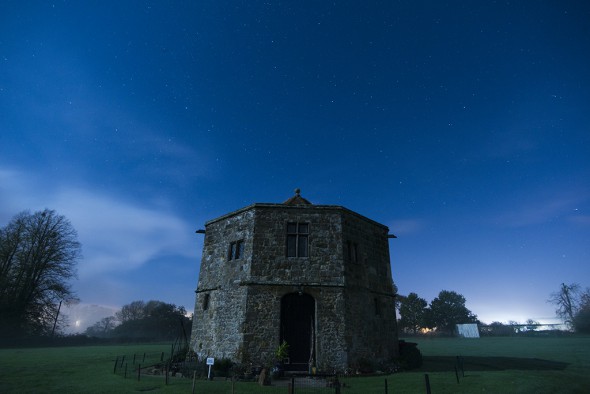
A shot of the same subject with the moon in a different place reveals much more detail
Of course the brightness of the moon is not only affected by the moon phase but also the time of night. During moonset and moonrise, the moon is less bright against the ambient light than in the middle of the night.
The moon during the blue hour of moonrise and moonset is low in the sky and more side-on to the landscape (like the golden hour at sunrise or sunset), which results in longer shadows. Also, the ambient light is brighter during the blue hour than the middle of the night, which means that your exposure time need not be as long. However, it’s less likely that you’ll see the moon at all when it’s really low in the sky.
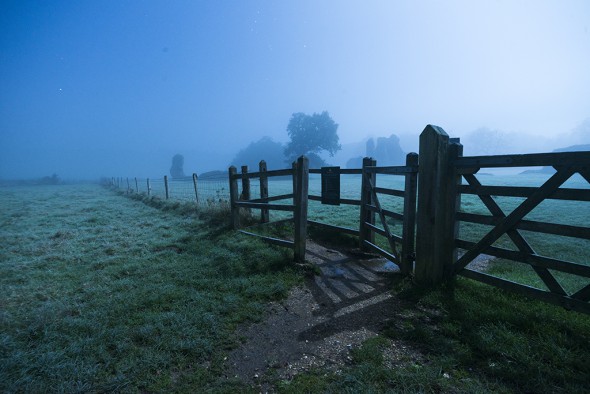
A great resource to check out is The Photographer’s Ephemeris which indicates the direction of moonlight at any given location, time and (future) day. The desktop software is available as a free download, and the app can be purchased from iOS and Android app stores.
Camera Settings
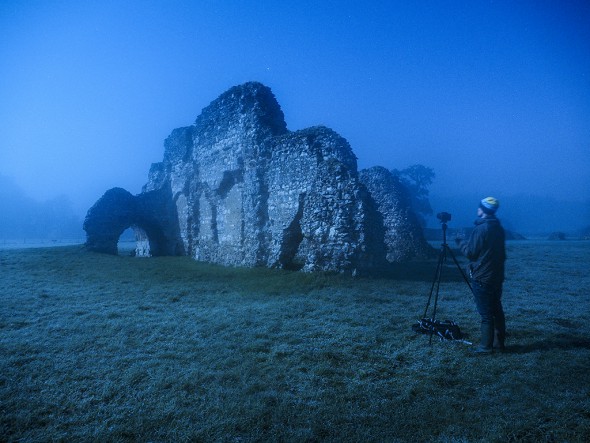
Get the camera settings right and it’s possible to take punchy pictures that are brighter than the human eye is capable of perceiving. Let’s take a look at the key camera settings:
Settings: Exposure
When shooting under moonlight, take manual control of exposure. The required shutter speed and aperture will of course be affected by the ambient light – during a full moon on a clear night the shutter speed can be much quicker than during another part of the moon phase, such as the first or last quarter.
Assuming you’re shooting under clear skies on a night close to the full moon, an exposure of f/8, 25 seconds and ISO 400 is a good starting point from which to tweak. If it’s, say, a half moon, then start with an exposure of f/5.6, 30 seconds and ISO 1600.
A bright exposure is best, so check your histogram, which can be displayed on the LCD screen of digital cameras pre- and post-capture. You’re looking for the curve in the graph to be on the right without going beyond the right side. This indicates a bright exposure with highlight detail preserved – also known as ‘exposing to the right’.
If the exposure of a night picture is dark, brightening it post-capture will reveal plenty of unwanted shadow noise. In dramatic cases there will be large patches of chroma noise. With this in mind, it’s best to get the exposure nice and bright in the first instance.
If you want the stars in the sky to appear sharp, that is with no ‘trail’, then the exposure time is restricted and you’ll need to adjust aperture and ISO accordingly. The formula used to calculate the maximum possible shutter speed that maintains sharp stars is 500÷focal length. So, if you’re focal length is 20mm, then its 25 seconds (500÷20=25).

There’s a slight smear to the stars in this image. If you don’t want this effect, you need to use a faster shutter speed
Settings: Focusing
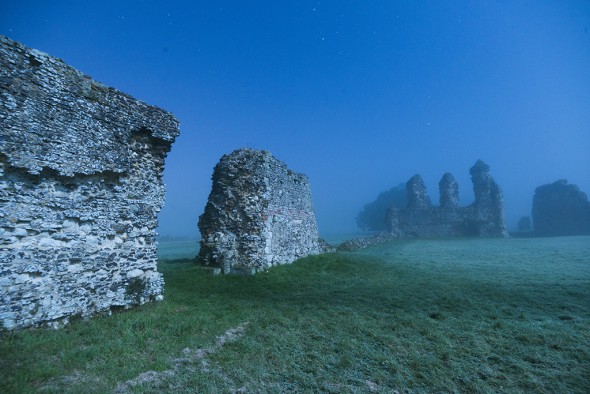
Focusing sharply in the dark is tricky business. For the best part autofocus won’t cut it, so use manual focus instead.
Even when using manual focus, it’s still tricky to ensure subjects are sharp pre-shot. Illuminating the desired focus area using bright torchlight helps no end, so be sure to pack a good torch in your camera bag.
If you can’t see that focusing is sharp pre-shot, activate your camera’s live view (if you have it) and use focus magnification to zoom right into the subject, where checking focus is much easier.
If all else fails, use the focus distance marker on the lens barrel (or rear LCD screen in some cameras) as a guide. If you want most things in focus, then an aperture of around f/11 and a focus distance set a fraction closer than infinity will do the trick.
Make the most of the time on your side to check, adjust and acquire a sharp focus. (The same goes for checking images for a good, bright exposure.)
Settings: Colour
Avoid using auto white balance. Generally the best white balance setting to use is the tungsten WB setting (also known as ‘incandescent’), because it keeps the cool night colours. Interestingly, you can ‘cheat’ and recreate a similar effect of moonlight photos by using the tungsten white balance setting in daylight.
What to Shoot
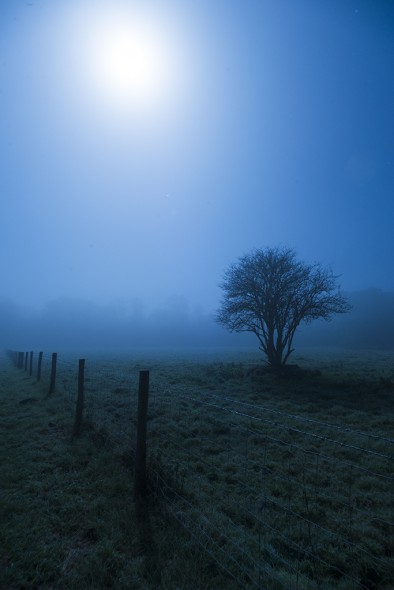
Like daylight landscape photography, the options for shooting by moonlight are numerous and similar principles apply. Ideally, prior to going out to a location in the night you should have already visited it in the daytime and surveyed the landscape. If the location looks good in the day time, chances are the nighttime will work too. Observe strong shapes and the consequent shadows cast by the light – shadows are really effective in a moonscape.
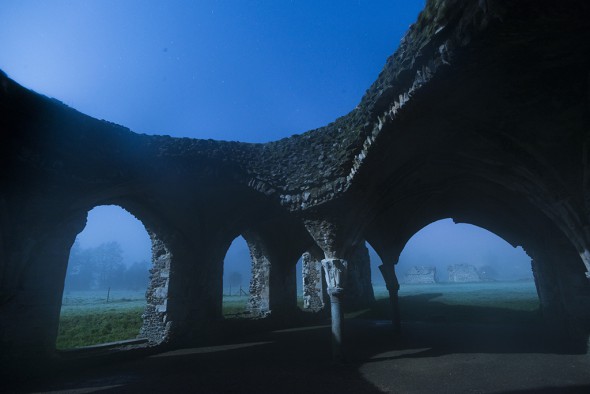
If the forecast is for several hours of clear sky, try a timelapse over a few hours to show the movement of shadows throughout the night.
As for subjects, light-coloured concrete can appear rather bright during a full moon, so look out for interesting buildings such as churches, castles, ruins and beach promenades. All such subjects should be in places where there’s little light pollution – meaning non-urban areas. Otherwise the light from the moon will be less obvious.
Checklist
Before you go:
- Check the weather forecast indicates a clear night ahead
- Ensure the moon phase is on the fuller side
- Know the moon position for the time of night in relation to your location
- In addition to your camera kit and a wide-angle lens, pack a tripod, a lens cloth and a bright torch
On location:
- If it’s a freezing cold night, regularly check your lens is free from condensation
- Use tungsten white balance, manual focus and manual exposure
- Review your pictures immediately after capture – don’t forget a histogram check to make sure the exposure is bright
- If you want the stars to be sharp, don’t exceed the maximum possible shutter speed for your focal length
About the Author
Timothy Coleman is a photographer, writer and former deputy technical editor of Amateur Photographer magazine. Follow him on Twitter: @timothy_coleman
Related articles
How to: Photograph the Northern Lights in Arctic Norway
How to Photograph the Night Sky
A Beginner’s Guide to Astrophotography using CCD Systems

