Moving on from that first shot with a soft box and standard brolly, I would like to show you another simple set up using the same accessories. As you know I wanted to work with these, as they come with most lighting kits these days. What I want to demonstrate here is that you can use two lights successfully using one to light the subject and one to light the background. This set up will give much better results than using both lights to light the subject, which will cause shadow problems. Working with just two heads may not give perfect results, but I think you will agree that the shots I took here look pretty good.
Once again I worked with Sam on some straightforward head and shoulders portraiture, the type of work that most of you want to do. For this series of shots Sam changed into a long pink dress and I asked her to add some jewellery for a more sophisticated look. We worked through several shots, but the lighting remained pretty much the same throughout, always using the brolly as a main light and the soft box to light the background.
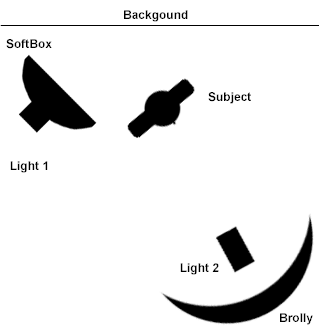
I set up one light, a Gemini 250 this time, with the reflector holding the standard white Bowens brolly. I positioned it about 1.5 metres in front and just to one side of Sam angled at about 30 degrees above her head. Using the brolly in this way will give you a very soft diffused natural light and if positioned correctly will also give you beautiful round catch lights in the eyes. This is so important, if the catch lights are in the white parts of the eyes, it will have much less impact. So when you position your main light as we did in the first shot, move it around your subject so that you can get the catch light just inside the darker pupil of the eye. It will really improve your portrait and look very natural. When you look at the pictures of Sam you’ll know exactly what I mean.
I used the standard 60x60cm soft box on the other Gemini 250 to light the background in this series. Sam stood about 1 metre in front of the background. I then positioned the light behind her and from the opposite side to the brolly. The top of the soft box was about shoulder height in all these pictures. I wasn’t trying to light high key and burn out the background here, but create a slightly graduated effect on the background.
This can be done quite easily by placing the light with the soft box at about 45 degrees to the background and then turning it from side to side or up and down to allow more or less light to fall behind the subject. With a soft box that small it works really well.
As for the exposure, I wanted to shoot quite soft, so I metered the main light until I got f8, then I metered the background light to give me about a stop less at f5.6. This would give me good control over slightly graduating the background.
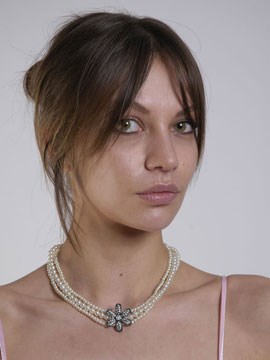
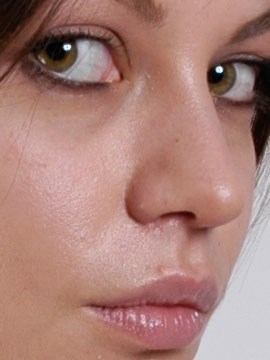
In these two pictures you can see how the catch lights are perfect, making them the focal point for the picture. Just using the standard white brolly as a main light gives a beautiful soft, natural even light, that often surprises people who don’t expect that quality from such a standard accessory. The slightly graduated background works well to define skin tones and colour.
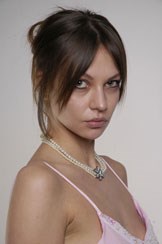
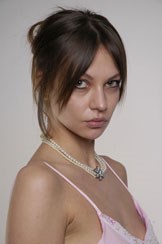
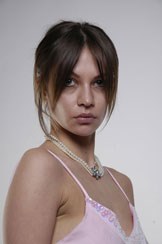
Here again it’s the placement of the catch lights that work so well and the white brollies incredibly soft even lighting.
To finish this series I have included some shots taken with Chris’s Jet Stream, a studio wind machine made by Bowens. I thought I would use it ‘properly’ for once as Chris only seems to use it to keep his studio cool in summer! I know that not everyone has a jet stream, but you could play with a powerful hair dryer.
The lighting was just the same here as before.
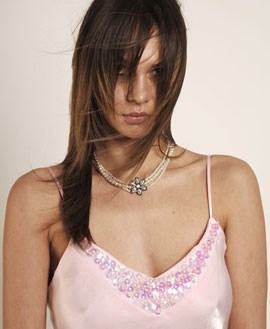
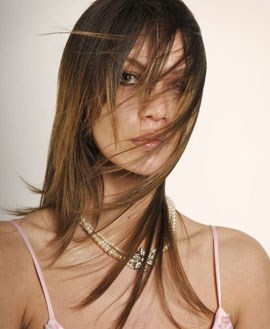
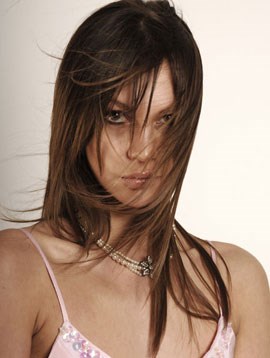
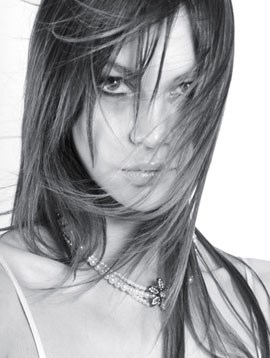
As you can see the Jet Stream is a great toy and in all fairness Chris does use it often to create some super shots. He helped me edit the black & white shot that could have come straight off the front cover of a glossy fashion magazine. But the important thing here is that all these shots were taken with just two lights, Gemini 250’s this time and the basic accessories that came with the kit. To show you how the lights were positioned I have drawn a simple diagram. In the next series I will be showing you how to light from behind the subject, a great technique.
Good Luck
Steve
My thanks to Chris at ReeveBanks photography for his help and coffee making skills and to Sam Gooden-Wood for putting up with me for a day and also to Chris’s assistant Mark, for all his help.

